
💡 I included the link to the example repository at the conclusion of this tutorial.
Building secure and user-friendly web applications requires robust authentication and verification mechanisms. This article guides you through setting up robust authentication and email verification in Next.js 14, leveraging the power of TypeScript, NextAuth, Prisma, Zod, and Server Actions.
The Stack:
- Next.js 14: Provides a server-rendered React framework with automatic code-splitting and routing.
- TypeScript: Enhances code quality and safety with static type checking.
- NextAuth 5: Manages user authentication flows including social logins.
- Prisma: A powerful ORM for interacting with your database (e.g., PostgreSQL, MySQL).
- Zod: Enforces data validation with schemas for secure and error-free data handling.
- Nodemailer: A Node.js module specifically designed to make sending emails from your server-side applications easy and efficient.
- Server Actions: Securely exposes database operations and logic to the frontend.
Prerequisites
- Basic understanding of React and TypeScript
- Node.js, npm, and PostgreSQL installed on your system
Step 1: Install Next.js 14 with TypeScript
Begin by creating a new Next.js 14 project with TypeScript support. Use the following commands to initiate your project:
npx create-next-app@latest blog_nextjs_auth
You will then be asked the following prompts:
Would you like to use TypeScript?  No / Yes
Would you like to use ESLint?  No / Yes
Would you like to use Tailwind CSS?  No / Yes
Would you like to use `src/` directory?  No / Yes
Would you like to use App Router? (recommended)  No / Yes
Would you like to customize the default import alias (@/*)?  No / Yes
Select the following options during the prompts:
- TypeScript: Yes
- ESLint: Yes
- Tailwind CSS: Yes
- src/ Directory: Yes
- App Router: Yes
- Custom Import Alias (@/*): No
This creates a Next.js project with TypeScript, ESLint, Tailwind CSS, and routing configured.
Install dependencies:
npm install
Start the development server:
npm run dev
You can access the development server at http://localhost:3000.
Step 2: Setting up Prisma
Prisma is an open-source database toolkit that simplifies database access and manipulation in modern web applications. Prisma simplifies the process of working with databases in modern applications, offering a powerful combination of type safety, flexibility, and ease of use. It has gained popularity in the developer community for its ability to streamline database-related tasks and enhance the overall development experience.
First, we need to add Prisma to our project as a development dependency:
npm install prisma --save-dev
Also add @next-auth/prisma-adapter.
npm install @next-auth/prisma-adapter
or
npm install @next-auth/prisma-adapter --legacy-peer-deps
Next, we initialize Prisma:
npx prisma init
This command creates a new prisma directory in your project, with a schema.prisma file inside. This file is used to define your database schema and models.
Update your schema.prisma file so it looks like this:
// prisma/schema.prisma

// This is your Prisma schema file,
// learn more about it in the docs: https://pris.ly/d/prisma-schema

// Generate the Prisma Client in JavaScript
generator client {
  provider = "prisma-client-js"
}

// This block of code defines the database connection. The database is a PostgreSQL database.
// The database connection URL will be read from an environment variable named `DATABASE_URL`.
datasource db {
  provider = "postgresql"
  url      = env("DATABASE_URL")
}

// This block of code defines a User model
model User {
  id              String    @id @default(cuid()) // primary key with CUID
  name            String    @db.VarChar(255) // varchar
  email           String    @unique @db.VarChar(255) // email must be unique
  emailVerifiedAt DateTime? // optional DateTime
  emailVerifToken String?   @db.VarChar(255)
  password        String    @db.VarChar(255)
  createdAt       DateTime  @default(now())
  updatedAt       DateTime  @updatedAt
}
Then, you need to create a database. For PostgreSQL, you might use the CREATE DATABASE command:
# psql -U <username>
psql -U postgres

CREATE DATABASE blog_nextjs_auth;
Read also:
Next, update your .env file to include the connection string for your database. Make sure to adjust this according to your database settings:
// .env
DATABASE_URL="postgresql://<username>:<password>@localhost:5432/ blog_nextjs_auth?schema=public"
Then, run the following command:
npx prisma db push
Running this command will do two things:
- Install
@prisma/client: This is a type-safe database client that adapts to your database schema (defined inschema.prisma). This enables autocomplete and type safety in your TypeScript or JavaScript code. - Perform a Database Migration: This operation updates your database schema to match your Prisma schema by creating, modifying, or deleting tables and columns as necessary. This is a way to synchronize your Prisma schema with your database schema. This is very useful during development. For production environments, consider using Prisma Migrate for more control over migration.
Step 3: Installing Zod
Before continuing, let’s install Zod, a powerful TypeScript-first schema declaration and validation library. This will improve our form validation capabilities in the authentication process.
npm install zod
Step 4: Installing Bcryptjs for TypeScript
Moving forward, let’s fortify our authentication logic by installing Bcryptjs. This library enables secure password hashing, safeguarding user credentials in our database.
The @types/bcryptjs package provides TypeScript definitions for Bcryptjs.
npm install bcryptjs @types/bcryptjs
Step 5: Installing Nodemailer for TypeScript
Let’s empower our application with email functionality by installing Nodemailer. This versatile library facilitates the sending of email verifications, a crucial step in user registration. This library is a trusted choice for handling email-related tasks in Node.js applications.
The @types/nodemailer package provides TypeScript definitions specifically tailored for Nodemailer.
npm install nodemailer @types/nodemailer
or
npm install nodemailer @types/nodemailer --legacy-peer-deps
Step 6: Install and Setting up NextAuth
Install NextAuth.js by running the following command in your terminal:
npm install next-auth@beta
Here, you install the beta version of NextAuth.js, which is compatible with Next.js 14.
Next, create a secret key for your application. This key is used to encrypt cookies, ensuring the security of user sessions. You can do this by running the following command in your terminal:
openssl rand -base64 32
This command produces a cryptographically secure random string, which you can then assign to AUTH_SECRET in your .env file. Here’s an example snippet:
# .env

# Defining the secret key used for authentication
AUTH_SECRET=8eQxIlc/uM9b8+0dG4RZz1UGIVLziD/qo6/pqajFovE=
This ensures that your authentication secret remains confidential, strengthening the overall security posture of your application. Remember to keep your .env file secure and never expose it publicly to mitigate potential security risks.
Step 7: Setting up NextAuth Configuration
Let’s set up NextAuth configuration to efficiently manage authentication flows.
// src/auth.config.ts

// Importing necessary types from NextAuth for configuration
import type { NextAuthConfig } from 'next-auth';

// Creating the configuration object for NextAuth
export const authConfig = {
  trustHost: true,

  // Defining custom pages to tailor the authentication experience. Here, we redirect the default sign-in page to '/login'.
  pages: {
    signIn: '/login',
  },

  // Configuring callbacks for handling authorization logic during authentication flow.
  callbacks: {
    authorized({ auth, request: { nextUrl } }) {
      // Checking if the user is logged in
      const isLoggedIn = !!auth?.user;

      // Determining if the user is currently on the dashboard
      const isOnDashboard = nextUrl.pathname.startsWith('/member');

      // Handling authorization logic based on user status and location
      if (isOnDashboard) {
        // Redirecting unauthenticated users to the login page when attempting to access dashboard-related pages
        if (isLoggedIn) return true;
        return false;
      } else if (isLoggedIn) {
        // Redirecting authenticated users to the dashboard if they attempt to access authentication-related pages like login/signup
        const isOnAuth = nextUrl.pathname === '/login' || nextUrl.pathname === '/signup';
        if (isOnAuth) return Response.redirect(new URL('/member', nextUrl));
        return true;
      }
      // Allowing access for other scenarios
      return true;
    },
  },

  // Placeholder array for authentication providers. We initialize it as empty for now, adding providers when required.
  providers: [], // We start with an empty array, adding providers as needed

} satisfies NextAuthConfig;
Step 8: Implementing Authentication Logic
In this step, we will create an authentication module to handle user authentication using NextAuth and custom logic.
// src/auth.ts

// Importing necessary modules and types
import NextAuth from 'next-auth';
import Credentials from 'next-auth/providers/credentials';
import { authConfig } from './auth.config';
import { z } from 'zod';
import type { User } from '@prisma/client';
import bcrypt from 'bcryptjs'
import { findUserByEmail } from './actions/auth';

// Function to fetch a user by email from the database
async function getUser(email: string): Promise<User | null> {
    try {
        return await findUserByEmail(email);
    } catch (error) {
        console.error('Failed to fetch user:', error);
        throw new Error('Failed to fetch user.');
    }
}

// Destructuring NextAuth functions and configuration from the returned object
export const { handlers: { GET, POST }, auth, signIn, signOut } = NextAuth({
    ...authConfig, // Merging with the previously defined NextAuth configuration

    // Defining authentication providers, in this case, using credentials (email and password)
    providers: [
        Credentials({
            async authorize(credentials) {
                // Parsing and validating incoming credentials using Zod
                const parsedCredentials = z
                    .object({ email: z.string().email(), password: z.string().min(6) })
                    .safeParse(credentials);

                if (parsedCredentials.success) {
                    const { email, password } = parsedCredentials.data;
                    const user = await getUser(email);

                    // If user exists, compare hashed passwords
                    if (!user) return null;
                    const passwordsMatch = await bcrypt.compare(password, user.password);

                    // If passwords match, return the user
                    if (passwordsMatch) return user;
                }

                // If credentials are invalid, log and return null
                console.log('Invalid credentials');
                return null;
            },
        }),
    ],
});
Step 9: Middleware for Authentication
Implementing middleware using NextAuth to secure routes and define routing configurations.
// src/middleware.ts

// Importing NextAuth and the authentication configuration
import NextAuth from 'next-auth';
import { authConfig } from './auth.config';

// Exporting the authentication middleware using NextAuth and the provided configuration
export default NextAuth(authConfig).auth;

// Additional configuration for the middleware
export const config = {
  // Defining a matcher to specify routes where the middleware should be applied
  matcher: ['/((?!api|_next/static|_next/image|.*\\.png$).*)'],
};
Step 10: Routing Authentication API Endpoints
Creating a route file to handle authentication API endpoints using NextAuth handlers.
// src/app/api/auth/[...nextauth]/route.ts

// Importing NextAuth handlers for GET and POST requests
export { GET, POST } from '@/auth';
Step 11: Updating a Root Layout for Your Next.js App
Now, let’s focus on building the foundational layout for our Next.js app. This Root Layout (layout.tsx) will serve as the backbone of our application structure.
// src/app/layout.tsx

import type { Metadata } from "next";
import { Inter } from "next/font/google";
import "./globals.css";
import Providers from "./providers"; // We bring in the Provider component that we will create later for session capture

const inter = Inter({ subsets: ["latin"] });

export const metadata: Metadata = {
  title: "Create Next App",
  description: "Generated by create next app",
};

// Now, let's build our Root Layout component
export default function RootLayout({
  children,
}: Readonly<{
  children: React.ReactNode;
}>) {
  // This Root Layout serves as the canvas for our application's visual structure
  return (
    <html lang="en">
      <body className={inter.className}>
        <main className="flex min-h-screen flex-col items-center justify-between p-24">
          <div className="z-10 items-center font-mono text-sm lg:flex">
            {/* Now, let's provide context with our Providers component */}
            <Providers>
              {children}
            </Providers>
          </div>
        </main>
      </body>
    </html>
  );
}
Step 12: Setting up Providers
Now, let’s configure providers for Next.js authentication in our application. We’ll create a providers.tsx file to handle session management and context.
// src/app/providers.tsx

// We start with the 'use client' pragma for clarity, emphasizing the client-side nature of this code.
'use client'

// Importing necessary modules and components
import { SessionProvider } from "next-auth/react"
import { ReactNode } from "react"

// Defining Props interface for the Providers component
interface ProvidersProps {
    children: ReactNode,
}

// Our Providers component encapsulates the SessionProvider to manage user sessions
export default function Providers({ children }: ProvidersProps) {
    return (
        <SessionProvider>
            {children}
        </SessionProvider>
    )
}
Step 13: Creating a Sign-Up Page
In this file, we’re importing a Form component to handle the sign-up process.
// src/app/signup/page.tsx

// Importing the Sign-Up Form component
import Form from "@/components/signup/form";

export default function SignUp() {
    return (
        // Rendering the Sign-Up Form component
        <Form />
    );
}
Step 14: Building a Sign-Up Form Component
Let’s dig into the form.tsx file where we craft a sign-up form component. This component seamlessly integrates with the sign-up logic and ensures a smooth user experience.
// src/components/signup/form.tsx
// Ensuring client-side code
'use client';
// Importing necessary modules and components
import Link from "next/link";
import { signUp } from "@/actions/auth";
import { useFormState } from "react-dom";
import SignupButton from "./signup-button";
export default function Form() {
// Using useFormState to manage the form state and handle sign-up actions
const [formState, action] = useFormState(signUp, {
errors: {},
});
// Rendering the sign-up form
return (
<div className="space-y-3 items-center">
<form action={action}>
<div className="flex-1 rounded-lg bg-gray-50 px-6 pb-4 pt-8">
<h1 className='mb-3 text-2xl'>
Sign Up Now!
</h1>
<div className="w-full mb-4">
{/* Email Input */}
<div>
<label
className="mb-3 mt-5 block text-xs font-medium text-gray-900"
htmlFor="email"
>
Email
</label>
<input
className="peer block w-full rounded-md border border-gray-200 py-[9px] px-3 text-sm outline-2 placeholder:text-gray-500"
placeholder="Enter your email"
type="email"
id="email"
name="email"
defaultValue=''
/>
{/* Displaying email errors if any */}
{formState?.errors.email
&& <div className="text-sm text-red-500">
{formState.errors.email.join(', ')}
</div>
}
</div>
{/* Password Input */}
<div>
<label
className="mb-3 mt-5 block text-xs font-medium text-gray-900"
htmlFor="password"
>
Password
</label>
<input
className="peer block w-full rounded-md border border-gray-200 py-[9px] px-3 text-sm outline-2 placeholder:text-gray-500"
placeholder="Enter your password"
type="password"
id="password"
name="password"
defaultValue=''
/>
{/* Displaying password errors if any */}
{formState?.errors.password
&& <div className="text-sm text-red-500">
{formState.errors.password.join(', ')}
</div>
}
</div>
{/* Name Input */}
<div>
<label
className="mb-3 mt-5 block text-xs font-medium text-gray-900"
htmlFor="name"
>
Name
</label>
<input
className="peer block w-full rounded-md border border-gray-200 py-[9px] px-3 text-sm outline-2 placeholder:text-gray-500"
placeholder="Enter your name"
type="text"
id="name"
name="name"
defaultValue=''
/>
</div>
{/* Displaying name errors if any */}
{formState?.errors.name
&& <div className="text-sm text-red-500">
{formState.errors.name.join(', ')}
</div>
}
</div>
{/* Including the SignupButton component */}
<SignupButton />
<div className='mt-4 text-center'>
{/* Providing a link to the login page */}
Already have an account?
<Link className='underline' href='/login'>Login</Link>
</div>
</div>
</form>
</div>
);
}
Read also:
Step 15: Crafting the Sign-Up Button Component
Let’s examine the signup-button.tsx file where we construct a simple Sign-Up Button component. This button is not just a visual element; it dynamically adjusts its appearance based on the sign-up process status.
// src/components/signup/signup-button.tsx

// Ensuring client-side code
'use client';

// Importing the useFormStatus hook
import { useFormStatus } from "react-dom";

// Sign-Up Button Component
export default function SignupButton() {
    // Using useFormStatus hook to track the status of the form
    const { pending } = useFormStatus();

    // Rendering the Sign-Up button with dynamic styling
    return (
        // The disabled attribute is dynamically set based on the pending state, preventing multiple form submissions.
        <button className="bg-gray-200 py-2 rounded w-full disabled:bg-slate-50 disabled:text-slate-500" disabled={pending ? true : false}>
            {/* Displaying "Sign Up" or "Sign Up ..." based on the form status */}
            Sign Up {pending ? '...' : ''}
        </button>
    );
}
Step 16: Establishing Database Connection with Prisma
Dig into the index.ts file in the db directory, where we will create a database connection using Prisma and we will use a singleton pattern for efficient database access.
// src/db/index.ts

// Importing the PrismaClient from @prisma/client
import { PrismaClient } from '@prisma/client';

// Defining a function to create a singleton instance of PrismaClient
const prismaClientSingleton = () => {
    return new PrismaClient();
};

// Extending the global namespace to include the PrismaClient instance
declare global {
    var prisma: undefined | ReturnType<typeof prismaClientSingleton>;
}

// Creating a global instance of PrismaClient or using the existing one
export const db = globalThis.prisma ?? prismaClientSingleton();

// Setting the global Prisma instance if not in production
if (process.env.NODE_ENV !== 'production') globalThis.prisma = db;
Step 17: Navigating the Authentication Actions
Dive into the auth.ts file where the authentication action is performed. This server-side code manages the registration, login, and email verification processes, ensuring your app’s security and a smooth user experience.
// src/actions/auth.ts

// Ensuring server-side code
'use server';

// Importing necessary modules and components
import { signIn, signOut } from '@/auth';
import { db } from '@/db';
import type { User } from '@prisma/client';
import { AuthError } from 'next-auth';
import { z } from 'zod';
import bcryptjs from 'bcryptjs';
import nodemailer from 'nodemailer';
import { randomBytes } from 'crypto';
import { redirect } from 'next/navigation';
import { EmailNotVerifiedError } from '@/errors';

// Authenticating function for sign-in
export async function authenticate(prevState: string | undefined, formData: FormData) {
  try {
    await isUsersEmailVerified(formData.get('email') as string);
    await signIn('credentials', formData);
  } catch (error) {
    // Handling authentication errors
    if (error instanceof AuthError) {
      switch (error.type) {
        case 'CredentialsSignin':
          return 'Invalid credentials.';
        default:
          return 'Something went wrong.';
      }
    }

    // Handling email verification errors
    if (error instanceof EmailNotVerifiedError) {
      return error?.message;
    }

    // Throwing other unexpected errors
    throw error;
  }
}

// Defining the schema for sign-up form validation
const signUpSchema = z.object({
  name: z.string().min(3).max(255),
  email: z.string().email(),
  password: z.string().min(3).max(255),
});

// Interface for the sign-up form state
interface SignUpFormState {
  errors: {
    name?: string[];
    email?: string[];
    password?: string[];
    _form?: string[];
  };
}

// Sign-up function handling form validation and user creation
export async function signUp(formState: SignUpFormState, formData: FormData): Promise<SignUpFormState> {
  // validate the sign up form
  const result = signUpSchema.safeParse({
    name: formData.get('name'),
    email: formData.get('email'),
    password: formData.get('password'),
  });

  // returns a validation error if the payload does not match our validation rules
  if (!result.success) {
    return {
      errors: result.error.flatten().fieldErrors,
    };
  }

  // make sure the user does not enter a registered email
  const isEmailExists = await findUserByEmail(result.data.email);

  if (isEmailExists) {
    return {
      errors: {
        email: ['Email already exists'],
      },
    };
  }

  const hashed = await generatePasswordHash(result.data.password);

  const verificationToken = generateEmailVerificationToken();

  let user: User;
  try {
    // create user data
    user = await db.user.create({
      data: {
        name: result.data.name,
        email: result.data.email,
        password: hashed,
        emailVerifToken: verificationToken,
      },
    });
  } catch (error: unknown) {
    // Handling database creation errors
    if (error instanceof Error) {
      return {
        errors: {
          _form: [error.message],
        },
      };
    } else {
      return {
        errors: {
          _form: ['Something went wrong'],
        },
      };
    }
  }

  // Sending email verification
  await sendVerificationEmail(result.data.email, verificationToken);

  // Redirecting to the email verification page
  redirect(`/email/verify/send?email=${result.data.email}&verification_sent=1`);
}

// Function to handle user logout
export async function logout() {
  return await signOut();
}

// Function to find a user by email in the database
export const findUserByEmail = async (email: string) => {
  return await db.user.findFirst({
    where: {
      email,
    },
  });
};

// Function to generate a hashed password
const generatePasswordHash = async (password: string) => {
  // generates a random salt. A salt is a random value used in the hashing process to ensure
  // that even if two users have the same password, their hashed passwords will be different.
  // The 10 in the function call represents the cost factor, which determines how much
  // computational work is needed to compute the hash.
  const salt = await bcryptjs.genSalt(10);
  return bcryptjs.hash(password, salt);
};

// Function to generate an email verification token
const generateEmailVerificationToken = () => {
  // generates a buffer containing 32 random bytes.
  // The 32 indicates the number of bytes to generate, and it is commonly used
  // for creating secure tokens or identifiers.
  return randomBytes(32).toString('hex');
};

// Function to send a verification email
const sendVerificationEmail = async (email: string, token: string) => {
  // nodemailer configuration. make sure to replace this with your native email provider in production.
  // we will use mailtrap in this tutorial, so make sure you have the correct configuration in your .env
  const transporter: nodemailer.Transporter = nodemailer.createTransport({
    host: process.env.MAIL_HOST,
    port: Number(process.env.EMAIL_PORT) || 0,
    auth: {
      user: process.env.MAIL_USERNAME,
      pass: process.env.MAIL_PASSWORD,
    },
  });

  // the content of the email
  const emailData = {
    from: '"Blog Nextjs Auth" <verification@test.com>',
    to: email,
    subject: 'Email Verification',
    html: `
      <p>Click the link below to verify your email:</p>
      <a href="http://localhost:3000/email/verify?email=${email}&token=${token}">Verify Email</a>
    `,
  };

  try {
    // send the email
    await transporter.sendMail(emailData);
  } catch (error) {
    console.error('Failed to send email:', error);
    throw error;
  }
};

// Function to resend email verification
export const resendVerificationEmail = async (email: string) => {
  const emailVerificationToken = generateEmailVerificationToken();

  try {
    // update email verification token
    await db.user.update({
      where: { email },
      data: { emailVerifToken: emailVerificationToken },
    });

    // send the verification link along with the token
    await sendVerificationEmail(email, emailVerificationToken);
  } catch (error) {
    return 'Something went wrong.';
  }

  return 'Email verification sent.';
};

// Function to verify a user's email
export const verifyEmail = (email: string) => {
  return db.user.update({
    where: { email },
    data: {
      emailVerifiedAt: new Date(),
      emailVerifToken: null,
    },
  });
};

// Function to check if a user's email is verified
export const isUsersEmailVerified = async (email: string) => {
  const user = await db.user.findFirst({
    where: { email },
  });

  // if the user doesn't exist then it's none of the function's business
  if (!user) return true;

  // if the emailVerifiedAt value is null then raise the EmailNotVerifiedError error
  if (!user?.emailVerifiedAt) throw new EmailNotVerifiedError(`EMAIL_NOT_VERIFIED:${email}`);

  return true;
};
Read also:
Step 18: Defining Custom Error: EmailNotVerifiedError
Within the errors directory, we define a custom error class EmailNotVerifiedError. This specialized error type helps us handle cases where a user’s email is not verified during authentication.
// src/errors/index.ts

// Defining a custom error class for email not verified scenarios
// the class extends the built-in Error class to create a custom error type.
// This allows us to distinguish and handle errors related to email verification separately
// from other types of errors.
export class EmailNotVerifiedError extends Error {
    constructor(message: string) {
        super(message);
        this.name = "EmailNotVerifiedError";
    }
}
Step 19: Configuring Email Service for Development
Let’s dive into the .env file, where we configure the email service parameters that are important for our application’s email functionality. We will use Mailtrap to test our email functionality in development environment. Adjust the value to your own Mailtrap credentials.
# .env

MAIL_HOST=smtp.mailtrap.io
MAIL_PORT=587
MAIL_USERNAME=mailtrap-username
MAIL_PASSWORD=mailtrap-password
Step 20: Email Verification Request: Initiating Verification
In this file within the email verification module, we set the stage for users to initiate the email verification process.
// src/app/email/verify/send/page.tsx

// Importing the Form component responsible for email verification initiation
import Form from "@/components/email/verify/send/form";

// Importing the Suspense component from React for asynchronous operations
import { Suspense } from "react";

export default function Send() {
  return (
    <div className="flex flex-col">
      <div className="mb-4">Please verify your email first.</div>

      {/* Using Suspense for asynchronous loading */}
      <Suspense>
        {/* Rendering the Form component for email verification initiation */}
        <Form />
      </Suspense>
    </div>
  );
}
Step 21: Email Verification Request Form
This file displays email verification notifications that have been sent and maintains a form for initiating email verification resend requests, with real-time feedback and a user-friendly interface.
// src/components/email/verify/send/form.tsx
'use client'

// Importing necessary hooks and components
import { useFormState } from "react-dom";
import ResendButton from "./resend-button";
import { useSearchParams } from "next/navigation";
import { resendVerificationEmail } from "@/actions/auth";

export default function Form() {
    // Accessing search parameters from the URL
    const searchParams = useSearchParams()

    // Extracting email and verification_sent status from search parameters
    const email = searchParams.get('email')
    const verificationSent = Boolean(searchParams.get('verification_sent'))

    // Obtaining form state and action using useFormState hook
    const [formState, action] = useFormState(resendVerificationEmail.bind(null, email!), undefined);

    // Rendering the Email Verification Initiation Form
    return (
        <>
            {/* Displaying formState message if available */}
            {!!formState && (
                <div className="text-blue-500 mb-4">{formState}</div>
            )}

            {/* Displaying a success message if verification link has been sent */}
            {!!verificationSent && (
                <div className="text-green-500 mb-4">A verification link has been sent to your email.</div>
            )}

            {/* Rendering the form with the ResendButton component */}
            <div>
                <form action={action}>
                    <ResendButton />
                </form>
            </div>
        </>
    )
}
Step 22: Create a Resend Verification Button
The resend-button.tsx file defines a button component for users to resend the email verification link with real-time status updates.
// src/components/email/verify/send/resend-button.tsx

// Importing the useFormStatus hook
import { useFormStatus } from "react-dom"

// Defining the Resend Verification Button component
export default function ResendButton() {
    // Obtaining pending status from useFormStatus hook
    const { pending } = useFormStatus()

    // Rendering the Resend Verification Button
    return (
        <button
            type="submit"
            className="bg-white py-2 px-4 rounded disabled:bg-slate-50 disabled:text-slate-500"
            disabled={pending ? true : false}
        >
            {/* Displaying dynamic text based on pending status */}
            Send verification link {pending ? '...' : ''}
        </button>
    )
}
Step 23: Email Verification Page Setup
In this step, we will create a page that displays after the user clicks on the email verification link. Later, we will implement the logic in a separate component.
// src/app/email/verify/page.tsx

// Import the VerifyEmail component from the specified path
import VerifyEmail from "@/components/email/verify/verify-email";

// Import the Suspense component from React
import { Suspense } from "react";

// Define the Verify function component
export default function Verify() {
  return (
    // Wrap the VerifyEmail component in a Suspense component.
    // The Suspense component is used to handle asynchronous data loading in React applications.
    // When a component needs to fetch data from an external source (e.g., an API call),
    // it can be wrapped in Suspense
    <Suspense>
      <div className='flex flex-col'>
        {/* Render the VerifyEmail component */}
        <VerifyEmail />
      </div>
    </Suspense>
  )
}
Step 24: Email Verification: Confirming
The verify-email.tsx file manages the confirmation and updating of email verification status, providing real-time feedback and navigation options.
// src/components/email/verify/verify-email.tsx
'use client'

// Importing necessary actions and components
import { findUserByEmail, verifyEmail } from "@/actions/auth"
import Link from "next/link"
import { useSearchParams } from "next/navigation"
import { useEffect, useState } from "react"

// Defining the Email Verification Component
export default function VerifyEmail() {
    // Accessing search parameters from the URL
    const searchParams = useSearchParams()

    // Extracts the email and token from the search parameters of the verification link URL
    // Here's an example link:
    // http://localhost:3000/email/verify?email=member@test.com&token=73b03a02ae3a2fcdd38a2a06df75b0abd26ca7aca5da7fb079200d118b1b0564
    const email = searchParams.get('email')
    const token = searchParams.get('token')

    // State for managing loading state and result message
    const [isLoading, setIsLoading] = useState(true)
    const [result, setResult] = useState('Error verifying your email')

    // Effect hook for handling email verification process
    useEffect(() => {
        const emailVerification = async () => {
            try {
                // Checking if required fields are present
                if (!email || !token) {
                    throw new Error('Missing required fields');
                }

                // Finding user by email in the database
                const user = await findUserByEmail(email);
                if (!user) {
                    throw new Error('Invalid verification token');
                }

                // Validating the verification token
                if (token !== user.emailVerifToken) {
                    throw new Error('Invalid verification token');
                }

                // Updating user verification status in the database
                await verifyEmail(user.email)

                // Updating result message and indicating loading completion
                setResult('Email verified successfully. Please relogin.')
                setIsLoading(false)
            } catch (error) {
                console.error('Error verifying email:', error);
            }
        }

        // Initiating the email verification process
        emailVerification()
    }, [email, token])

    // Rendering the Email Verification Component
    return (
        <>
            {/* Displaying loading or result message */}
            <div className='mb-4'>{isLoading ? 'Please wait ...' : result}</div>

            {/* Navigation link back to the login page */}
            <div className='my-3'>
                <Link href='/login' className='bg-white py-3 px-2 rounded'>Back to Login</Link>
            </div>
        </>
    )
}
Step 25: Login Page Initialization
This file initializes the login page by rendering the login form component.
// src/app/login/page.tsx

// Importing the login form component
import Form from "@/components/login/form";

// Defining the asynchronous function for login page initialization
export default async function LoginPage() {
  return (
    // Rendering the login form component
    <Form />
  );
}
Step 26: User Authentication with Login Form
This file defines a login form component responsible for user authentication and redirection based on authentication status.
// src/components/login/form.tsx
'use client'
// Importing necessary dependencies
import Link from "next/link";
import { useFormState } from "react-dom";
import { authenticate } from '@/actions/auth';
import LoginButton from "./login-button";
import { redirect, useSearchParams } from "next/navigation";
// Defining the Login Form Component
export default function Form() {
// Obtaining form state and action from useFormState hook
const [formState, action] = useFormState(authenticate, undefined);
// Handling email verification redirection
// remember isUsersEmailVerified function in server action
if (formState?.startsWith('EMAIL_NOT_VERIFIED')) {
// extract the email
redirect(`/email/verify/send?email=${formState.split(':')[1]}`)
}
// Rendering the Login Form JSX content
return (
<div className="space-y-3 items-center">
<form action={action}>
<div className="flex-1 rounded-lg bg-gray-50 px-6 pb-4 pt-8">
<h1 className='mb-3 text-2xl'>
Please log in to continue.
</h1>
<div className="w-full mb-4">
{/* Email Input Field */}
<div>
<label
className="mb-3 mt-5 block text-xs font-medium text-gray-900"
htmlFor="email"
>
Email
</label>
<input
className="peer block w-full rounded-md border border-gray-200 py-[9px] px-3 text-sm outline-2 placeholder:text-gray-500"
id="email"
type="email"
name="email"
placeholder="Enter your email address"
required
/>
</div>
{/* Password Input Field */}
<div>
<label
className="mb-3 mt-5 block text-xs font-medium text-gray-900"
htmlFor="password"
>
Password
</label>
<input
className="peer block w-full rounded-md border border-gray-200 py-[9px] px-3 text-sm outline-2 placeholder:text-gray-500"
id="password"
type="password"
name="password"
placeholder="Enter password"
required
minLength={6}
/>
</div>
{/* Displaying form state error */}
{formState && (
<div className="text-sm text-red-500">
{formState}
</div>
)}
</div>
{/* Login Button */}
<LoginButton />
{/* Link to Signup Page */}
<div className='mt-4 text-center'>
Don't have an account?
<Link className='underline' href='/signup'>Sign Up</Link>
</div>
</div>
</form>
</div>
)
}
Read also:
Step 27: Login Button Component
The login-button.tsx file defines a component representing the login button, incorporating status information.
// src/components/login/login-button.tsx
'use client'

// Importing necessary dependencies
import { useFormStatus } from "react-dom"

// Defining the Login Button Component
export default function LoginButton() {
    // Obtaining form status, especially pending status, from useFormStatus hook
    const { pending } = useFormStatus()

    // Rendering the Login Button JSX content
    // renders a button with conditional styling and text based on the pending status.
    // If pending, it displays '...' after 'Login'.
    return <button type="submit" className="bg-gray-200 py-2 rounded w-full disabled:bg-slate-50 disabled:text-slate-500" disabled={pending ? true : false}>
        Login {pending ? '...' : ''}
    </button>
}
Step 28: Create a Member Dashboard
This file defines a page component that represents the user’s dashboard in the members area. This is our first protected route. If the user is not authenticated then Next.js will redirect him to the login page.
// src/app/member/page.tsx
'use client'
// Importing necessary dependencies
import { useSession } from "next-auth/react";
import { logout } from "@/actions/auth";
import Link from "next/link";
// Defining the Member Dashboard Component
export default function Dashboard() {
// Using useSession hook to obtain user session information
const { data: session, status } = useSession()
// Rendering the Member Dashboard JSX content
return (
<div className="flex flex-col">
<div className="mb-4">
{/* Displays Member Area information using sessions from useSession */}
<p>Member Area</p>
<p>Signed in as
{status === 'authenticated'
? session?.user?.email
: '...'
}
</p>
{/* Link to Member Settings Page */}
<Link className="underline" href='/member/settings'>Settings</Link>
</div>
{/* Logout Form */}
{/* We have created the action in src\actions\auth.ts */}
<form action={logout}>
{/* Logout Button */}
<button disabled={status === 'loading' ? true : false} className="flex h-[48px] grow items-center justify-center gap-2 rounded-md bg-gray-50 p-3 text-sm font-medium hover:bg-sky-100 hover:text-blue-600 md:flex-none md:justify-start md:p-2 md:px-3 disabled:bg-slate-50 disabled:text-slate-500">
Sign Out {status === 'loading' ? '...' : ''}
</button>
</form>
</div>
);
}
Step 29: Create a Member Settings Page
This file defines a simple page component that represents a member settings page. This is our second protected route, ensuring that our session works effectively.
// src/app/member/settings/page.tsx

// Defining the Member Settings Page Component
export default function Settings() {
    // Rendering the Member Settings Page JSX content
    return (
        <div>Settings Page</div>
    )
}
Step 30: Test the Site
Finally, we have completed our application. You can follow these steps to navigate the page to test it manually:
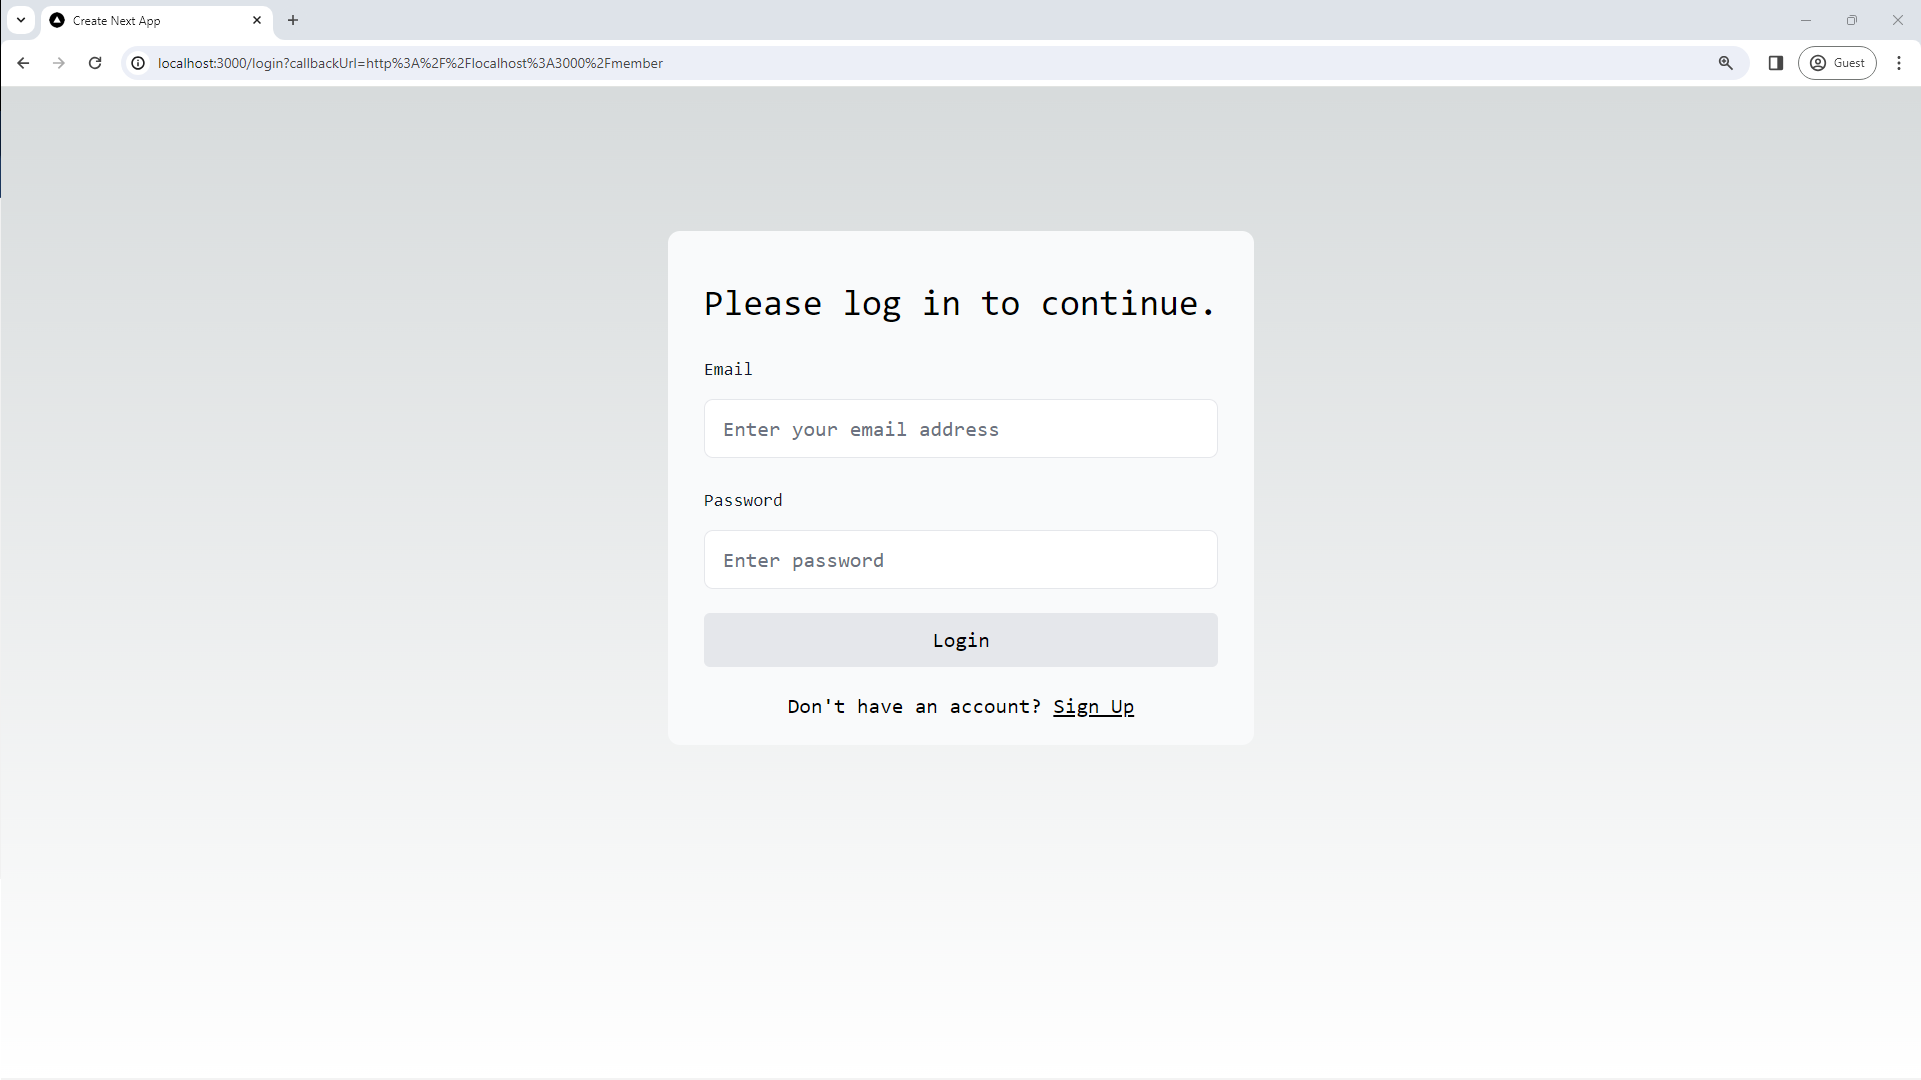
- Visit the Member Page:
Open your browser and navigate to the
/memberpage and you will be redirected to the/loginpage, as this is a protected route.![login-page.png]()
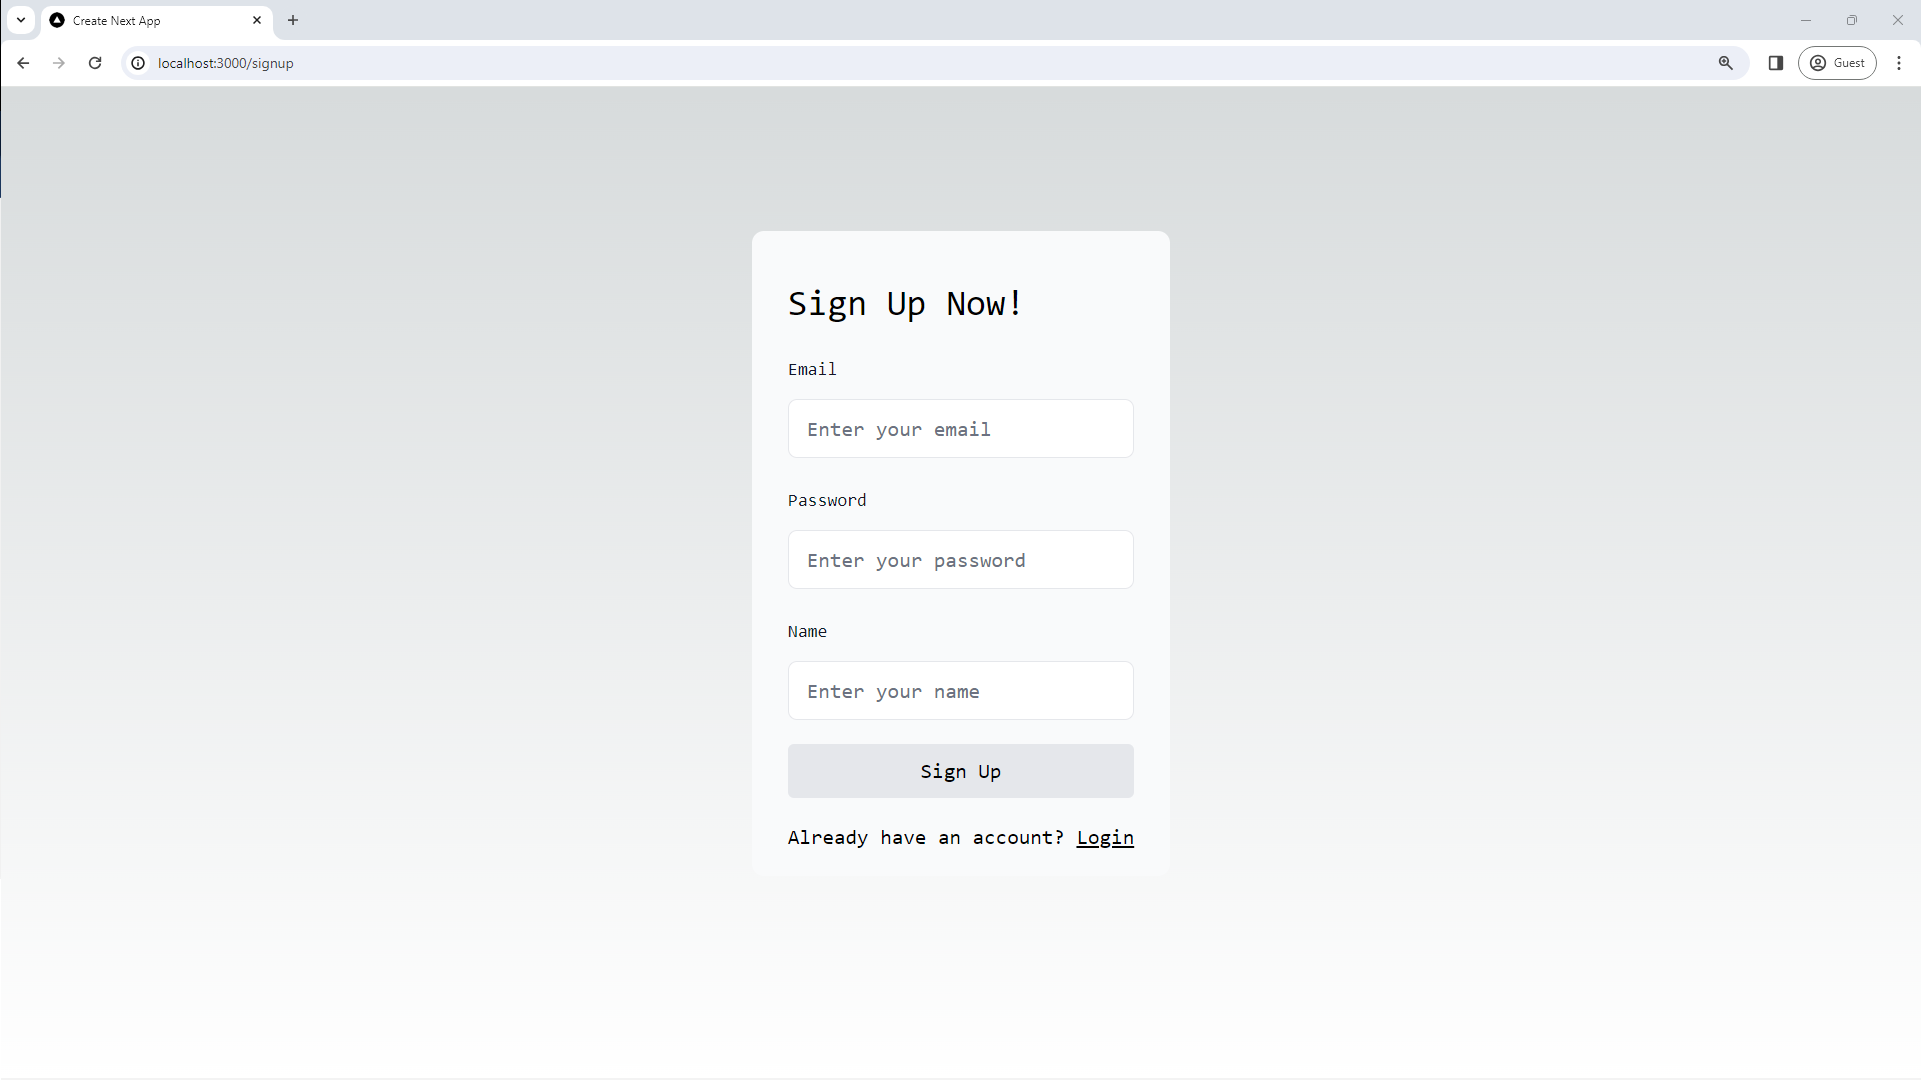
- Go to Sign Up Page:
Of course you don’t have an account yet. Look for the “Sign Up” link or button on the login page. Click the “Sign Up” link, and you will be taken to the Sign Up Page. Fill in the required information (email, password, name) and submit the form.
![signup-page.png]()
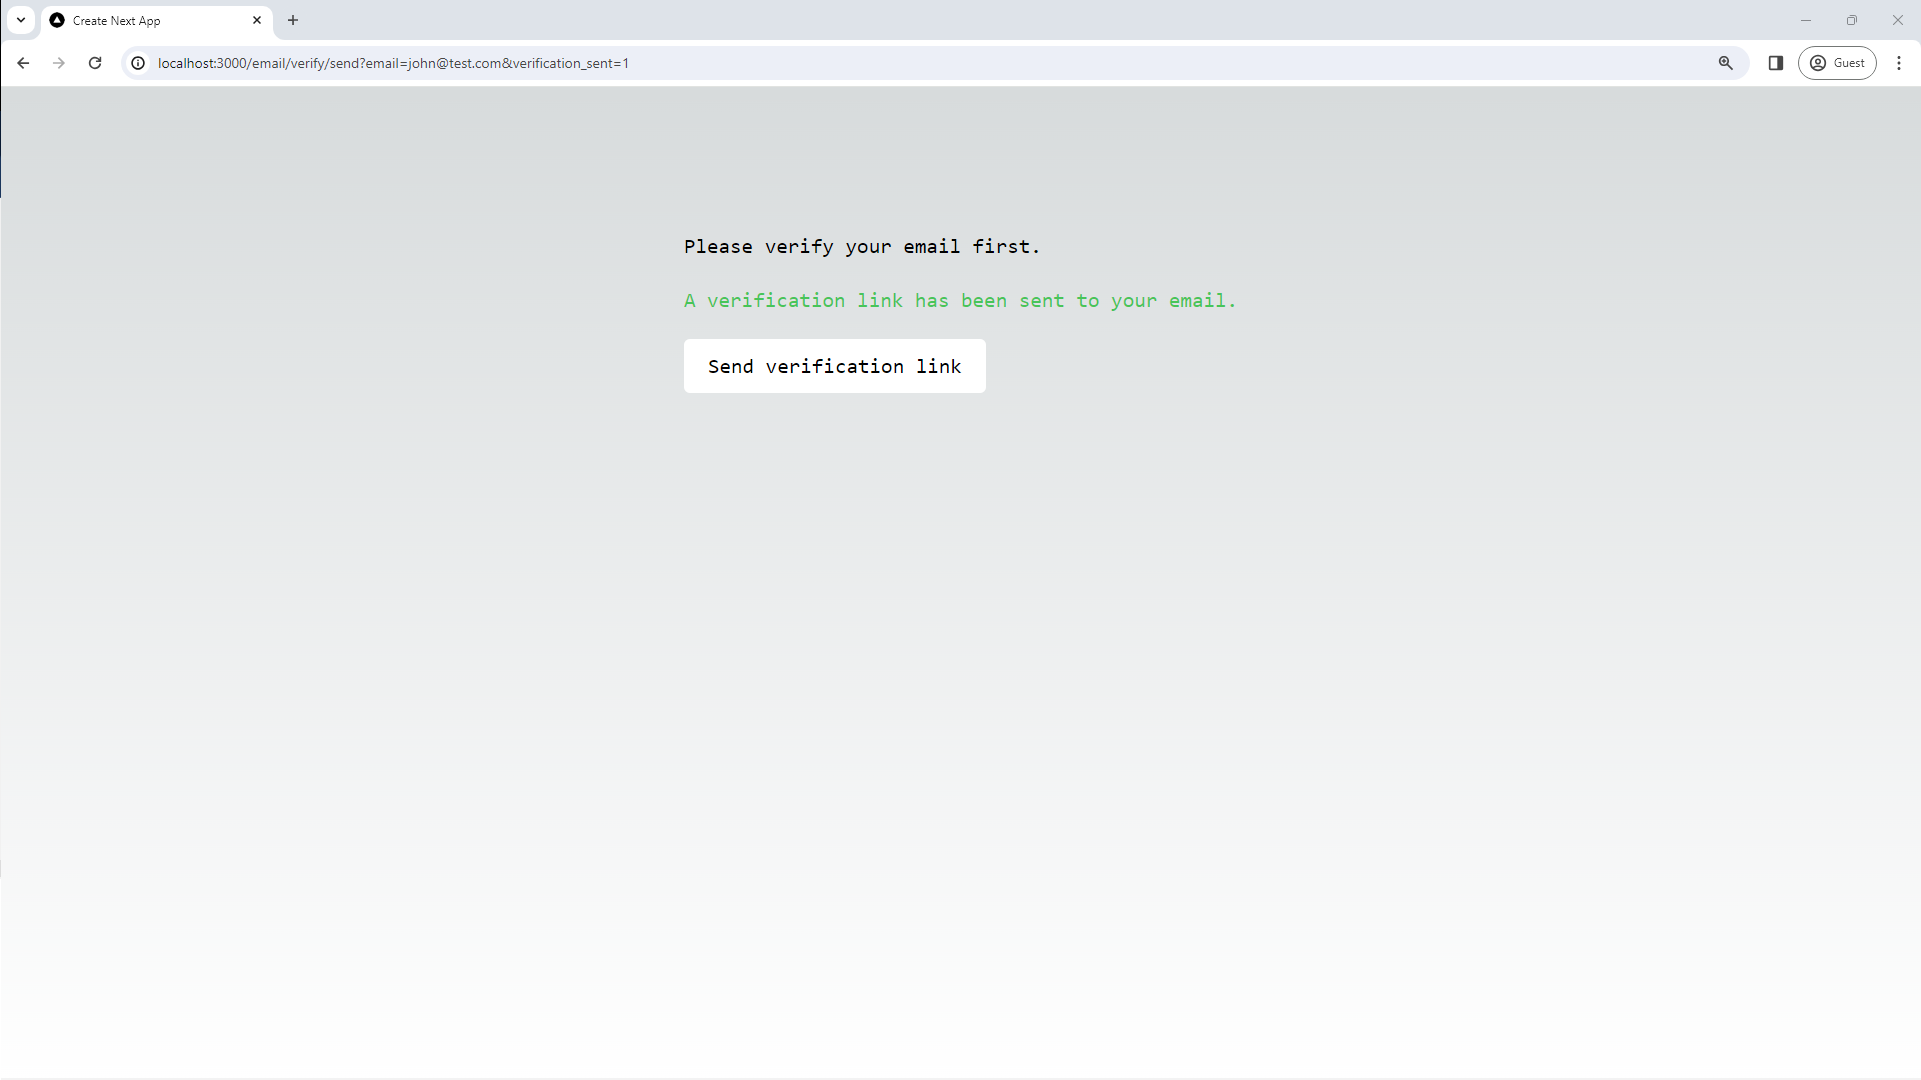
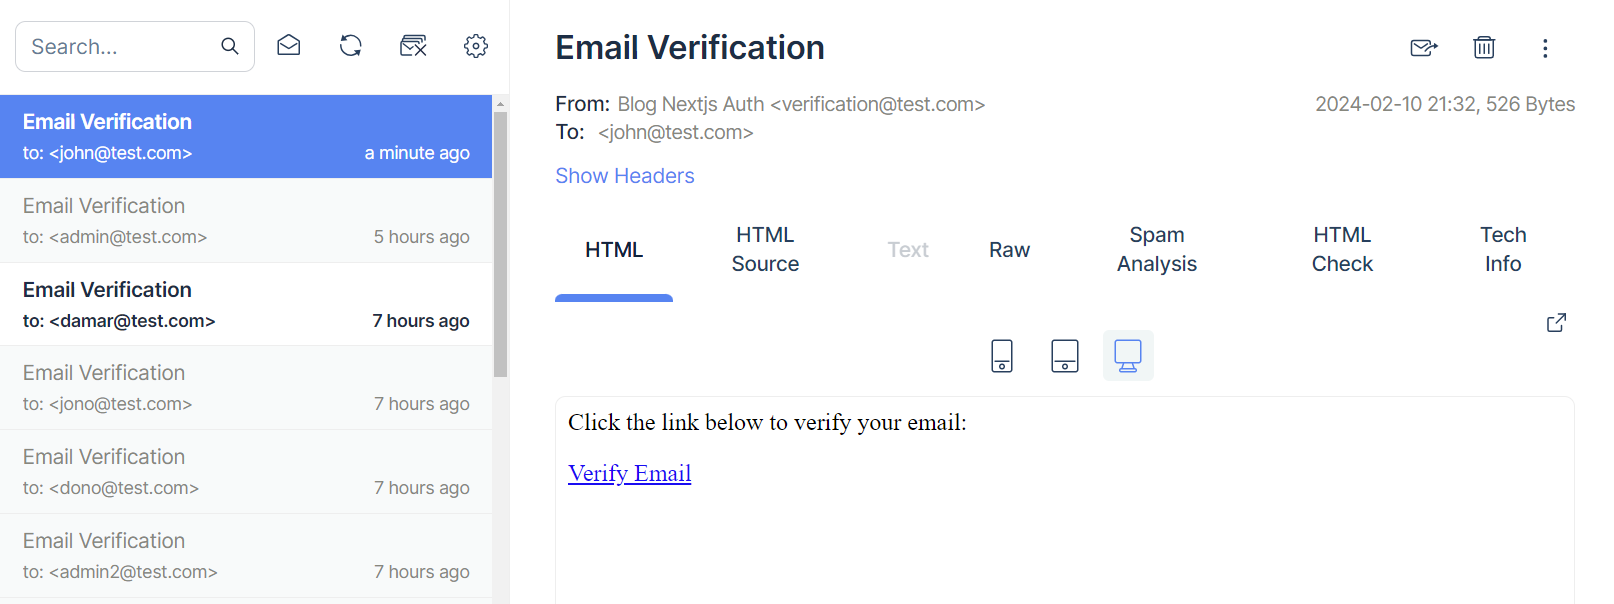
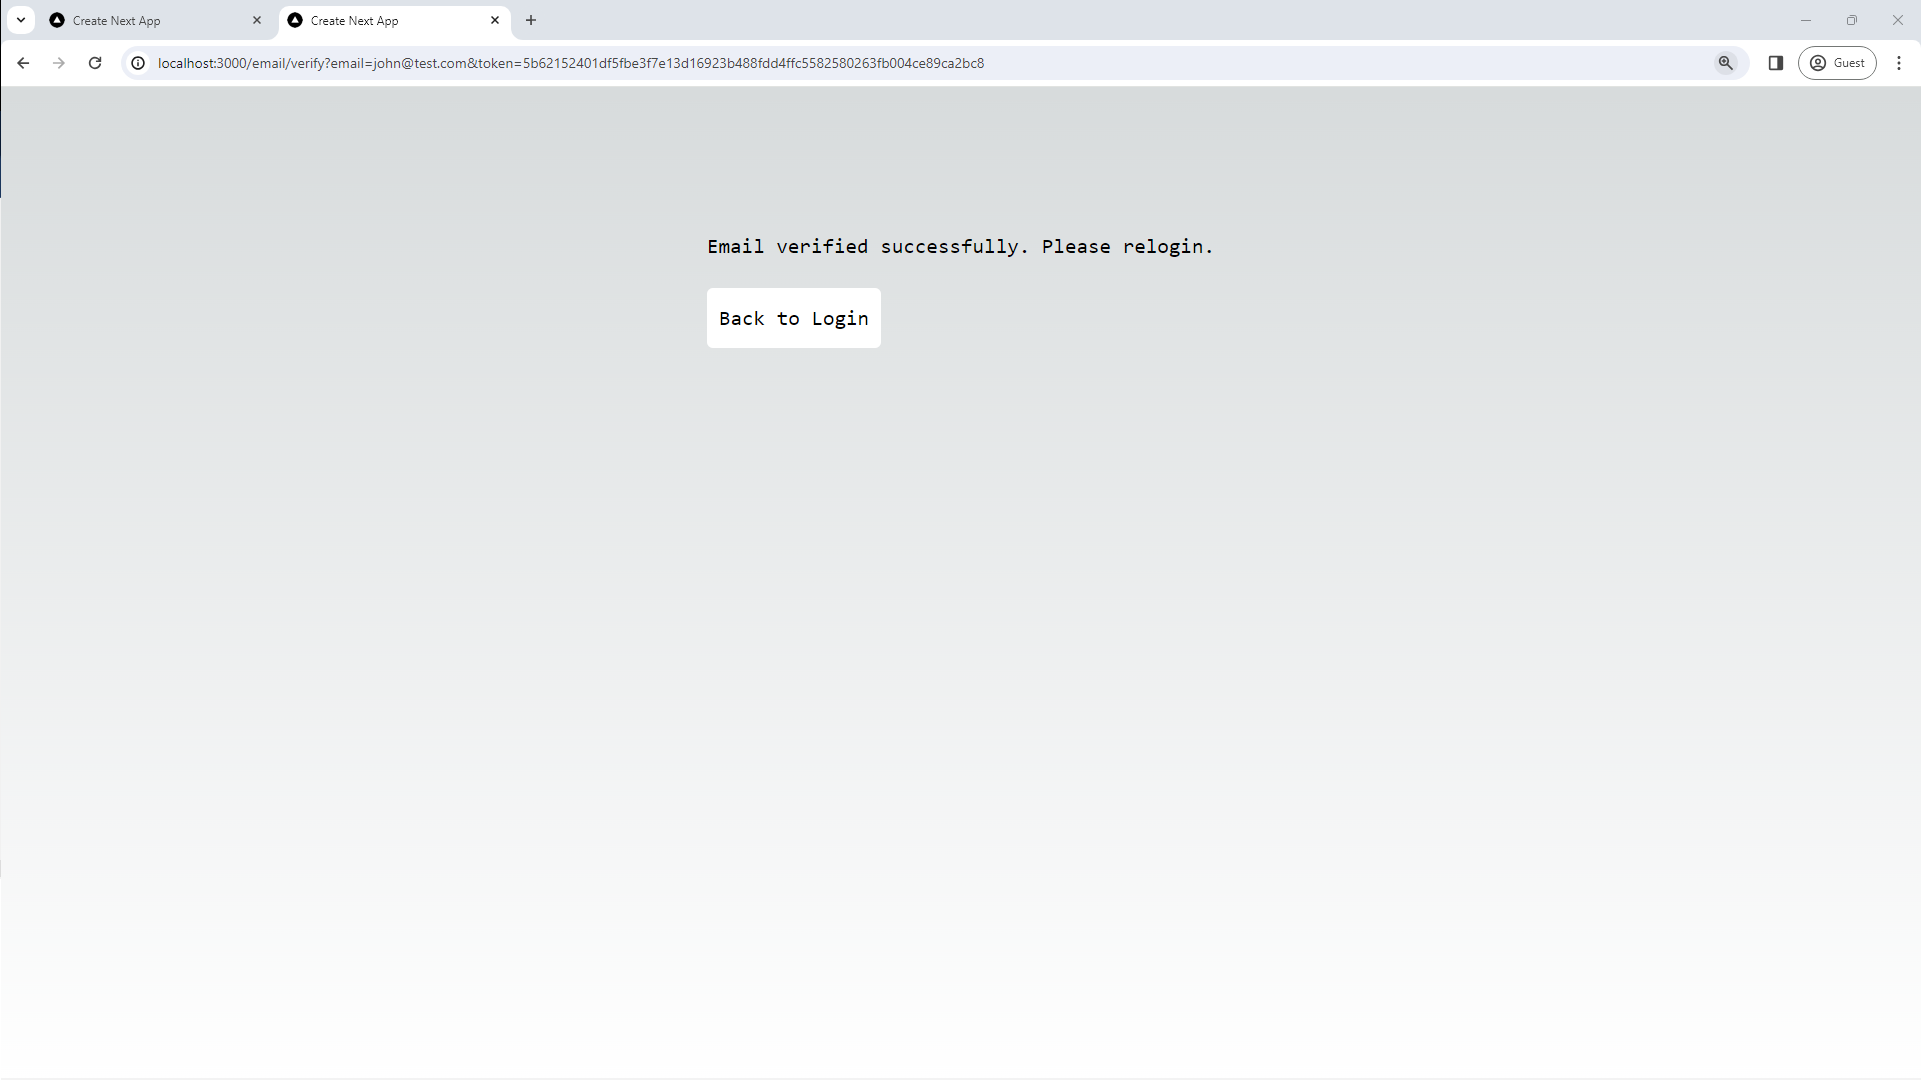
- Email Verification:
After signing up, you may receive an email with a verification link. Open your email and click on the verification link. The link should lead you to a page confirming that your email has been verified.
![verify-send-page.png]()
![mailtrap-email.png]()
![email-verified-page.png]()
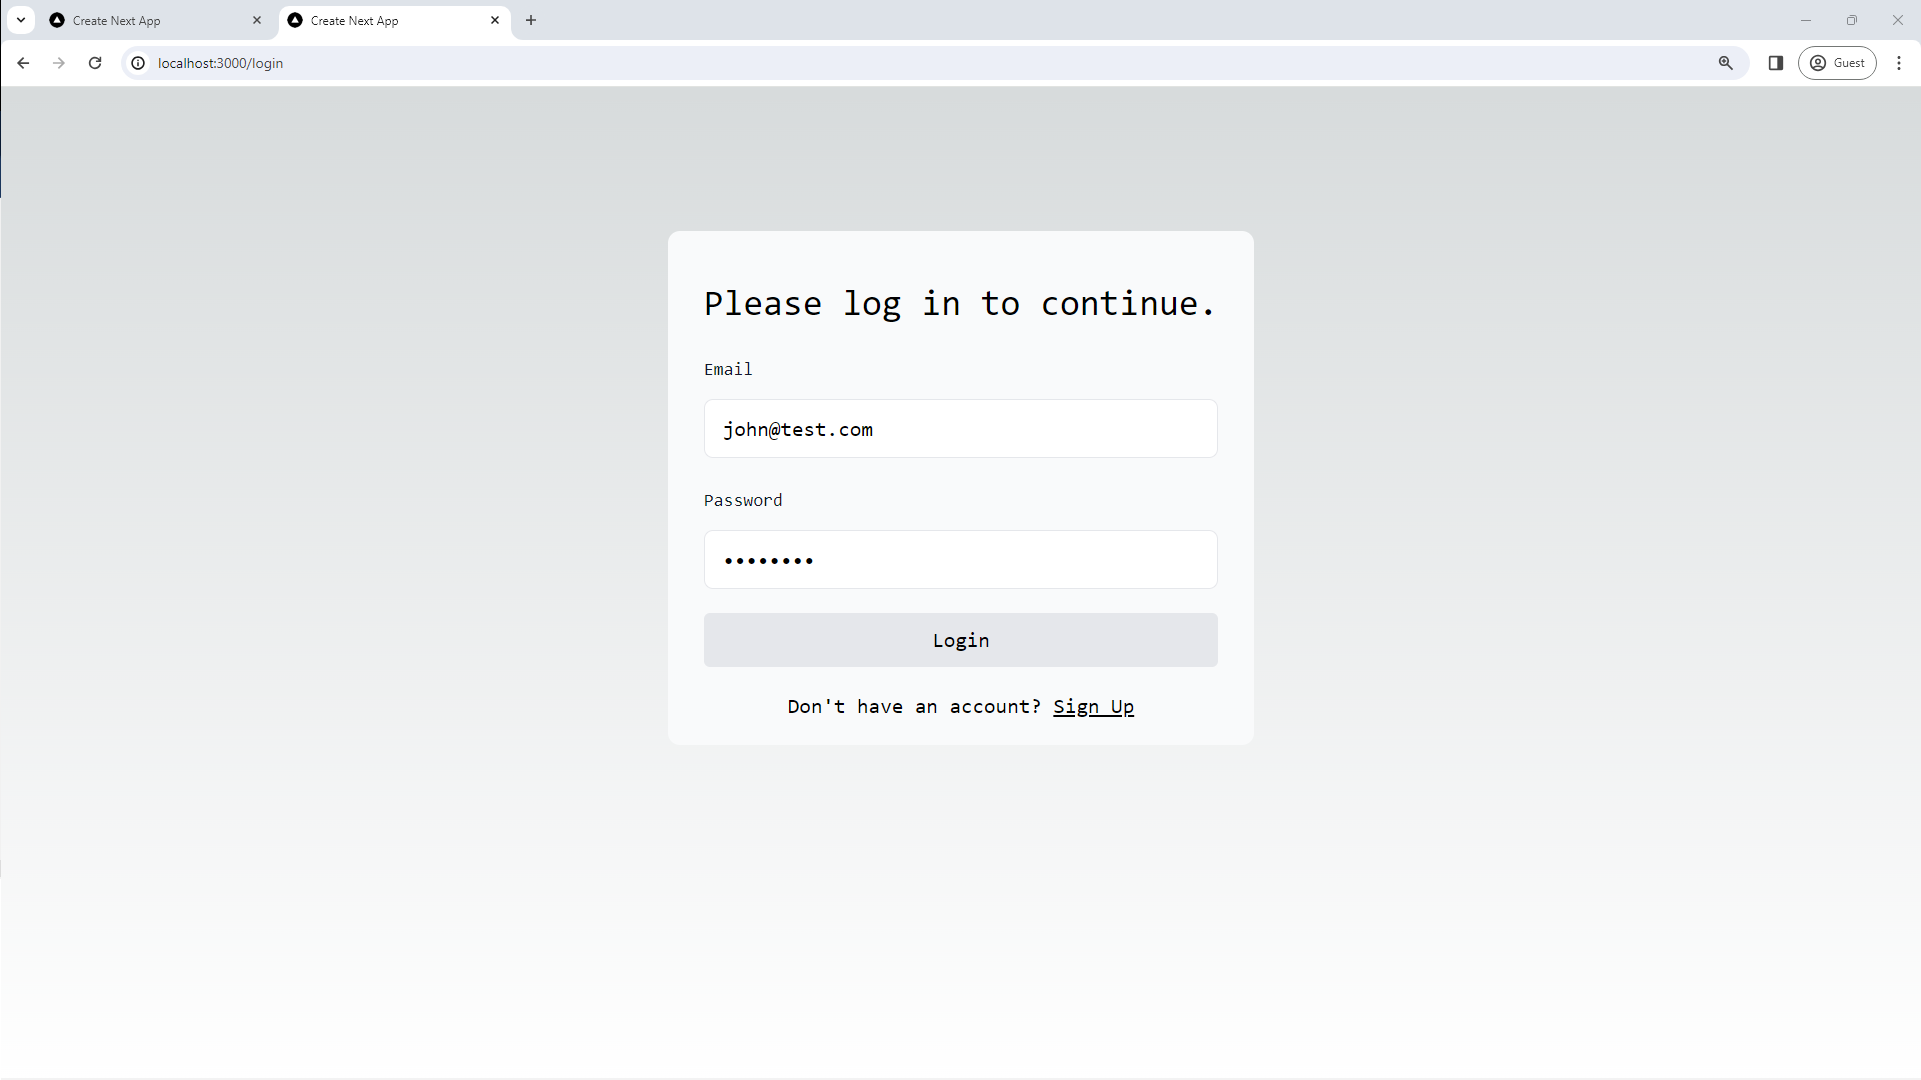
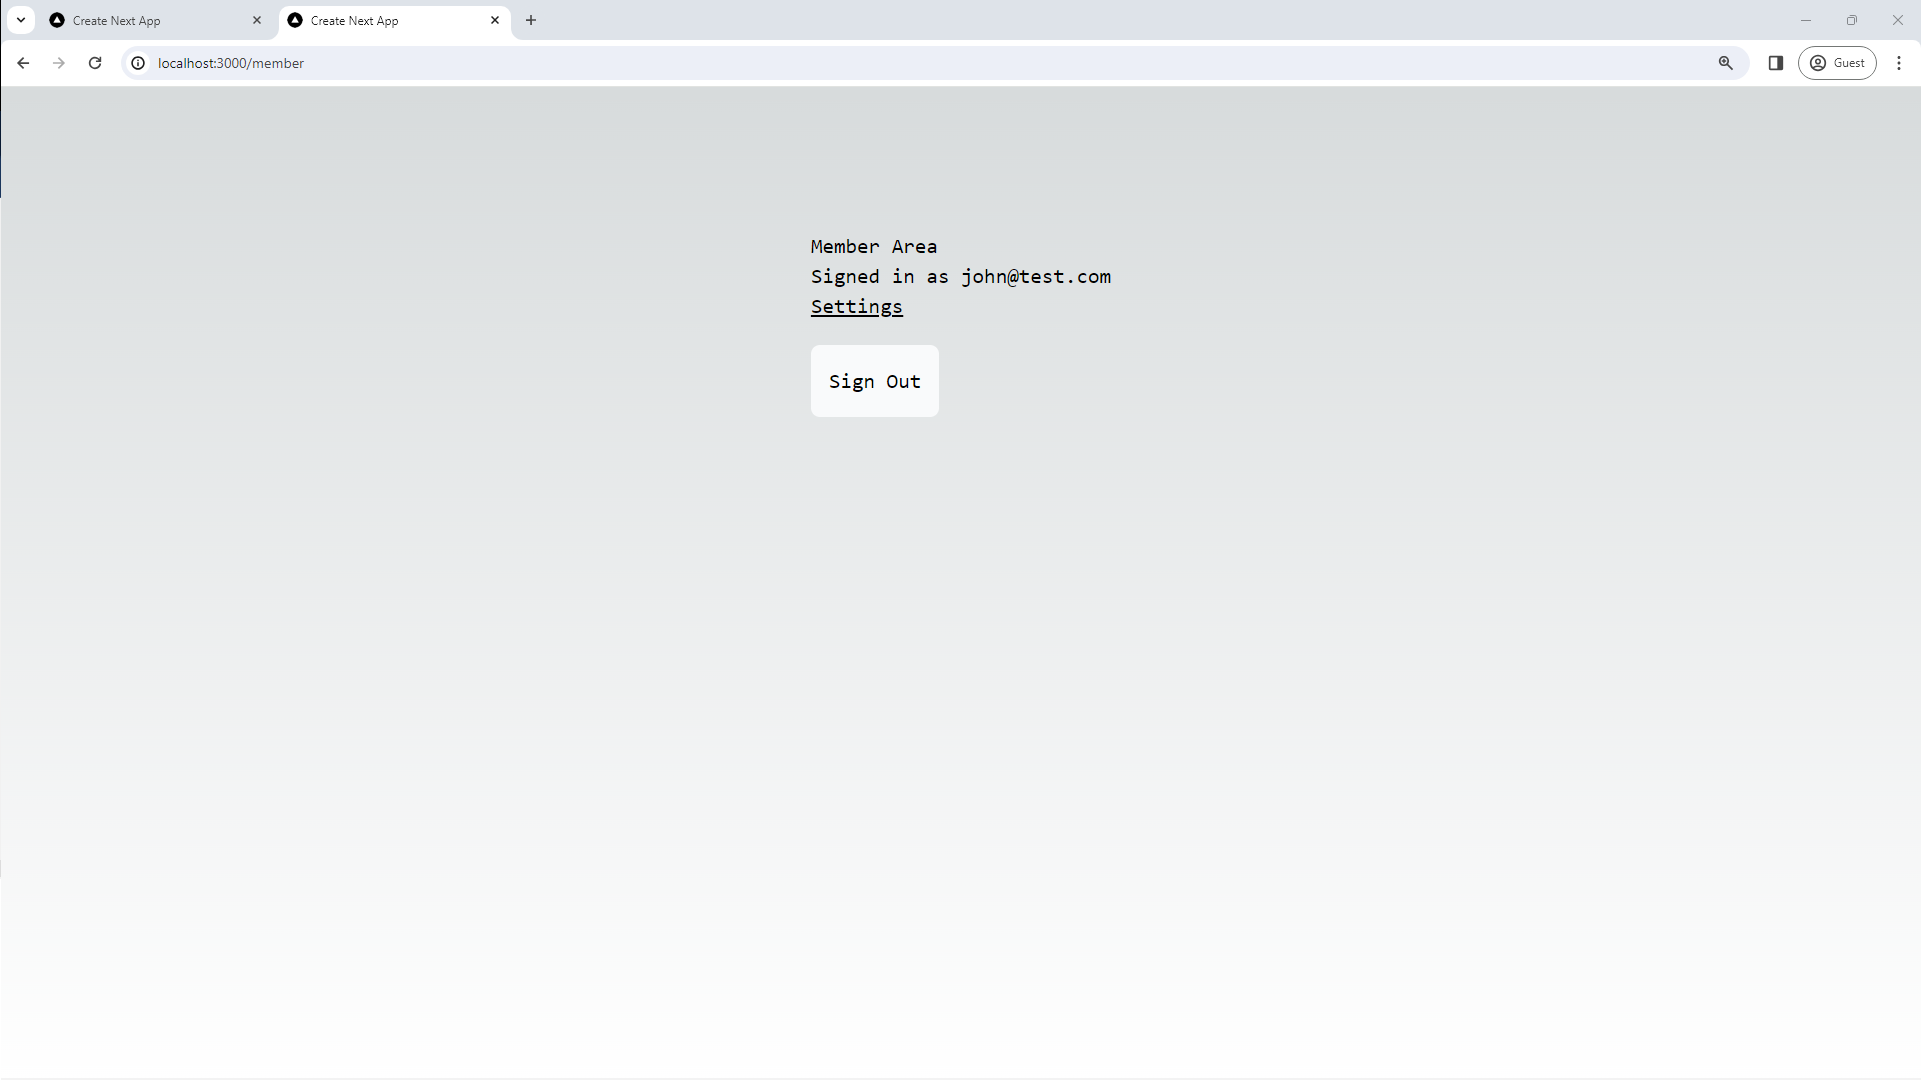
- Login to Member Area:
Navigate back to the login page. Use the credentials you used during signup to log in. After successfully logging in, you should be redirected to the member area.
![back-to-login-page.png]()
![member-page.png]()
- Visit Settings Page:
Look for a “Settings” link or button within the member area. Click on the “Settings” link, and it should take you to the member settings page. Verify that the settings page is accessible and displays the appropriate content.
![settings-page.png]()
- Logout / Sign Out: Within the member area, look for a “Sign Out” button. Click on the “Sign Out” button. After signing out, you should be redirected to the login page.
- Home / Next.js Page:
You can also verify the home page (
/), which is expected to be an unprotected route. Check whether it is accessible both in authenticated and not authenticated modes.
Conclusion
We’ve successfully implemented a comprehensive authentication flow in a Next.js 14 TypeScript application. This tutorial covered the setup of authentication using NextAuth, integration with Prisma for database operations, email verification, and the creation of essential pages such as login, signup, member area, and settings.
Throughout the tutorial, we’ve explored step-by-step implementations, including the configuration of NextAuth, creating necessary API routes, and handling user authentication with server actions. By incorporating Zod for validation, bcryptjs for password hashing, and nodemailer for sending verification emails, we’ve ensured the security and functionality of our authentication system.
Manual testing has been demonstrated by navigating through the login, signup, email verification, member area, and settings pages. This hands-on approach allows for a comprehensive understanding of the implemented features, ensuring they meet the intended requirements.
With this robust authentication system, your Next.js application is now equipped with user management capabilities, providing a solid foundation for building secure and user-friendly web applications. Feel free to further enhance and customize the authentication flow based on your specific project requirements. Happy coding! 🚀
💻 You can locate the repository for this example at fajarwz/blog-nextjs-auth.

