
💡 I included the link to the example repository at the conclusion of this tutorial.
Laravel, a popular PHP framework, provides developers with a robust and elegant way to interact with databases. One crucial feature that aids in maintaining data integrity and consistency is the use of database transactions. In this article, we will explore the concept of Laravel database transactions and how they can be a valuable tool for developers, especially beginners, to ensure the reliability of their applications.
What is a Database Transaction?
In the context of databases, a transaction is a sequence of one or more SQL statements that are executed as a single unit of work. The primary goal of a transaction is to ensure the integrity and consistency of the data within the database. Laravel provides a convenient way to work with transactions through its database query builder.
Getting Started with Transactions in Laravel
Starting a Transaction
To initiate a database transaction in Laravel, you can use the beginTransaction method. This method is typically called on the database connection instance:
use DB;

DB::beginTransaction();
By invoking this method, Laravel will begin a new database transaction, allowing you to execute multiple queries as part of a single atomic operation.
Performing Operations
Once the transaction has started, you can perform various database operations, such as inserts, updates, or deletes, using Laravel’s query builder or Eloquent ORM. All these operations will be treated as part of the same transaction until you explicitly commit or roll back.
Ensuring Success: Committing a Transaction
After successfully executing all the necessary database operations, you can commit the transaction to make the changes permanent in the database. The commit method is used for this purpose:
DB::commit();
By calling this method, Laravel will persist all the changes made during the transaction to the database, ensuring data consistency.
Handling Errors: Rolling Back a Transaction
If an error occurs during the execution of the transaction or if certain conditions are not met, you can roll back the transaction to revert any changes made so far. The rollBack method is used for this purpose:
DB::rollBack();
This will undo any modifications made during the transaction, helping to maintain the integrity of the database in case of errors.
Example
Let’s consider a simple example where we want to transfer funds between two bank accounts using a transaction to ensure data consistency:
use DB;

DB::beginTransaction();

try {
    // Deduct amount from sender's account
    $senderAccount->decrement('balance', $amount);

    // Add amount to receiver's account
    $receiverAccount->increment('balance', $amount);

    // Commit the transaction
    DB::commit();
} catch (\Exception $e) {
    // Something went wrong, roll back the transaction
    DB::rollBack();
    // Handle the error, log, or return a response
}
Read also:
The DB::transaction() Method
Laravel simplifies the process of working with database transactions even further through the DB::transaction() method, which is a concise way to handle the beginning, committing, and rolling back of transactions. This method eliminates the need for manually calling beginTransaction(), commit(), and rollBack().
The DB::transaction() method is a higher-level abstraction provided by Laravel, making it easier for developers to work with database transactions. It ensures that the entire block of code within it is treated as a single transaction.
DB::transaction(function () {
    // Code to be executed within the transaction
});
Example Usage
Let’s revisit the fund transfer example using DB::transaction():
use DB;

DB::transaction(function () use ($senderAccount, $receiverAccount, $amount) {
    // Deduct amount from sender's account
    $senderAccount->decrement('balance', $amount);

    // Add amount to receiver's account
    $receiverAccount->increment('balance', $amount);
});
In this example, the anonymous function passed to DB::transaction() encapsulates the entire transaction logic. Laravel will automatically handle the starting of the transaction, committing it if the code within the block executes successfully, or rolling it back if an exception occurs.
Automatic Commit and Rollback
The DB::transaction() method automatically commits the transaction if the code within the block completes without throwing any exceptions. On the other hand, if an exception is thrown within the block, Laravel will catch it and automatically roll back the transaction, ensuring that the database remains in a consistent state.
Returning Values
If you need to return a value from the transaction block, you can use the return statement as usual. If an exception is thrown, the transaction will be rolled back, and the exception will propagate as expected.
use DB;

$result = DB::transaction(function () use ($senderAccount, $receiverAccount, $amount) {
    // Deduct amount from sender's account
    $senderAccount->decrement('balance', $amount);

    // Add amount to receiver's account
    $receiverAccount->increment('balance', $amount);

    // Return a success message or any other value
    return 'Funds transferred successfully';
});
More Example: Money Transfer Website
Let’s study a more interesting example to illustrate the implementation of DB::transaction() in a Laravel project. I’ll walk you through a step-by-step tutorial, providing complete code for a Laravel application designed to send and receive money. So, let’s dive in!
Step 1: Install Laravel
To begin, set up a fresh Laravel application. Create a new project specifically for this demonstration using one of the following methods:
Using the Laravel Installer
laravel new blog-laravel-db-transaction
Using Composer create-project
composer create-project laravel/laravel blog-laravel-db-transaction
Using Laravel build and Sail
curl -s "https://laravel.build/blog-laravel-db-transaction" | bash
Executing one of these commands will generate a new Laravel project within a directory named blog-laravel-db-transaction.
You can verify the success of your Laravel installation by executing the command php artisan serve and accessing localhost:8000 in your web browser.
Step 2: Database Setup
Create a database named blog_laravel_db_transaction, and update the .env file with your database configuration. For this tutorial, we’ll be using MySQL.
DB_CONNECTION=mysql
DB_HOST=127.0.0.1
DB_PORT=3306
DB_DATABASE=blog_laravel_db_transaction
DB_USERNAME=root
DB_PASSWORD=
This step ensures seamless integration with the database for our money transfer application.
Step 3: Update the users Table Migration
For this tutorial, our focus is on one table, namely users. Therefore, let’s simplify the migration file with the following adjustments:
// database\migrations\2014_10_12_000000_create_users_table.php

<?php

use Illuminate\Database\Migrations\Migration;
use Illuminate\Database\Schema\Blueprint;
use Illuminate\Support\Facades\Schema;

return new class extends Migration
{
    /**
     * Run the migrations.
     */
    public function up(): void
    {
        // Creating the 'users' table with columns: 'id', 'name', 'balance', 'timestamps'
        Schema::create('users', function (Blueprint $table) {
            $table->id(); // Auto-incremented primary key
            $table->string('name'); // Name of the user
            $table->unsignedBigInteger('balance'); // User's balance (unsigned to handle only positive values)
            $table->timestamps();
        });
    }

    /**
     * Reverse the migrations.
     */
    public function down(): void
    {
        // Dropping the 'users' table if the migration needs to be rolled back
        Schema::dropIfExists('users');
    }
};
You can also delete other migration files.
Read also:
Step 4: Adjust the DatabaseSeeder File
Refine the DatabaseSeeder file with the following modifications:
// database\seeders\DatabaseSeeder.php

<?php

namespace Database\Seeders;

// use Illuminate\Database\Console\Seeds\WithoutModelEvents;
use Illuminate\Database\Seeder;

class DatabaseSeeder extends Seeder
{
    /**
     * Seed the application's database.
     */
    public function run(): void
    {
        // Creating two user records in the 'users' table with specified names and balances
        \App\Models\User::create([
            'name' => 'Fajar',
            'balance' => 150,
        ]);
        \App\Models\User::create([
            'name' => 'Stepen',
            'balance' => 100,
        ]);
    }
}
Step 5: Update the User Model
Update the $fillable attribute of the User model to allow writing to the name and balance columns:
// app\Models\User.php

// Allowing mass assignment for the 'name' and 'balance' column
protected $fillable = [
    'name',
    'balance',
];
Step 6: Executing the Migration and Seeder
Run the migration and the seeder by executing the following command:
php artisan migrate --seed
Step 7: Update the Welcome View
We will use the welcome page, so we need to update it by writing some codes. Update the welcome page by inserting a form that includes a simple flash notification, information about the sender’s balance, recipient’s balance, an input field for the amount of money to be sent, and a send button.
<!-- resources\views\welcome.blade.php -->

<!-- head code -->
<!-- ... -->

<body class="antialiased">
    <div class="relative sm:flex sm:justify-center sm:items-center min-h-screen bg-dots-darker bg-center bg-gray-100 dark:bg-dots-lighter dark:bg-gray-900 selection:bg-red-500 selection:text-white">
        <div class="max-w-7xl mx-auto p-6 lg:p-8">
            @if ($notif = Session::get('notif'))
            <div style="color: red">{{ $notif }}</div>
            @endif
            <div>
                <div>Sender balance</div>
                <div>{{ $senderBalance }}</div>
                <div>Receiver balance</div>
                <div>{{ $receiverBalance }}</div>
            </div>
            <div>
                <form action="/send-to-receiver" method="POST">
                    @csrf
                    <input type="number" name="amount" value="{{ old('amount') }}">
                    <div>
                        <button type="submit"><strong>Send to receiver</strong></button>
                    </div>
                </form>
            </div>
        </div>
    </div>
</body>

<!-- ... -->
Step 8: Create a Route to Send the Money
Create a route to facilitate the money transfer from the receiver.
// routes\web.php
<?php

use Illuminate\Support\Facades\Route;
use App\Http\Controllers\HomeController;

/*
|--------------------------------------------------------------------------
| Web Routes
|--------------------------------------------------------------------------
|
| Here is where you can register web routes for your application. These
| routes are loaded by the RouteServiceProvider and all of them will
| be assigned to the "web" middleware group. Make something great!
|
*/

Route::get('/', [HomeController::class, 'index']);
// handling the process of sending money to the receiver.
Route::post('/send-to-receiver', [HomeController::class, 'sendToReceiver']);
Step 9: Creating a HomeController
Let’s create a controller to display our form and send the money from sender to receiver. This is a good feature to demonstrate the DB::transaction() utilization and how to use it with the try-catch codes.
// app\Http\Controllers\HomeController.php
<?php

namespace App\Http\Controllers;

use App\Models\User;
use Illuminate\Http\Request;

class HomeController extends Controller
{
    /**
     * Display the form and sender/receiver balances.
     */
    public function index() {
        // Retrieve the balance of the first user as the sender
        $senderBalance = User::first()->balance;

        // Retrieve the balance of the last user as the receiver
        $receiverBalance = User::orderByDesc('id')->first()->balance;

        // Pass the balances to the welcome view
        return view('welcome', [
            'senderBalance' => $senderBalance,
            'receiverBalance' => $receiverBalance,
        ]);
    }

    /**
     * Process the money transfer from sender to receiver.
     */
    public function sendToReceiver() {
        $amount = (int) request()->amount;
        $sender = User::first();
        $receiver = User::orderByDesc('id')->first();

        try {
            \DB::transaction(function () use ($amount, $sender, $receiver) {
                //If the amount to be sent is more than the sender's balance,
                //It will throw an error and no balance will change.
                //You can catch the SQL error with your error-handling

                // Deduct the amount from the sender's balance
                $sender->update(['balance' => $sender->balance - $amount]);

                // for example, we have a requirement
                // that the receiver's balance should not exceed 200

                // Check if the receiver's balance exceeds 200 after the transfer
                if ($receiver->balance + $amount > 200) {
                    // We can throw an error inside the transaction and catch it outside the transaction
                    // Later you will notice that after Laravel displays this error, no balance has changed
                    throw new \Exception('Receiver\'s balance should not exceed 200');
                }

                // Update the receiver's balance
                $receiver->update(['balance' => $receiver->balance + $amount]);
            });
        }
        catch (\Exception $e) {
            // Handle exceptions and display a notification
            return back()->withInput()->with('notif', $e->getMessage());
        }

        // Redirect back after a successful transfer
        return back();
    }
}
Read also:
Step 10: Let’s Test Our App
We can test our app by running the local development server
php artisan serve
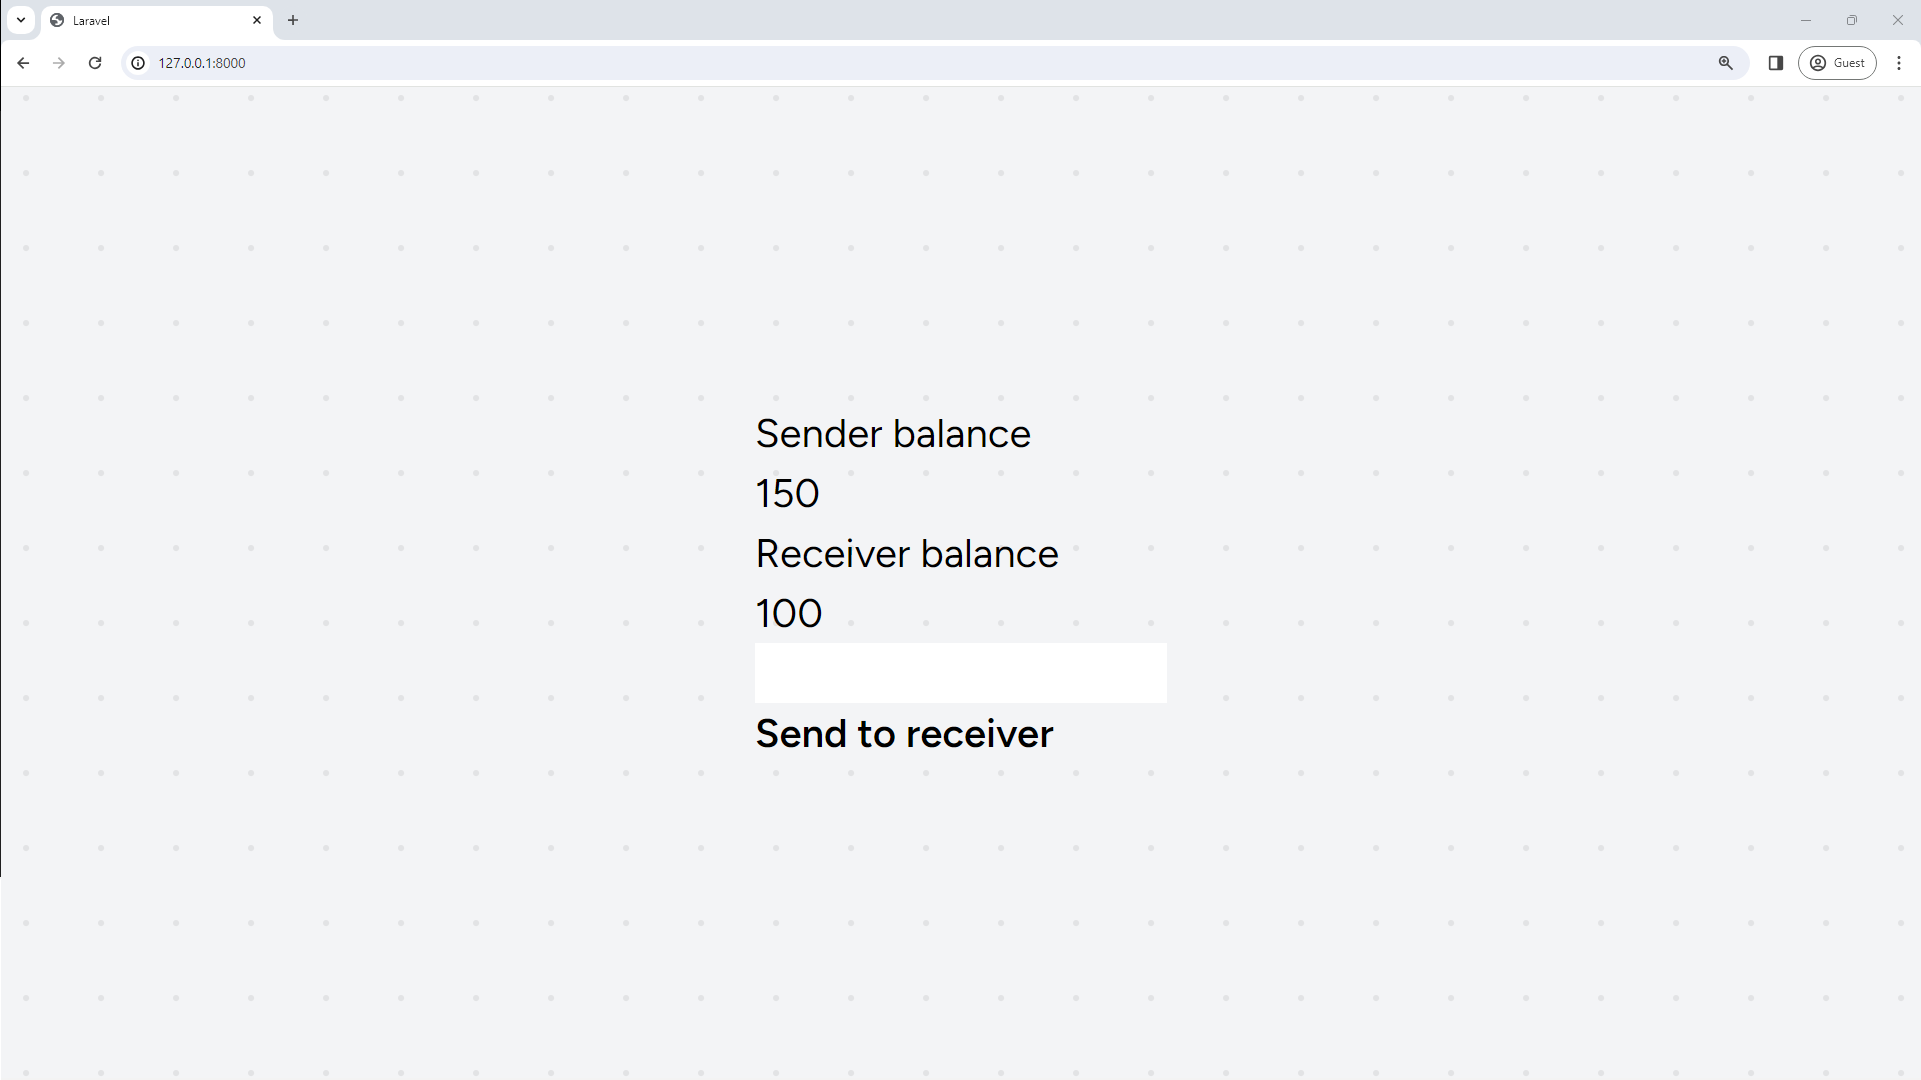
Visit the / page and test the form.
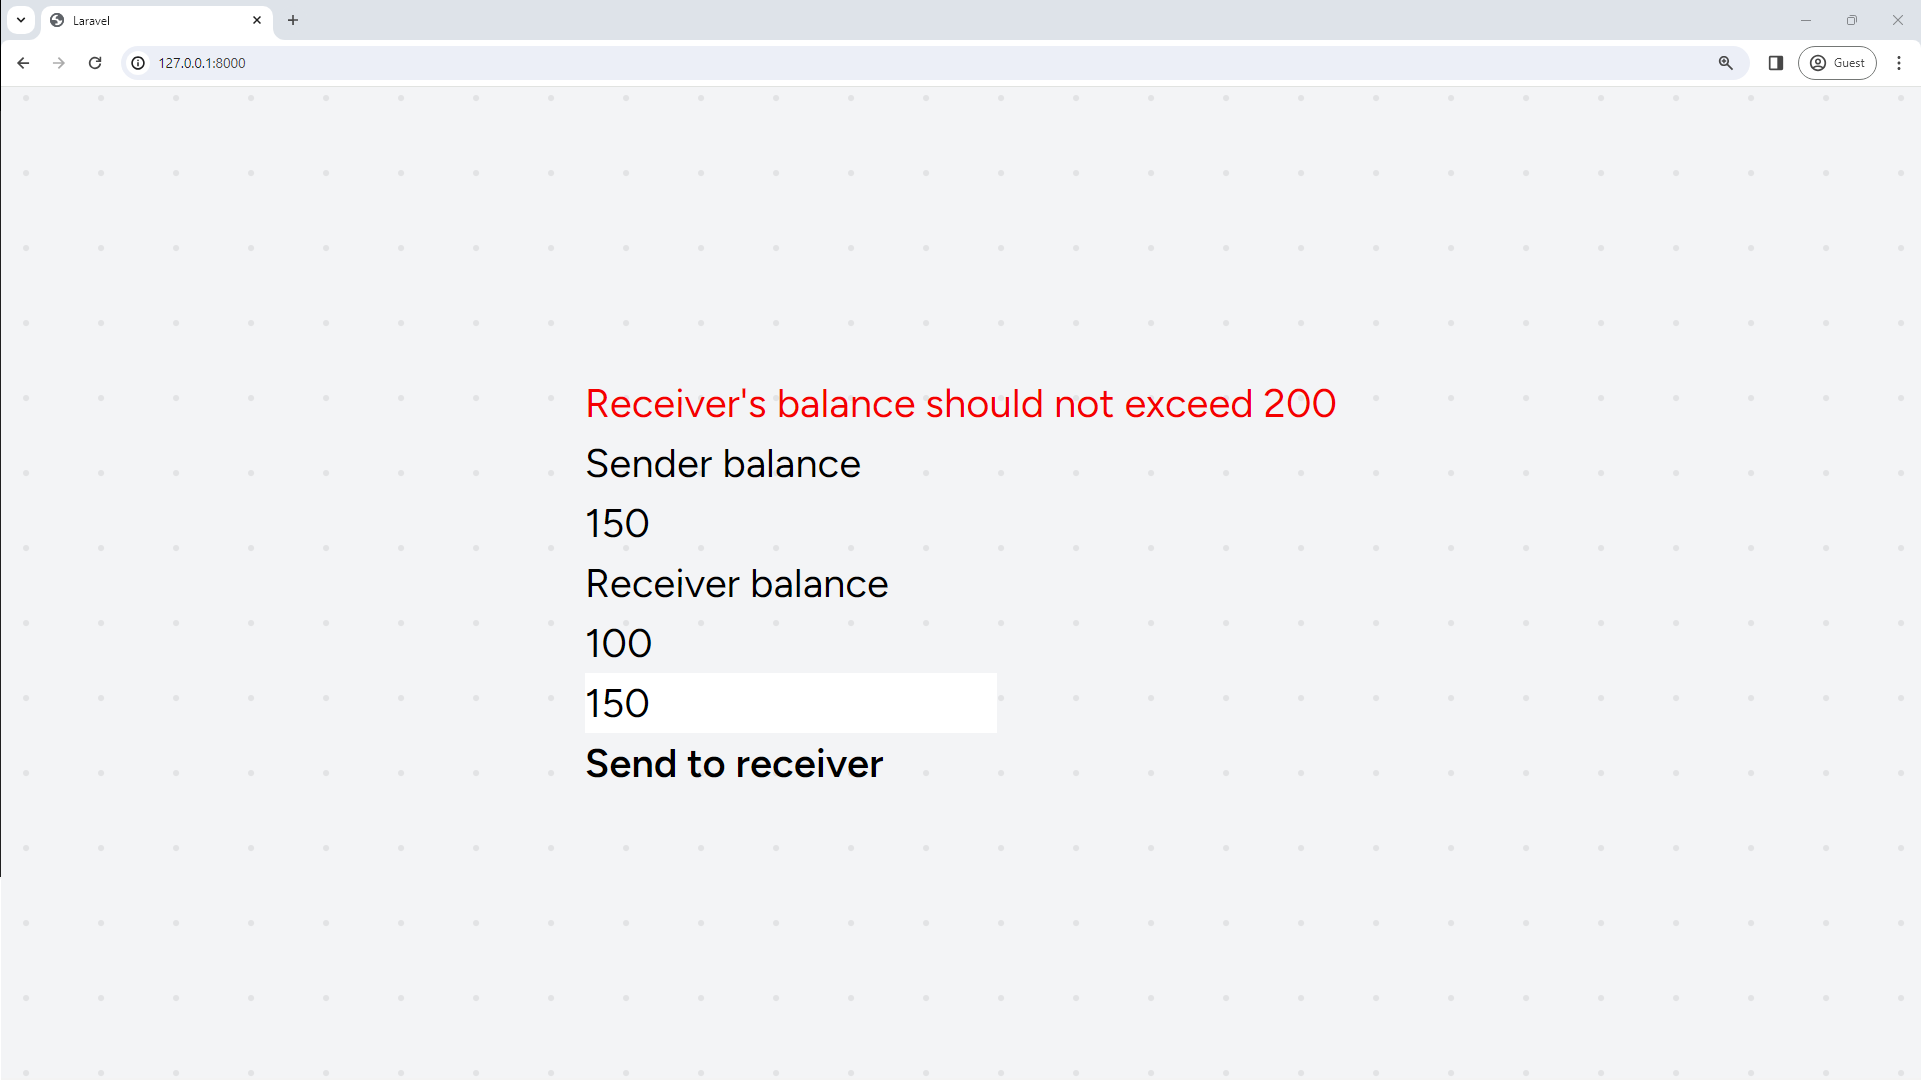
- If you enter 150 and send the money, it will return the “Receiver’s balance should not exceed 200” error
![receiver-error.png]()
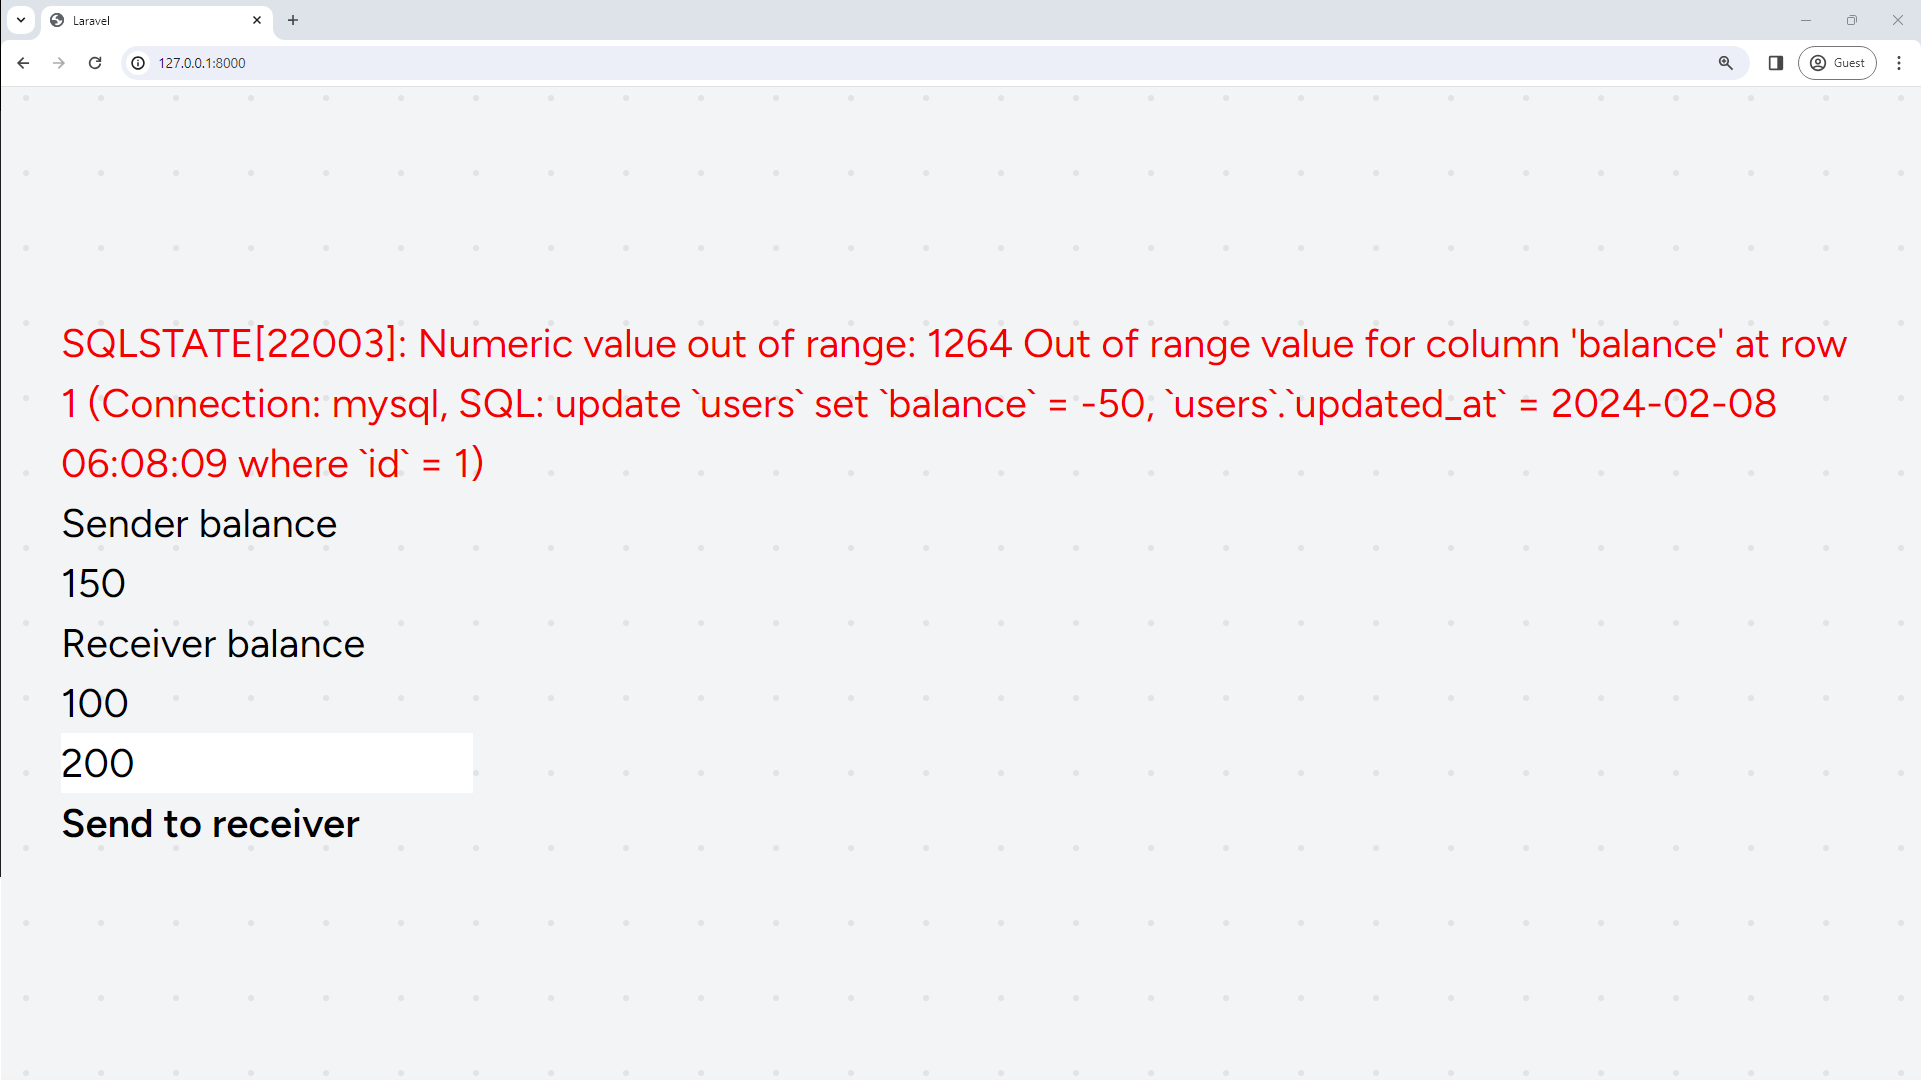
- If you enter 200, Laravel will give you an error from MySQL
![sender-error.png]()
- No balance changed when the error occurred
- If you enter 50, then the transaction will be successful
Conclusion
In this tutorial, we explored the practical implementation of Laravel’s DB::transaction() feature, a powerful tool for ensuring data consistency and integrity within database operations. The example scenario of a money transfer application demonstrated how transactions can be utilized to handle complex processes involving multiple database interactions.
The use of a try-catch block within the transaction enables developers to handle exceptions gracefully. This is especially valuable when dealing with complex scenarios, such as checking for balance constraints or other business rules.
By following the steps outlined in this tutorial, developers, especially beginners, can gain a deeper understanding of how to leverage Laravel’s database transactions to build robust and reliable applications. The provided example serves as a foundation for incorporating these principles into real-world projects, promoting best practices in database management and application development.
💻 The repository for this example can be found at fajarwz/blog-laravel-db-transaction.

