
💡 I included the link to the example repository at the conclusion of this tutorial.
A web platform or application often hosts an abundance of content, prompting the need for pagination to facilitate user navigation and prevent overwhelming page loads.
The concept of pagination involves breaking down a website’s content into a sequence of pages, each containing related information. This enhances the user experience by allowing quicker initial page loads compared to loading all content simultaneously.
The practice of pagination proves invaluable in structuring website content across distinct pages, enabling users to easily locate specific pages or content. This functionality is particularly beneficial for blog pages, product displays, or any page featuring substantial content that benefits from distribution across multiple pages.
In this tutorial, we’ll walk through the process of creating a paginated React application using the popular react-paginate library.
What is react-paginate
react-paginate is a React component that provides a straightforward and customizable solution for implementing pagination in web applications. It simplifies the process of managing and navigating through a large set of data by breaking it down into a series of pages. Unlike other pagination libraries, react-paginate focuses solely on handling the logic of pagination and leaves the styling entirely up to the developer.
Key features and concepts of react-paginate:
- Pagination Logic:
react-paginatemanages the logic of pagination, including the calculation of page ranges, handling user interactions, and providing callback functions for page changes. - Customization: While it doesn’t provide pre-defined styles,
react-paginateallows developers to customize the appearance of the pagination component by specifying CSS classes for various elements like the container, pages, break elements, and more. - Page Count and Display: Developers can specify the total number of pages (
pageCount) and control how many pages are displayed at once (pageRangeDisplayed). Additionally, the component allows customization of the number of margin pages displayed at the beginning and end of the pagination bar (marginPagesDisplayed). - Callback Functions: The component exposes callback functions, such as
onPageChange, which is triggered when a user clicks on a different page. This enables developers to define actions to be taken when the user interacts with the pagination. - Navigation Buttons:
react-paginateincludes navigation buttons for moving to the previous and next pages. Developers can customize the styles and labels for these buttons. - Active Page Styling: The active page in the pagination bar is highlighted with a specified CSS class (active). This helps users easily identify the current page.
Overall, react-paginate is a flexible and convenient tool for implementing pagination in React applications, providing a solid foundation for developers to build upon while allowing complete control over the visual presentation.
What We’ll Cover:
- Setting up a new React App: We’ll create a new React application using Vite
- Installing
react-paginate: We’ll install thereact-paginatelibrary to handle our pagination component. - Creating a Pagination Component: We’ll design a reusable pagination component that integrates seamlessly with our React app.
- Fetching Data from dummyjson: We’ll create a service to fetch paginated data from the dummyjson API.
- Integrating Everything: We’ll put it all together in the main component to display paginated data with a user-friendly pagination interface.
Prerequisites:
- Basic knowledge of React.
- Node.js and npm installed on your machine.
Let’s dive in and create a fun and interactive paginated React app! 🚀
Step 1: Create a New React App
Open your terminal and run the following commands to create a new React app:
npm create vite@latest blog-react-paginate -- --template react
Now, you can verify your React installation by executing npm install, followed by npm run dev. Afterward, navigate to localhost:5173 in your browser. If the process is successful, you should encounter a web page displaying a React + Vite starter.
Step 2: Install prop-types
Install prop-types by running the following command:
npm install --save prop-types
This step ensures that your project includes the necessary package for prop type checking.
Read also:
Optionally, you can choose to ignore prop type warnings and disable the ESLint warning globally by adding the following rule to your .eslintrc.cjs file:
{
    "rules": {
        "react/prop-types": 0
    }
}
Step 3: Install Required Packages
Install react-paginate using npm:
npm install react-paginate
Step 4: Update the App.jsx File
In this step, you will modify the App component code. Here’s how you do it:
// src\App.jsx
import './App.css';
import Content from './components/Content';
import Header from './components/Header';

function App() {
  return (
    <div className="App">
      {/* will add these components later */}
      <Header />
      <Content />
    </div>
  );
}

export default App;
Step 5: Develop the Header Component
In this step, you will create a simple header for your app.
// src\components\Header.jsx
export default function Header() {
    return <h1>React Pagination Tutorial</h1>
}
Step 6: Develop the Code for Fetching Posts
In this step, you will write the code to fetch post data from the dummyjson API. This code will later be integrated with your Content component.
// src\api\posts.js
// Define the base URL for the dummyjson API
const BASE_URL = 'https://dummyjson.com';

export const getPosts = async (page = 1, limit = 10) => {
  // Construct the URL for fetching posts, including pagination parameters
  const url = `${BASE_URL}/posts?limit=${limit}&skip=${(page * limit) - limit}`;

  try {
    // Fetch the data from the URL
    const response = await fetch(url);

    // If the response is not ok (status code is not in the range 200-299),
    // throw an error
    if (!response.ok) {
      throw new Error('Network response was not ok');
    }

    // Parse the response data as JSON
    const data = await response.json();

    // Return the parsed data
    return data;
  } catch (error) {
     // If there's an error, log it to the console and re-throw it
    console.error('Error fetching data:', error);
    throw error;
  }
};
Step 7: Develop the Content Component
Now, let’s create the Content component:
// src\components\Content.jsx
import Pagination from "./Pagination"
import { useEffect, useState } from "react";
import { getPosts } from "../api/posts";

export default function Content() {
    // Initialize state variables
    const [data, setData] = useState({});
    const [loading, setLoading] = useState(true);

    // Get the current page number from the URL
    const params = new URLSearchParams(window.location.search);
    const pageParam = params.get('page');
    // This is the page that the component will start on when it’s first rendered. It’s calculated
    // by getting the ‘page’ parameter from the URL, subtracting 1 (since pages are 0-indexed in the
    // pagination component), and defaulting to 0 if the ‘page’ parameter isn’t present. This allows
    // the component to remember the page number across page reloads.
    const initialPage = pageParam ? parseInt(pageParam, 10) - 1 : 0;
    // This is the current page that the component is on. It’s stored in a state variable so that
    // the component can re-render whenever it changes. The setCurrentPage function is used to
    // update this state variable.
    const [currentPage, setCurrentPage] = useState(initialPage);

    // Fetch posts when the currentPage changes
    useEffect(() => {
        fetchPosts(currentPage);
    }, [currentPage]);

    // Define the function to fetch posts
    const fetchPosts = async (page) => {
        setLoading(true);
        try {
            const data = await getPosts(page + 1);
            setData(data);
        } catch (error) {
            console.error('Error fetching posts:', error);
        }
        setLoading(false);
    };

    // This function is passed to the Pagination component and is called whenever the user changes
    // the page.
    const handlePageChange = ({ selected }) => {
        const nextPage = selected;

        // Update the URL with the new page value
        const params = new URLSearchParams(window.location.search);
        params.set('page', nextPage + 1);

        // Replace the current URL without reloading the page
        window.history.replaceState({}, '', `${window.location.pathname}?${params.toString()}`);

        setCurrentPage(nextPage);
    };

    // Display a loading message while fetching posts
    if (loading) {
        return <div>Loading...</div>
    }

    // Display the posts and pagination if there are posts
    if (data.posts?.length > 0) {
        const limit = 10;
        const pageCount = Math.ceil(data.total / limit)
        return <>
            {data.posts.map((post) => (
                <div key={post.id}>{`${post.id} : ${post.title}`}</div>
            ))}

            <Pagination initialPage={initialPage} pageCount={pageCount} onPageChange={handlePageChange} />
        </>
    }

    // Display a message if no posts were found
    return <div>No posts found.</div>
}
Read also:
Step 8: Develop the Pagination Component
Now, create the Pagination component:
// src\components\Pagination.jsx
import { func, number } from 'prop-types';
import ReactPaginate from 'react-paginate';

const Pagination = ({ initialPage, pageCount, onPageChange }) => {
  // Return the ReactPaginate component with the necessary props
  return (
    <ReactPaginate
      activeClassName='pagination-active' // The class name for the active page
      breakClassName='pagination-break' // The class name for the break ('...')
      containerClassName='pagination-container' // The class name for the pagination container
      initialPage={initialPage} // The initial page
      marginPagesDisplayed={2} // The number of pages displayed at the margins
      nextClassName='pagination-next-prev' // The class name for the next button
      onPageChange={onPageChange} // The function to call when the page changes
      pageCount={pageCount} // The total number of pages
      pageRangeDisplayed={3} // The range of pages displayed
      pageClassName='pagination-page' // The class name for the page
      previousClassName='pagination-next-prev' // The class name for the previous button
    />
  );
};

// Define the prop types for the Pagination component
Pagination.propTypes = {
  initialPage: number.isRequired, // The initial page is required and must be a number
  pageCount: number.isRequired, // The total number of pages is required and must be a number
  onPageChange: func.isRequired, // The function to call when the page changes is required
};

export default Pagination;
Step 9: Update the index.css
In this step, you will remove unnecessary code from the index.css file, including the code that centers the content vertically. Here’s how you do it:
/* src\index.css */
:root {
  font-family: Inter, system-ui, Avenir, Helvetica, Arial, sans-serif;
  line-height: 1.5;
  font-weight: 400;

  color-scheme: light dark;
  color: rgba(255, 255, 255, 0.87);
  background-color: #242424;

  font-synthesis: none;
  text-rendering: optimizeLegibility;
  -webkit-font-smoothing: antialiased;
  -moz-osx-font-smoothing: grayscale;
}

a {
  font-weight: 500;
  color: #646cff;
  text-decoration: inherit;
}
a:hover {
  color: #535bf2;
}

body {
  margin: 0;
  min-width: 320px;
  min-height: 100vh;
}

h1 {
  font-size: 3.2em;
  line-height: 1.1;
}

@media (prefers-color-scheme: light) {
  :root {
    color: #213547;
    background-color: #ffffff;
  }
  a:hover {
    color: #747bff;
  }
  button {
    background-color: #f9f9f9;
  }
}
Step 10: Update the App.css
In this step, you will remove unnecessary code from the App.css file and add the CSS for your pagination component. Here’s how you do it:
/* src\App.css */
#root {
  max-width: 1280px;
  margin: 0 auto;
  padding: 2rem;
  text-align: center;
}

.pagination-container {
  align-items: left;
  display: flex;
  flex-direction: flex-row;
  justify-content: center;
  list-style: none;
  gap: 16px;
  padding: 0;
}

.pagination-page {
  display: flex;
  justify-content: center;
  align-items: center;
  font-size: 0.875rem;
  line-height: 1.25rem;
  font-weight: 700;
  cursor: pointer;
}

.pagination-active > a {
  font-weight: bolder;
}

.pagination-next-prev {
  display: flex;
  padding: 0.75rem;
  justify-content: center;
  align-items: center;
  font-size: 0.875rem;
  line-height: 1.25rem;
  cursor: pointer;
}

.pagination-break {
  display: flex;
  justify-content: center;
  align-items: center;
  font-size: 0.875rem;
  line-height: 1.25rem;
  cursor: pointer;
}
Step 11: Test the App
- Start the app: Run the following command in your terminal to start the app:
npm run dev - Open the app: Open your web browser and navigate to
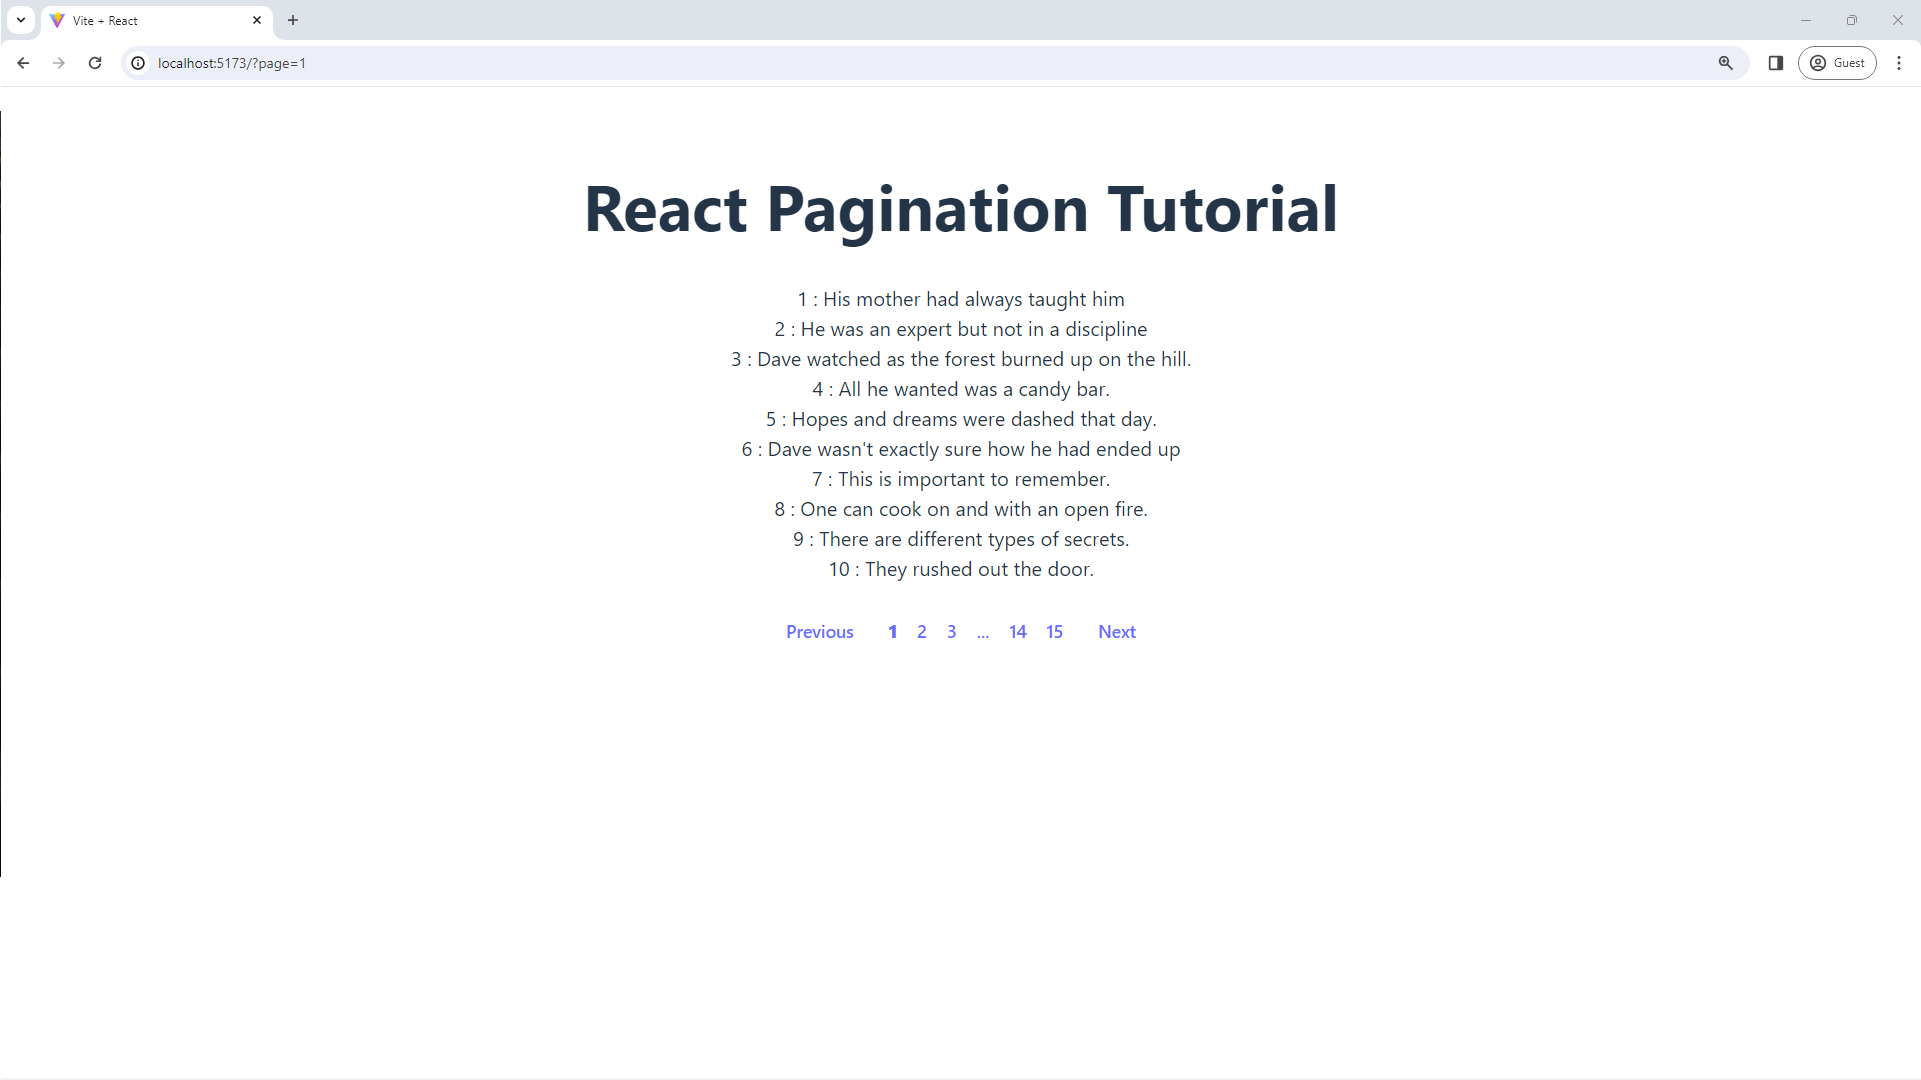
http://localhost:5173(or the URL provided in your terminal after running the above command). You should see your app running.![post-list.png]()
- Navigate through the pages: Use the pagination component at the bottom of the posts list to navigate through the pages. The posts displayed should change according to the page number.
- Check the URL: The URL should change to reflect the current page number. For example, when you’re on page 2, the URL should be something like
http://localhost:5173?page=2. - Reload the page: Try reloading the page. The app should remember the current page and load the correct posts.
Congratulations! You’ve successfully created and tested a simple pagination in React. If everything works as expected, then your implementation is correct. If you encounter any issues, check your console for any error messages, these should give you clues about what’s going wrong. Let me know if you need help with anything else! 😊
Read also:
Conclusion
In conclusion, you’ve successfully created a simple pagination feature in React. You’ve learned how to:
- Implement pagination using the
react-paginatelibrary. - Update the URL to reflect the current page and persist it across page reloads.
- Style your
ReactPaginatecomponent.
This project is a great starting point for building more complex applications with paginated data. You can extend it by adding features like sorting, filtering, or searching.
Remember, the key to mastering React and web development, in general, is consistent practice and never being afraid to experiment and make mistakes. Happy coding! 😊
💻 You can locate the repository for this example at fajarwz/blog-react-paginate.

