💡 I included the link to the example repository at the conclusion of this tutorial.
One of many ways to develop Laravel is with Docker. By containerizing your applications, you can ensure consistent environments across different stages of development and deployment. This guide will walk you through setting up a Laravel development environment using the popular Docker Compose setup provided by aschmelyun/docker-compose-laravel.
Why Docker?
Docker simplifies the development process by allowing you to create, deploy, and run applications in containers. Containers package all the necessary components, including libraries and dependencies, making your application portable and consistent regardless of where it runs.
Prerequisites
To get started, make sure you have Docker (Windows/Mac/Linux) installed on your system.
Once installed, make sure your Docker is running.
Step 1: Clone the Repository
First, clone the docker-compose-laravel repository from GitHub.
git clone https://github.com/aschmelyun/docker-compose-laravel.git
cd docker-compose-laravel
Here is the folder structure:
docker-compose-laravel/
├── dockerfiles/
│   ├── nginx
│   │   └── default.conf
│   ├── nginx.dockerfile
│   ├── php.dockerfile
│   └── php.root.dockerfile
├── src/
│   └── (Laravel app files will remain here)
├── .gitignore
├── docker-compose.yml
├── LICENSE.md
└── README.md
Step 2: Spin Up the Containers for the Web Server
Make sure you are at the root of the project. After that, run the container for the web server by running the following command:
docker-compose up -d --build app
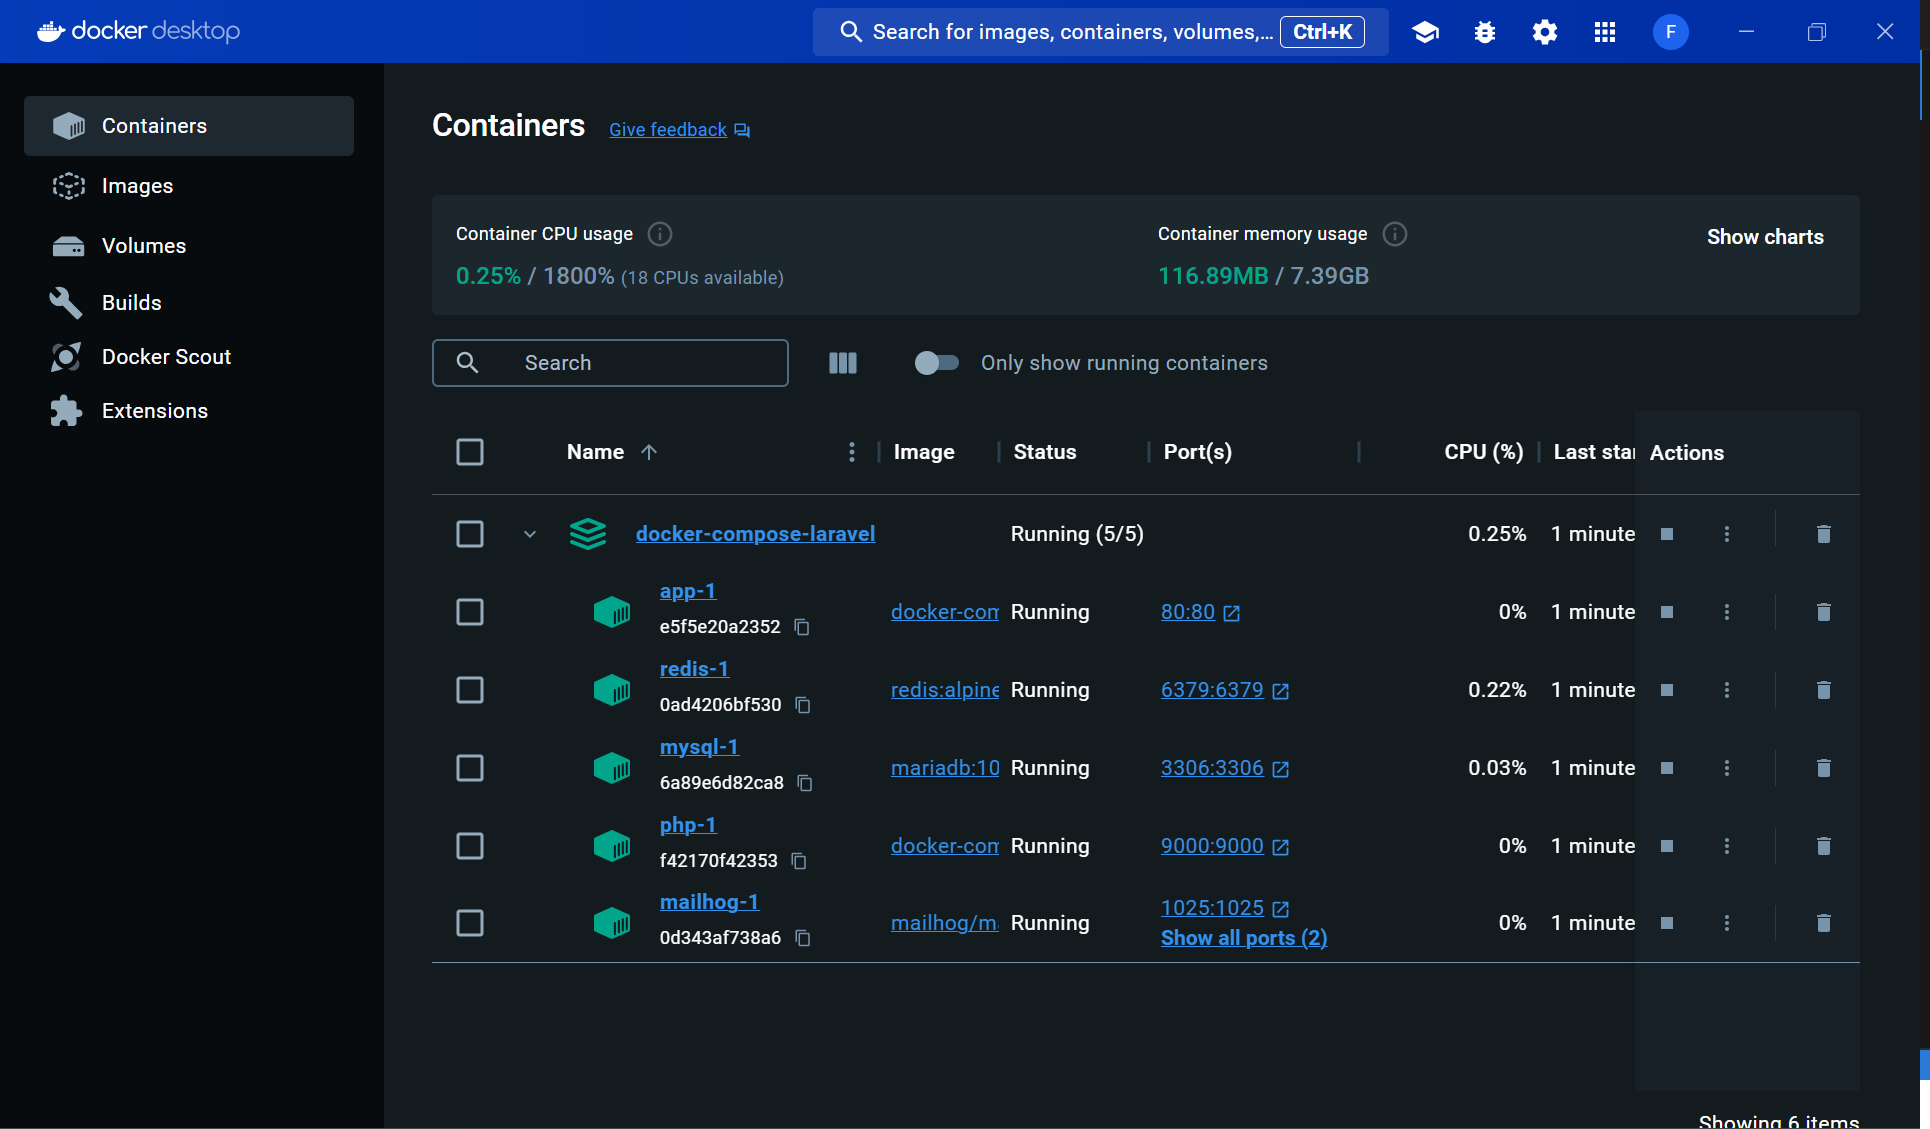
This command will download the images and create the containers listed and configured in docker-compose.yml.
In Docker Desktop, you will now see that there are containers running in the Container Window.
Step 3: Install Our Laravel Project in the src Folder
Notice that we have a src folder in the root of docker-compose-laravel. This is where our Laravel project should remain. You will also see there are instructions regarding Laravel project installation. You can create a new Laravel project or clone an existing project there.
Setting Up the src Folder
Navigate to the src folder by running the following command:
cd src
Before proceeding, clean up the folder by deleting the README.md file:
rm README.md
Option 1: Install a New Laravel Project
If you want to start fresh with a new Laravel project, run the following command:
docker-compose run --rm composer create-project laravel/laravel .
This command uses Docker to run Composer and create a new Laravel project within the src directory.
Option 2: Clone an Existing Project
If you already have an existing Laravel project, you can clone it into the src directory. Use the following command, replacing
git clone <web-url> .
By following these steps, you can either start with a brand new Laravel application or continue development on an existing project using the Docker setup.
In this guide, I will demonstrate how to work with an existing project, so I will proceed with Option 2.
I will use my public repo fajarwz/blog-laravel11-crud-file, so let’s clone it.
git clone https://github.com/fajarwz/blog-laravel11-crud-file.git .
Read also:
Step 4: Using Command Handlers
The docker-compose-laravel project includes additional containers for handling Composer, NPM, and Artisan commands. This allows you to run these commands without installing the respective platforms on your local machine. You can use the following commands from the project root:
docker-compose run --rm composer <command>
docker-compose run --rm npm <command>
docker-compose run --rm artisan <command>
For example, to run the composer install command, we must run the following command:
docker-compose run --rm composer install
Step 5: Create a .env File
Create a .env file from .env.example. Later we will adjust the values.
Step 6: Adjust the .env File for Database
We need to configure the .env file to ensure Laravel connects correctly to the MySQL database service defined in docker-compose.yml. The DB_HOST should be mysql, which is the name of the service we use in docker-compose.yml.
DB_CONNECTION=mysql
DB_HOST=mysql
DB_PORT=3306
DB_DATABASE=homestead
DB_USERNAME=homestead
DB_PASSWORD=secret
The database name, database username and database password are also defined in the docker-compose file, so we have to adjust them according to it.
mysql:
    # ...
    environment:
      MYSQL_DATABASE: homestead
      MYSQL_USER: homestead
      MYSQL_PASSWORD: secret
      MYSQL_ROOT_PASSWORD: secret
    # ...
Step 7: Adjust the .env File for Mail
To ensure we can test our email sending feature using the MailHog service defined in docker-compose.yml, we need to adjust the mail configuration in the .env file. The MAIL_HOST should be mailhog, which is the name of the service we also use in docker-compose.yml.
MAIL_MAILER=smtp
MAIL_HOST=mailhog
MAIL_PORT=1025
MAIL_USERNAME=null
MAIL_PASSWORD=null
MAIL_ENCRYPTION=null
MAIL_FROM_ADDRESS="hello@example.com"
MAIL_FROM_NAME="${APP_NAME}"
The mail port is also defined in the docker-compose file, so we have to adjust them according to it.
mailhog:
    # ...
    ports:
      - "1025:1025"
    # ...
Step 8: Generate the Application Key
To generate the Laravel application key, run the following command:
docker-compose run --rm artisan key:generate
Step 9: Migrate the Database Migration
To migrate the Laravel database migration, run the following command:
docker-compose run --rm artisan migrate
If you encounter an error like General error: 1273 Unknown collation... while doing this, try to adjust the DB_COLLATION on your .env file, try to use the utf8mb4_unicode_ci collation:
DB_COLLATION=utf8mb4_unicode_ci
Step 10: Install Composer Packages
To install composer packages, we must run the following command:
docker-compose run --rm composer install
Step 11: Running Vite
The project we are currently using uses Laravel 11 which uses Vite as its asset bundler. So we have to run Vite so that our application can run properly. First, install the npm packages:
docker-compose run --rm npm install
After that, run the dev command:
docker-compose run --rm npm run dev
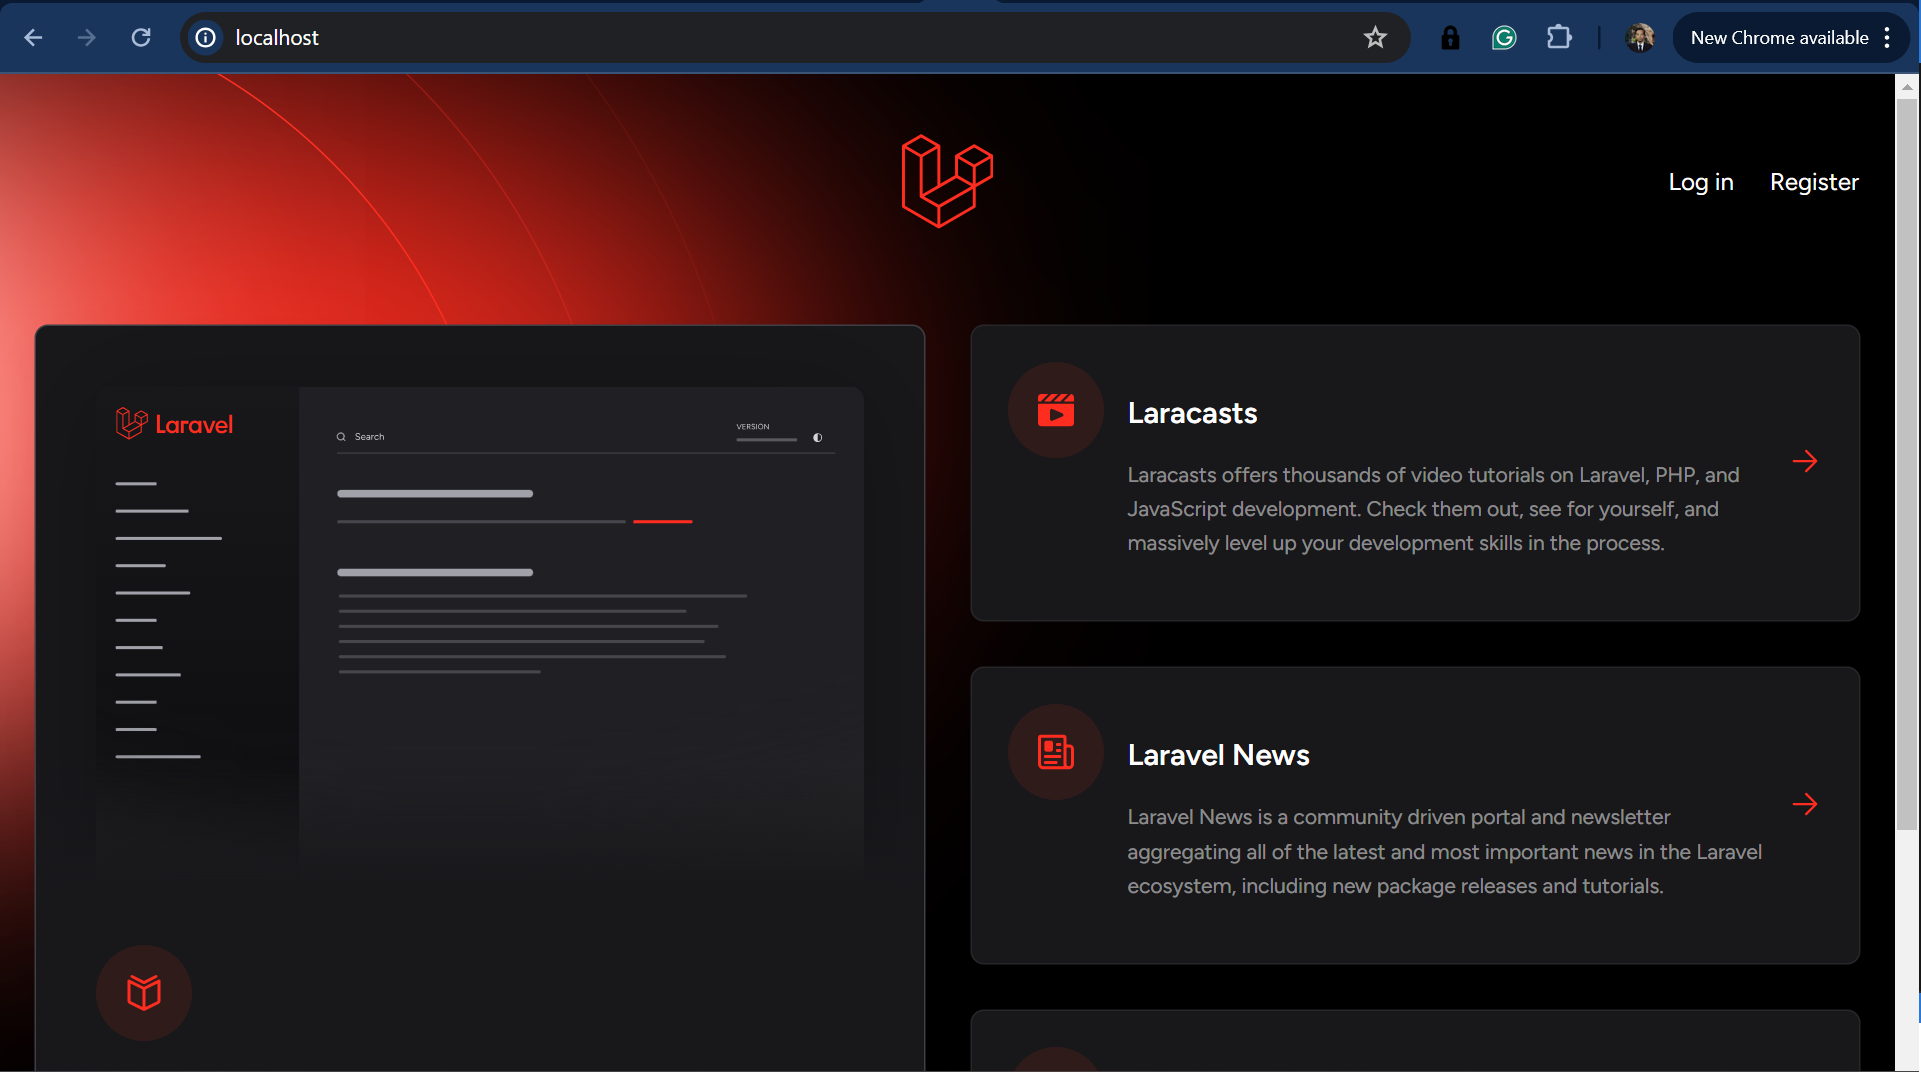
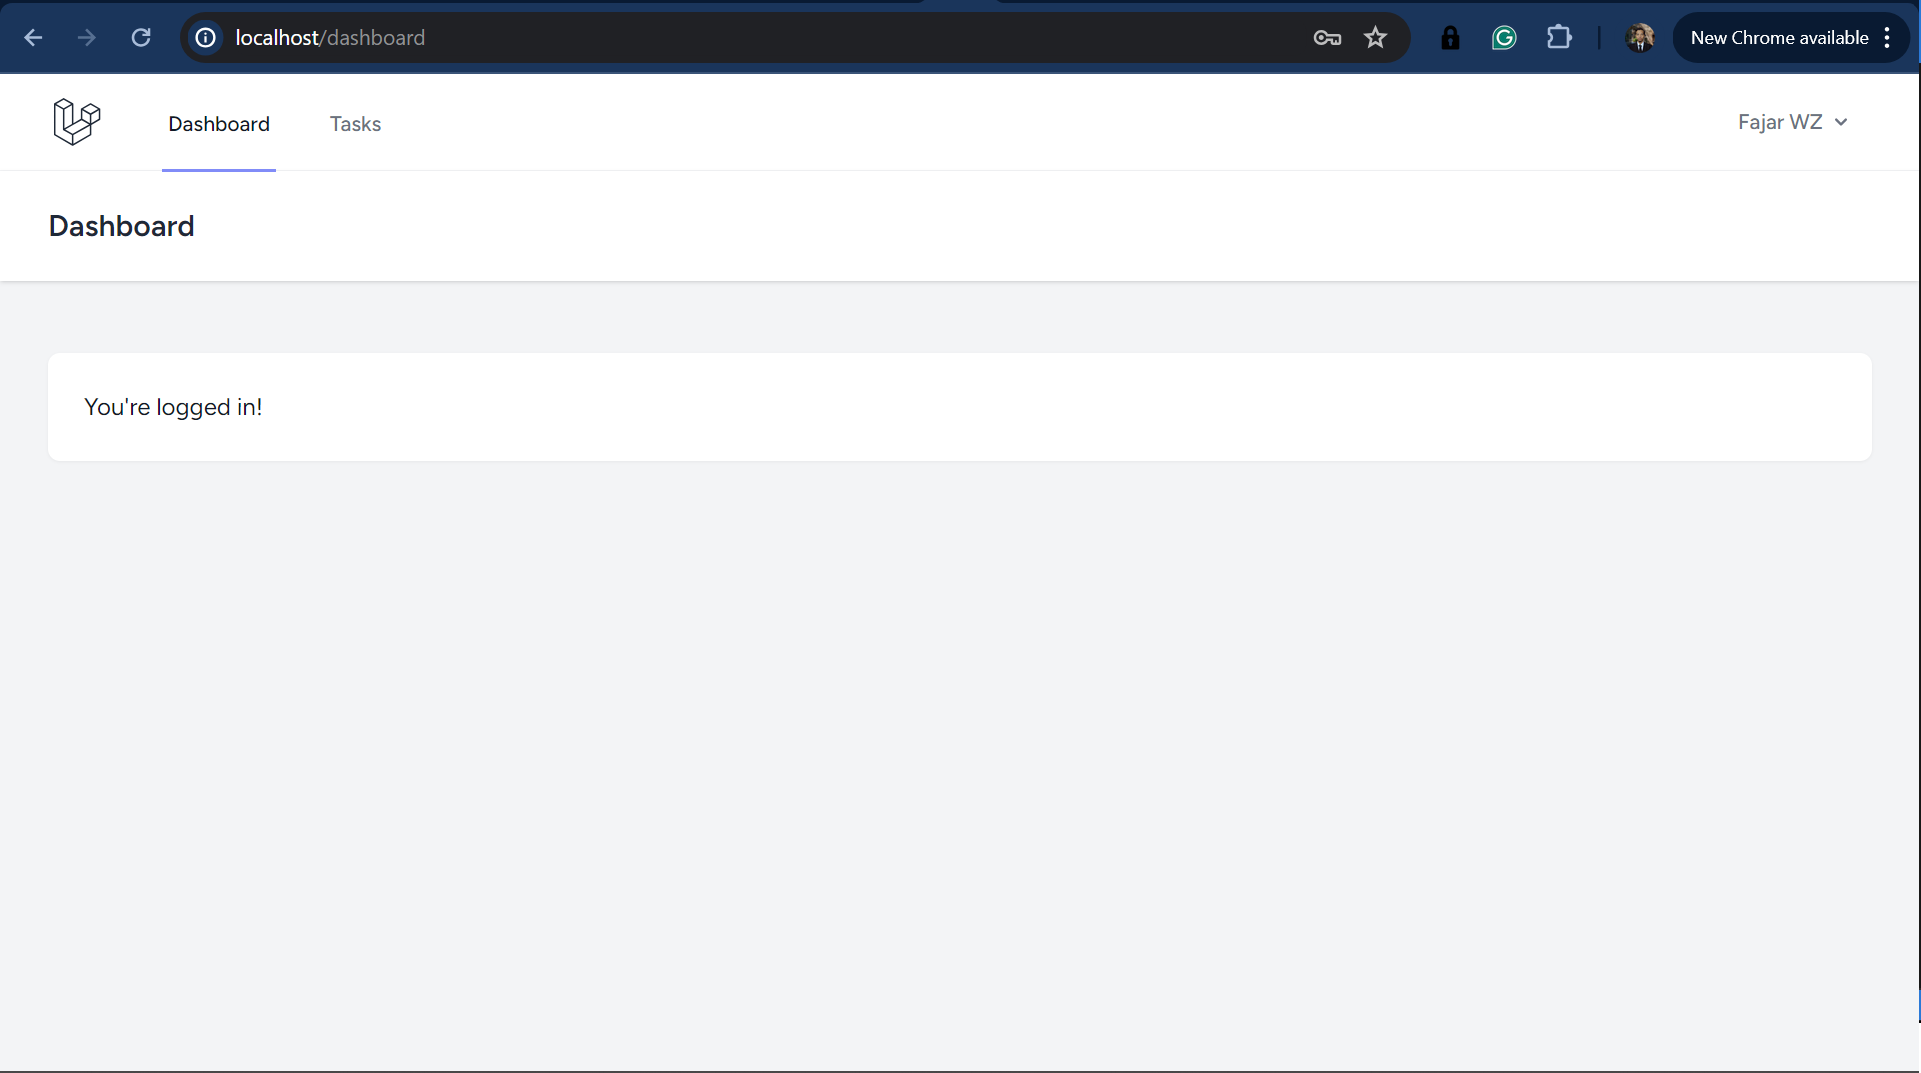
Step 12: Test Our Application
Check our application whether it works as expected or not. We don’t need to run artisan serve because now we use Nginx which is already running after running docker-compose up -d --build app.
If Vite isn’t working, for example your assets aren’t loading, try adding this in your Laravel project’s vite.config.js:
export default defineConfig({
    // ...
    server: {
        hmr: {
            host: 'localhost',
        },
    },
});
And running this dev command instead:
docker-compose run --rm --publish 5173:5173 npm run dev -- --host
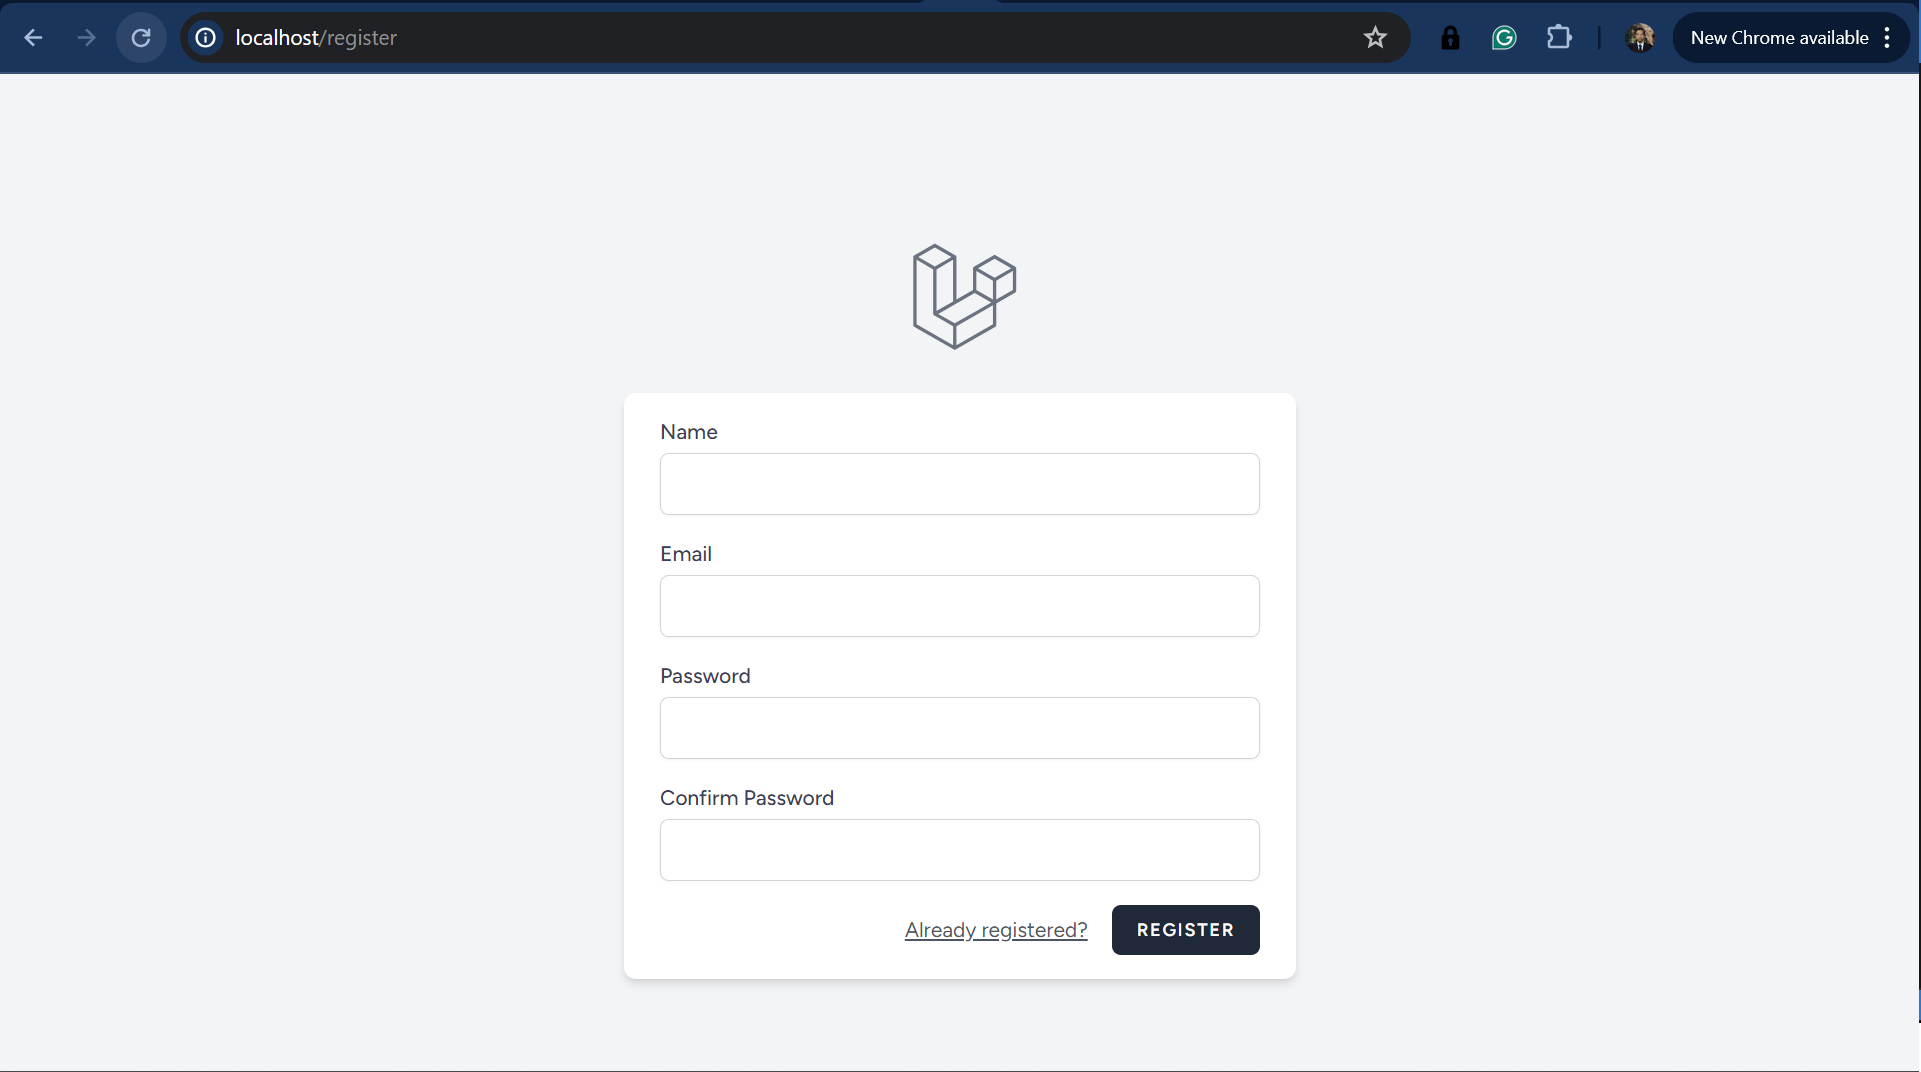
Register as a new user.
Read also:
Step 13: Test Email Sending
To test email sending in your Laravel application using MailHog, follow these steps:
First, open a Tinker session by running the following command:
docker-compose run --rm artisan tinker
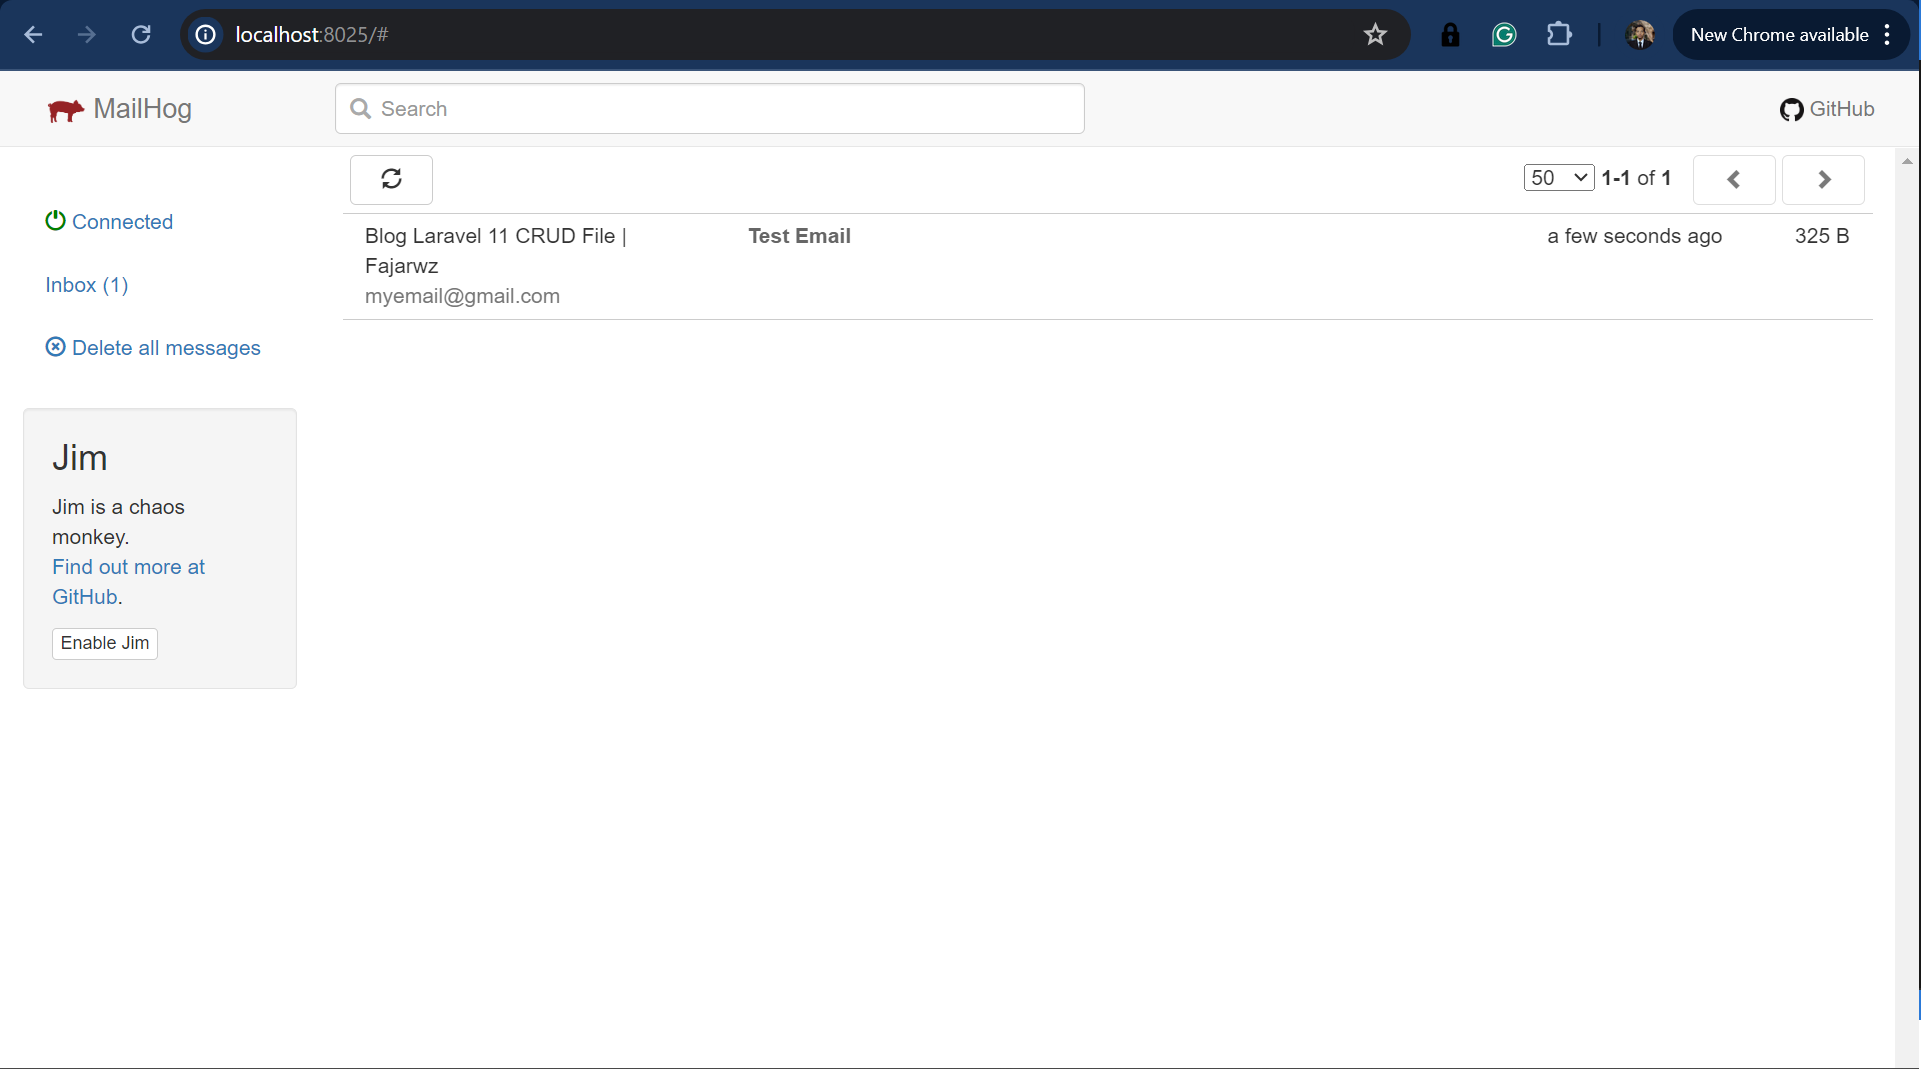
Inside the Tinker session, run the following command to send a test email:
Mail::raw('Hello World!', function($msg) {$msg->to('myemail@gmail.com')->subject('Test Email'); });
To verify that the email was sent, open your web browser and navigate to MailHog’s web interface at http://localhost:8025. You should see the test email in the inbox.
Stopping and Starting the Docker Containers
To manage the Docker containers in your docker-compose-laravel project, you can use the docker-compose commands or Docker Desktop. Here’s how to stop and start the containers:
Stopping the Containers
To stop the containers, you can run the following command on your project root:
docker-compose stop
Alternatively, you can use Docker Desktop:
- Open Docker Desktop.
- Find the docker-compose-laravel project on the Containers menu.
- Click the stop button to stop the containers.
Starting the Containers
To start the containers again, you can run the following command on your project root:
docker-compose start
Alternatively, you can use Docker Desktop:
- Open Docker Desktop.
- Find the docker-compose-laravel project.
- Click the start button to start the containers.
Data Persistence for MySQL
When working with Docker containers, stopping and removing containers can result in data loss if the data is stored inside the container. To ensure that your MySQL database persists even if you bring down the MySQL container, you should store the database on your host machine.
You can do the following:
- Create a
mysqlfolder in the project root, alongside thesrcfolders.
docker-compose-laravel/
├── dockerfiles/
│   ├── nginx
│   │   └── default.conf
│   ├── nginx.dockerfile
│   ├── php.dockerfile
│   └── php.root.dockerfile
├── mysql/ <<<<< (Create this)
├── src/
│   └── (Laravel app)
├── .gitignore
├── docker-compose.yml
├── LICENSE.md
└── README.md
- Under the
mysqlservice in yourdocker-compose.ymlfile, add the following lines:
mysql:
    # ...
    volumes:
      - ./mysql:/var/lib/mysql
- Rebuild your containers and remigrate your database. If your database successfully uses Docker Volume, you will see that the
mysqlfolder now has its contents.
Resolving Slow Page Load On Docker for Windows
When testing your Laravel application with Docker on Windows, you might experience slower page loads compared to running the application natively. One effective solution is to move your entire project to the Windows Subsystem for Linux (WSL) and run Docker containers there. Here’s how you can set up WSL and run your Docker containers within it:
Install WSL
- Open PowerShell or Command Prompt in administrator mode by right-clicking and selecting “Run as administrator”. Then, enter the following command. You may be asked to create a new user after this:
wsl --install
- After running the above command, restart your machine to complete the installation process. This command will enable the necessary features to run WSL and install the Ubuntu distribution of Linux by default.
Set Up Your Project in WSL
Once WSL is installed and your machine has restarted, follow these steps to move your project to WSL:
- Open Ubuntu WSL. You can open it by typing on the Windows Search.
- Move to the home directory or any preferred directory within WSL.
- Clone or copy your project there. So, my project location become
\\wsl.localhost\Ubuntu\home\myuser\docker-compose-laravel
WSL Integration
We need to enable Docker integration with additional distro in WSL. Follow these steps:
- Launch Docker Desktop from your system’s Start menu or taskbar.
- Click on the gear icon in the top-right corner to open the Docker Desktop Settings.
- In the Settings menu, navigate to Resources and then select WSL Integration.
- Find the section labeled “Enable integration with additional distros”. Toggle the switch to the ON position for the Ubuntu distribution (or any other WSL distribution you are using).

After this, you can open the project inside WSL and run the docker-compose command there. You’ll notice that after rebuilding your container, you’ll also see it in Docker Desktop because we’ve integrated it. You’ll also notice now our Laravel app runs much faster.
Conclusion
Setting up a Laravel development environment with Docker provides a powerful and consistent platform for your projects. By containerizing your application, you ensure that it runs uniformly across different environments, reducing discrepancies between development and production. Integrating Docker with Windows Subsystem for Linux (WSL) can further enhance performance by addressing issues like slow page loads, giving you a smoother and more efficient development experience.
This guide has walked you through the essentials of configuring Docker for Laravel, including setting up your environment, managing containers, and optimizing performance. By following these steps, you’ll create a robust development setup that ensures your Laravel application operates reliably and efficiently, allowing you to focus on building and refining your project.
💻 The repository for this example can be found at fajarwz/blog-docker-compose-laravel.

