💡 I included the link to the example repository at the conclusion of this tutorial. And if you are looking for the Laravel 10 version, you can read it here.
In the dynamic web development landscape, Laravel has emerged as a standout PHP framework, renowned for its elegance, simplicity, and extensive ecosystem of tools and libraries. With each iteration, Laravel continues to evolve, introducing new features and enhancements to further simplify the development process. In Laravel 11, the framework reaches new heights, offering developers better tools for building powerful, scalable web applications.
One of the fundamental tasks in web development is implementing CRUD (Create, Read, Update, Delete) operations, which are the backbone of many applications. Additionally, handling file uploads is a common requirement in modern web development, whether it is uploading images, documents, or other types of files. In this comprehensive tutorial, we’ll learn to master CRUD operations and file uploads using Laravel 11, along with the lightweight authentication scaffolding provided by Laravel Breeze.
The CRUD application will allow us to manage task lists, including creating new tasks, updating tasks, deleting tasks, and marking tasks as complete/uncomplete. Apart from that, we will also learn how to upload files for the task.
By the end of this tutorial, you will have a solid understanding of how to leverage Laravel’s capabilities to create dynamic web applications with user authentication, database interaction, and file handling functionality.
So, buckle your seat belts as we embark on this journey to unlock the full potential of Laravel 11, empowering you to build modern, feature-rich web applications easily and efficiently.
Step 1: Installing Laravel 11
Before diving into Laravel 11’s powerful features, ensure that your system has PHP version 8.2.0 or higher and Composer installed. To kickstart your Laravel 11 project, execute the following command in your terminal:
composer create-project --prefer-dist laravel/laravel:^11 blog_laravel11_crud_file
This command swiftly creates a new Laravel 11 project housed in a directory named blog_laravel11_crud_file.
Step 2: Setting Up the Database
A crucial step in building any application is configuring the database. In this tutorial, MySQL will be our database engine of choice.
Begin by updating the .env file within your Laravel project directory. Change the DB_CONNECTION value to mysql to indicate the MySQL database driver. Subsequently, create a database named blog_laravel11_crud_file in your MySQL server.
Finally, adjust the database connection settings in the .env file to match your MySQL credentials, including the username and password.
Step 3: Testing Our Laravel Installation
With Laravel installed and our database set up, it’s time to ensure everything is running smoothly. Let’s test our Laravel installation by executing the following commands in your terminal:
php artisan migrate
php artisan serve
Upon running these commands, Laravel will migrate its necessary database tables and start a development server. Navigate to localhost:8000 in your web browser to witness the beautifully crafted home page, indicating a successful installation.
Step 4: Installing Laravel Breeze
To streamline authentication within our Laravel 11 application, we’ll incorporate Laravel Breeze, a lightweight authentication scaffold tailored for Laravel 8 and beyond. Begin by installing Laravel Breeze via Composer:
composer require laravel/breeze --dev
Once Laravel Breeze is downloaded, execute the following Artisan command to integrate it into your Laravel 11 application:
php artisan breeze:install
Upon execution, a prompt will appear, asking which stack we want to install. Answer “blade”, we will use Blade stack with Alpine. Another prompt may appear asking if we want to enable dark mode support. For now, we won’t use it, so just enter or answer “no”. Finally, a prompt may appear asking “Which testing framework do you prefer”. Currently, PHPUnit is enough so just enter or choose “1”.
Step 5: Creating Tasks Migration
With Laravel 11 and Laravel Breeze seamlessly integrated, it’s time to set up our database structure. We’ll start by creating a migration for our tasks table, which will serve as the foundation for our CRUD operations in this tutorial.
To generate a migration file for the tasks table, execute the following command in your terminal:
php artisan make:migration "create tasks table"
This command generates a new migration file within the database/migrations directory.
Now, open the newly created migration file and insert the following code to define the structure of the tasks table:
// database\migrations\xxxxxxxxxxxxx_create_tasks_table.php

public function up()
{
    // Create the 'tasks' table with specified schema
        Schema::create('tasks', function (Blueprint $table) {
            // Primary key 'id' field auto-incremented
            $table->id();

            // 'content' column to store the main content of the task
            $table->string('content');

            // 'info_file' column to store information about attached files (nullable)
            $table->string('info_file')->nullable();

            // 'is_completed' column to track whether the task is completed or not (default: 0)
            $table->unsignedTinyInteger('is_completed')->default(0);

            // 'created_at' and 'updated_at' columns to store timestamps of creation and updates
            $table->timestamps();
        });
}

public function down()
{
    // Drop the 'tasks' table if it exists
    Schema::dropIfExists('tasks');
}
This code will create a tasks table with an id, content, info_file, is_completed, and timestamps columns (created_at and updated_at columns).
Read also:
Step 6: Migrating the Migration
With the tasks table schema defined, it’s time to execute the migration and bring our database structure to life. Execute the following command in your terminal:
php artisan migrate
This command triggers the execution of all pending migrations located in the database/migrations directory, including the one we just created.
Step 7: Creating Routes
Now that our tasks table is established, we need routes to handle the CRUD (Create, Read, Update, Delete) operations for our tasks. Let’s define these routes in the routes/web.php file.
Open the routes/web.php file in your Laravel project and update it with the following code:
<?php

use App\Http\Controllers\ProfileController;
use App\Http\Controllers\TaskController;
use Illuminate\Support\Facades\Route;

Route::get('/', function () {
    return view('welcome');
});

Route::get('/dashboard', function () {
    return view('dashboard');
})->middleware(['auth', 'verified'])->name('dashboard');

Route::middleware('auth')->group(function () {
    Route::get('/profile', [ProfileController::class, 'edit'])->name('profile.edit');
    Route::patch('/profile', [ProfileController::class, 'update'])->name('profile.update');
    Route::delete('/profile', [ProfileController::class, 'destroy'])->name('profile.destroy');

    // Add the following route to the existing routes because we want the tasks route accessible to authenticated users only.
    // We'll use a resource route because it contains all the exact routes we need for a typical CRUD application.
    Route::resource('tasks', TaskController::class);
    Route::get('/tasks/{task}/mark-completed', [TaskController::class, 'markCompleted'])->name('tasks.mark-completed');
    Route::get('/tasks/{task}/mark-uncompleted', [TaskController::class, 'markUncompleted'])->name('tasks.mark-uncompleted');
});

require __DIR__.'/auth.php';
This adds the tasks resource route to the existing routes and applies the auth middleware to restrict access to authenticated users only. The TaskController is set up as a resource controller to handle all the typical CRUD operations.
Step 8: Creating TaskController
To manage the CRUD operations for our tasks, we’ll create a dedicated controller named TaskController. This controller will handle actions such as creating, reading, updating, and deleting tasks. Execute the following command in your terminal to generate the controller along with resource methods:
php artisan make:controller TaskController --resource
This command swiftly generates a new TaskController within the app/Http/Controllers directory, equipped with all the necessary resource methods.
Now, let’s enhance the TaskController by adding the following code:
<?php

namespace App\Http\Controllers;

use Illuminate\Http\RedirectResponse;
use Illuminate\Http\Request;
use Illuminate\Http\Response;
use Illuminate\Support\Facades\Storage;
use App\Models\Task; // Importing the Task model
use App\Http\Requests\Task\StoreRequest; // Importing the StoreRequest form request
use App\Http\Requests\Task\UpdateRequest; // Importing the UpdateRequest form request

class TaskController extends Controller
{
    /**
     * Display a listing of the resource.
     */
    public function index(): Response
    {
        // Retrieve uncompleted and completed tasks from the database and pass them to the view
        return response()->view('tasks.index', [
            'unCompletedTasks' => Task::where('is_completed', 0)->orderBy('updated_at', 'desc')->get(),
            'completedTasks' => Task::where('is_completed', 1)->orderBy('updated_at', 'desc')->get(),
        ]);
    }

    /**
     * Show the form for creating a new resource.
     */
    public function create(): Response
    {
        // Return the view for creating a new task
        return response()->view('tasks.form');
    }

    /**
     * Store a newly created resource in storage.
     */
    public function store(StoreRequest $request): RedirectResponse
    {
        // Validate the incoming request
        $validated = $request->validated();

        // If a file is uploaded, store it in the public storage
        if ($request->hasFile('info_file')) {
            $filePath = Storage::disk('public')->put('files/tasks/info-files', request()->file('info_file'));
            $validated['info_file'] = $filePath;
        }

        // Create a new task with the validated data
        $create = Task::create($validated);

        if($create) {
            // Flash a success notification and redirect to the task index page
            session()->flash('notif.success', 'Task created successfully!');
            return redirect()->route('tasks.index');
        }

        return abort(500); // Return a server error if the task creation fails
    }

    /**
     * Display the specified resource.
     */
    public function show(string $id): Response
    {
        // Retrieve and display the specified task
        return response()->view('tasks.show', [
            'task' => Task::findOrFail($id),
        ]);
    }

    /**
     * Show the form for editing the specified resource.
     */
    public function edit(string $id): Response
    {
        // Retrieve the task with the specified ID and pass it to the view for editing
        return response()->view('tasks.form', [
            'task' => Task::findOrFail($id),
        ]);
    }

    /**
     * Update the specified resource in storage.
     */
    public function update(UpdateRequest $request, string $id): RedirectResponse
    {
        // Find the task with the specified ID
        $task = Task::findOrFail($id);

        // Validate the incoming request
        $validated = $request->validated();

        // If an info file is uploaded, update the file path and delete the old file if exists
        if ($request->hasFile('info_file')) {
            if (isset($task->info_file)) {
                Storage::disk('public')->delete($task->info_file);
            }
            $filePath = Storage::disk('public')->put('files/tasks/info-files', request()->file('info_file'), 'public');
            $validated['info_file'] = $filePath;
        }

        // Update the task with the validated data
        $update = $task->update($validated);

        if($update) {
            // Flash a success notification and redirect to the task index page
            session()->flash('notif.success', 'Task updated successfully!');
            return redirect()->route('tasks.index');
        }

        return abort(500); // Return a server error if the task update fails
    }

    /**
     * Remove the specified resource from storage.
     */
    public function destroy(string $id): RedirectResponse
    {
        // Find the task with the specified ID
        $task = Task::findOrFail($id);

        // If an info file exists, delete it from storage
        if (isset($task->info_file)) {
            Storage::disk('public')->delete($task->info_file);
        }

        // Delete the task
        $delete = $task->delete($id);

        if($delete) {
            // Flash a success notification and redirect to the task index page
            session()->flash('notif.success', 'Task deleted successfully!');
            return redirect()->route('tasks.index');
        }

        return abort(500); // Return a server error if the task deletion fails
    }

    /**
     * Mark the specified task as completed.
     */
    public function markCompleted(string $id): RedirectResponse
    {
        // Find the task with the specified ID and update its completion status
        $task = Task::findOrFail($id);
        $isCompleted = $task->update(['is_completed' => 1]);

        if($isCompleted) {
            // Flash a success notification and redirect to the task index page
            session()->flash('notif.success', 'Task marked as completed!');
            return redirect()->route('tasks.index');
        }

        return abort(500); // Return a server error if updating the task fails
    }

    /**
     * Mark the specified task as uncompleted.
     */
    public function markUncompleted(string $id): RedirectResponse
    {
        // Find the task with the specified ID and update its completion status
        $task = Task::findOrFail($id);
        $isCompleted = $task->update(['is_completed' => 0]);

        if($isCompleted) {
            // Flash a success notification and redirect to the task index page
            session()->flash('notif.success', 'Task marked as uncompleted!');
            return redirect()->route('tasks.index');
        }

        return abort(500); // Return a server error if updating the task fails
    }
}
Step 9: Create Form Request for store() method
We can run the following command to create a form request for store():
php artisan make:request Task/StoreRequest
And then add the following code to the class:
// app\Http\Requests\Task\StoreRequest.php
    public function authorize(): bool
    {
        // dont' forget to set this as true
        return true;
    }

    public function rules(): array
    {
        // make all of the fields required, set info file to accept only files
        return [
            'content' => 'required|string|min:3|max:255', // minimum length is 3 characters, maximum length is 255 characters
            'info_file' => 'nullable|file|max:1024|mimes:pdf,docx,doc,xlsx,xls', // optional, file only, max size is 1024 KB, with some allowed mime types
        ];
    }
Step 10: Create Form Request for update() method
We can run the following command to create a form request for update():
php artisan make:request Task/UpdateRequest
The code for this class is similar to the code for StoreRequest:
// app\Http\Requests\Task\UpdateRequest.php
    public function authorize(): bool
    {
        // dont' forget to set this as true
        return true;
    }

    public function rules(): array
    {
        return [
            'content' => 'required|string|min:3|max:255',
            'info_file' => 'nullable|file|max:1024|mimes:pdf,docx,doc,xlsx,xls',
        ];
    }
Step 11: Creating Task Model
To facilitate communication with the database, let’s create a model named Task. Run the following command in your terminal:
php artisan make:model Task
This command generates a new model file named Task.php within the app/Models directory.
Step 12: Add $fillable to Task Model
In the app/Models/Task.php file, add the fillable property to specify which fields can be mass-assigned. Here’s an example:
class Task extends Model
{
    use HasFactory;

    protected $fillable = [
        'content',
        'info_file',
        'is_completed',
    ];
}
Step 13: Creating a Symbolic Link for Public Storage
To ensure that files stored in the public disk are accessible from the web, we need to create a symbolic link from the public/storage folder to the storage/app/public folder. Since the public disk uses the local driver by default, no changes are required to the public storage configuration.
To create the symbolic link, execute the following command in your terminal:
php artisan storage:link
This command establishes a symbolic link between the public/storage folder and the storage/app/public folder.
Read also:
Step 14: Setting Up the Layout
In order to handle flash notifications for success messages, we’ll update the header section inside our layout’s body. Replace the existing code with the following:
<!-- resources\views\layouts\app.blade.php -->

<!-- Page Heading -->
@if (isset($header))
    <header class="bg-white shadow">
        <div class="max-w-7xl mx-auto py-6 px-4 sm:px-6 lg:px-8">
            {{ $header }}

            {{-- check if there is a notif.success flash session --}}
            @if (Session::has('notif.success'))
            <div class="bg-blue-300 mt-2 p-4">
                {{-- if it's there then print the notification --}}
                <span class="text-white">{{ Session::get('notif.success') }}</span>
            </div>
            @endif
        </div>
    </header>
@endif
Step 15: Create Index View
Create a new file resources/views/tasks/index.blade.php with the following contents:
{{-- we are using AppLayout Component located in app\View\Components\AppLayout.php which use resources\views\layouts\app.blade.php view --}}
<x-app-layout>
    <!-- Define a slot named "header" -->
    <x-slot name="header">
        <!-- Flex container with space between elements -->
        <div class="flex justify-between">
            <!-- Title for the page -->
            <h2 class="font-semibold text-xl text-gray-800 leading-tight">
                {{ 'Tasks' }} <!-- Static title -->
            </h2>
            <!-- Link to add a new task -->
            <a href="{{ route('tasks.create') }}" class="bg-blue-500 text-white px-4 py-2 rounded-md">ADD</a>
        </div>
    </x-slot>

    <div class="py-12">
        <div class="max-w-7xl mx-auto sm:px-6 lg:px-8 mb-4">
            <div class="bg-white overflow-hidden shadow-sm sm:rounded-lg">
                <div class="p-6 text-gray-900">
                     <!-- Title for uncompleted tasks -->
                    <h3 class="font-semibold text-lg text-gray-800 leading-tight mb-4">Uncompleted</h3>
                    <!-- Table to display uncompleted tasks -->
                    <table class="border-collapse table-auto w-full text-sm">
                        <thead>
                            <tr>
                                <!-- Table header for task and action -->
                                <th class="border-b font-medium p-4 pl-8 pt-0 pb-3 text-slate-400 text-left">Task</th>
                                <th class="border-b font-medium p-4 pl-8 pt-0 pb-3 text-slate-400 text-left">Action</th>
                            </tr>
                        </thead>
                        <tbody class="bg-white">
                            {{-- Loop through uncompleted tasks --}}
                            @forelse ($unCompletedTasks as $task)
                            <tr>
                                <!-- Display task content -->
                                <td class="border-b border-slate-100 dark:border-slate-700 p-4 pl-8 text-slate-500 dark:text-slate-400">
                                    <!-- Checkbox to mark task as completed -->
                                    <a class="mr-1 text-lg" href="{{ route('tasks.mark-completed', $task->id) }}">
                                        🔲
                                    </a>
                                    <!-- Task content -->
                                    <span>
                                        {{ $task->content }}
                                    </span>
                                    <!-- Display info file if exists -->
                                    @isset ($task->info_file)
                                    <span>
                                        <small> | <a href="{{ Storage::url($task->info_file) }}">File</a></small>
                                    </span>
                                    @endisset
                                    <!-- Display last update time -->
                                    <span>
                                        <small>{{ ' | ' . $task->updated_at->diffForHumans() }}</small>
                                    </span>
                                </td>
                                <!-- Actions for the task -->
                                <td class="border-b border-slate-100 dark:border-slate-700 p-4 pl-8 text-slate-500 dark:text-slate-400">
                                    <!-- Link to edit task -->
                                    <a href="{{ route('tasks.edit', $task->id) }}" class="border border-yellow-500 hover:bg-yellow-500 hover:text-white px-4 py-2 rounded-md">EDIT</a>
                                    <!-- Form to delete task -->
                                    <form method="post" action="{{ route('tasks.destroy', $task->id) }}" class="inline">
                                        @csrf
                                        @method('delete')
                                        <button type="submit" class="border border-red-500 hover:bg-red-500 hover:text-white px-4 py-2 rounded-md h-[35px] relative top-[1px]">DELETE</button>
                                    </form>
                                </td>
                            </tr>
                            @empty
                            <!-- Display message if no uncompleted tasks -->
                            <tr>
                                <td class="border-b border-slate-100 dark:border-slate-700 p-4 pl-8 text-slate-500 dark:text-slate-400" colspan="2">
                                    No data can be shown.
                                </td>
                            </tr>
                            @endforelse
                        </tbody>
                    </table>
                </div>
            </div>
        </div>
        <div class="max-w-7xl mx-auto sm:px-6 lg:px-8">
            <div class="bg-white overflow-hidden shadow-sm sm:rounded-lg">
                <div class="p-6 text-gray-900">
                     <!-- Title for completed tasks -->
                    <h3 class="font-semibold text-lg text-gray-800 leading-tight mb-4">Completed</h3>
                    <!-- Table to display completed tasks -->
                    <table class="border-collapse table-auto w-full text-sm">
                        <thead>
                            <tr>
                                <th class="border-b font-medium p-4 pl-8 pt-0 pb-3 text-slate-400 text-left">Task</th>
                            </tr>
                        </thead>
                        <tbody class="bg-white">
                            {{-- populate our task data --}}
                            @forelse ($completedTasks as $task)
                            <tr>
                                <td class="border-b border-slate-100 dark:border-slate-700 p-4 pl-8 text-slate-500 dark:text-slate-400 justify-center items-center">
                                    <a class="mr-1 text-lg" href="{{ route('tasks.mark-uncompleted', $task->id) }}">
                                        ✅
                                    </a>
                                    <span>
                                        {{ $task->content }}
                                    </span>
                                    @isset ($task->info_file)
                                    <span>
                                        <small> | <a href="{{ Storage::url($task->info_file) }}">File</a></small>
                                    </span>
                                    @endisset
                                    <span>
                                        <small>{{ ' | ' . $task->updated_at->diffForHumans() }}</small>
                                    </span>
                                </td>
                            </tr>
                            @empty
                            <tr>
                                <td class="border-b border-slate-100 dark:border-slate-700 p-4 pl-8 text-slate-500 dark:text-slate-400" colspan="2">
                                    No data can be shown.
                                </td>
                            </tr>
                            @endforelse
                        </tbody>
                    </table>
                </div>
            </div>
        </div>
    </div>
</x-app-layout>
Step 16: Creating Form View
Create a new file resources/views/tasks/form.blade.php. Here we will use some already defined components we get from Laravel Breeze. Let’s write the following code:
<x-app-layout>
    {{-- Header section with 'Edit' or 'Create' depending on the existence of $task --}}
    <x-slot name="header">
        <h2 class="font-semibold text-xl text-gray-800 leading-tight">
            {{-- Use 'Edit' for edit mode and 'Create' for create mode --}}
            {{ isset($task) ? 'Edit' : 'Create' }}
        </h2>
    </x-slot>

    <div class="py-12">
        <div class="max-w-7xl mx-auto sm:px-6 lg:px-8">
            <div class="bg-white overflow-hidden shadow-sm sm:rounded-lg">
                <div class="p-6 text-gray-900">
                    {{-- Form for task creation/updation with file upload --}}
                    <form method="post" action="{{ isset($task) ? route('tasks.update', $task->id) : route('tasks.store') }}" class="mt-6 space-y-6" enctype="multipart/form-data">
                        @csrf {{-- CSRF protection --}}
                        {{-- Use PUT method for edit mode --}}
                        @isset($task)
                            @method('put')
                        @endisset

                        {{-- Task Content Input --}}
                        <div>
                            <x-input-label for="content" value="Task" /> {{-- Label for task content --}}
                            <x-text-input id="content" name="content" type="text" class="mt-1 block w-full" :value="$task->content ?? old('content')" required autofocus /> {{-- Input field for task content --}}
                            <x-input-error class="mt-2" :messages="$errors->get('content')" /> {{-- Display validation errors for task content --}}
                        </div>

                        {{-- Info File Input --}}
                        <div>
                            <x-input-label for="info_file" value="Info File" /> {{-- Label for info file --}}
                            <label class="block mt-2">
                                <span class="sr-only">Choose file</span> {{-- Screen reader text --}}
                                <input type="file" id="info_file" name="info_file" accept=".pdf,.docx,.doc,.xlsx,.xls" class="block w-full text-sm text-slate-500
                                    file:mr-4 file:py-2 file:px-4
                                    file:rounded-full file:border-0
                                    file:text-sm file:font-semibold
                                    file:bg-violet-50 file:text-violet-700
                                    hover:file:bg-violet-100
                                " /> {{-- File input field --}}
                            </label>
                            {{-- Display existing file if it exists --}}
                            @isset($task->info_file)
                                <div class="shrink-0 my-2">
                                    <span>File Exists: </span> {{-- Display text indicating file existence --}}
                                    <a href="{{ Storage::url($task->info_file) }}">{{ explode('/', $task->info_file)[3] }}</a> {{-- Display file name with link --}}
                                </div>
                            @endisset
                            <x-input-error class="mt-2" :messages="$errors->get('info_file')" /> {{-- Display validation errors for info file --}}
                        </div>

                        {{-- Save and Cancel Buttons --}}
                        <div class="flex items-center gap-2">
                            <x-primary-button>{{ __('Save') }}</x-primary-button> {{-- Primary button for saving --}}
                            <x-secondary-button onclick="history.back()">{{ __('Cancel') }}</x-secondary-button> {{-- Secondary button for canceling --}}
                        </div>
                    </form>
                </div>
            </div>
        </div>
    </div>
</x-app-layout>
Step 17: Update Navigation Component
To update the navigation component, use the following code:
{{-- resources\views\layouts\navigation.blade.php --}}

<nav x-data="{ open: false }" class="bg-white border-b border-gray-100">
    <!-- Primary Navigation Menu -->
    <div class="max-w-7xl mx-auto px-4 sm:px-6 lg:px-8">
        <div class="flex justify-between h-16">
            <div class="flex">
                <!-- Logo -->
                <div class="shrink-0 flex items-center">
                    <a href="{{ route('dashboard') }}">
                        <x-application-logo class="block h-9 w-auto fill-current text-gray-800" />
                    </a>
                </div>

                <!-- Navigation Links -->
                <div class="hidden space-x-8 sm:-my-px sm:ml-10 sm:flex">
                    <x-nav-link :href="route('dashboard')" :active="request()->routeIs('dashboard')">
                        {{ __('Dashboard') }}
                    </x-nav-link>
                    <!-- add this -->
                    <x-nav-link :href="route('tasks.index')" :active="request()->routeIs('tasks.index')">
                        {{'Tasks' }}
                    </x-nav-link>
                </div>
            </div>

            <!-- Settings Dropdown -->
            <div class="hidden sm:flex sm:items-center sm:ml-6">
                <x-dropdown align="right" width="48">
                    <x-slot name="trigger">
                        <button class="inline-flex items-center px-3 py-2 border border-transparent text-sm leading-4 font-medium rounded-md text-gray-500 bg-white hover:text-gray-700 focus:outline-none transition ease-in-out duration-150">
                            <div>{{ Auth::user()->name }}</div>

                            <div class="ml-1">
                                <svg class="fill-current h-4 w-4" xmlns="http://www.w3.org/2000/svg" viewBox="0 0 20 20">
                                    <path fill-rule="evenodd" d="M5.293 7.293a1 1 0 011.414 0L10 10.586l3.293-3.293a1 1 0 111.414 1.414l-4 4a1 1 0 01-1.414 0l-4-4a1 1 0 010-1.414z" clip-rule="evenodd" />
                                </svg>
                            </div>
                        </button>
                    </x-slot>

                    <x-slot name="content">
                        <x-dropdown-link :href="route('profile.edit')">
                            {{ __('Profile') }}
                        </x-dropdown-link>

                        <!-- Authentication -->
                        <form method="POST" action="{{ route('logout') }}">
                            @csrf

                            <x-dropdown-link :href="route('logout')" onclick="event.preventDefault();
                                                this.closest('form').submit();">
                                {{ __('Log Out') }}
                            </x-dropdown-link>
                        </form>
                    </x-slot>
                </x-dropdown>
            </div>

            <!-- Hamburger -->
            <div class="-mr-2 flex items-center sm:hidden">
                <button @click="open = ! open" class="inline-flex items-center justify-center p-2 rounded-md text-gray-400 hover:text-gray-500 hover:bg-gray-100 focus:outline-none focus:bg-gray-100 focus:text-gray-500 transition duration-150 ease-in-out">
                    <svg class="h-6 w-6" stroke="currentColor" fill="none" viewBox="0 0 24 24">
                        <path :class="{'hidden': open, 'inline-flex': ! open }" class="inline-flex" stroke-linecap="round" stroke-linejoin="round" stroke-width="2" d="M4 6h16M4 12h16M4 18h16" />
                        <path :class="{'hidden': ! open, 'inline-flex': open }" class="hidden" stroke-linecap="round" stroke-linejoin="round" stroke-width="2" d="M6 18L18 6M6 6l12 12" />
                    </svg>
                </button>
            </div>
        </div>
    </div>

    <!-- Responsive Navigation Menu -->
    <div :class="{'block': open, 'hidden': ! open}" class="hidden sm:hidden">
        <div class="pt-2 pb-3 space-y-1">
            <x-responsive-nav-link :href="route('dashboard')" :active="request()->routeIs('dashboard')">
                {{ __('Dashboard') }}
            </x-responsive-nav-link>
            <!-- add this -->
            <x-responsive-nav-link :href="route('tasks.index')" :active="request()->routeIs('tasks.index')">
                {{ 'Tasks' }}
            </x-responsive-nav-link>
        </div>

        <!-- Responsive Settings Options -->
        <div class="pt-4 pb-1 border-t border-gray-200">
            <div class="px-4">
                <div class="font-medium text-base text-gray-800">{{ Auth::user()->name }}</div>
                <div class="font-medium text-sm text-gray-500">{{ Auth::user()->email }}</div>
            </div>

            <div class="mt-3 space-y-1">
                <x-responsive-nav-link :href="route('profile.edit')">
                    {{ __('Profile') }}
                </x-responsive-nav-link>

                <!-- Authentication -->
                <form method="POST" action="{{ route('logout') }}">
                    @csrf

                    <x-responsive-nav-link :href="route('logout')" onclick="event.preventDefault();
                                        this.closest('form').submit();">
                        {{ __('Log Out') }}
                    </x-responsive-nav-link>
                </form>
            </div>
        </div>
    </div>
</nav>
Here we add our Tasks link to the desktop and mobile version navigation.
Read also:
Step 18: Testing Our Laravel App
Before proceeding, ensure you’ve installed all dependencies by running npm install after installing Laravel Breeze. If you’ve already done this, you can skip this step. Next, compile your frontend assets using Vite by running npm run dev.
After setting up your frontend dependencies, start your local development server with the following command:
php artisan serve
Welcome Page
You will see the following Laravel 11 Welcome Page. You will also see Log in and Register link at the navbar because we already installed Laravel Breeze.
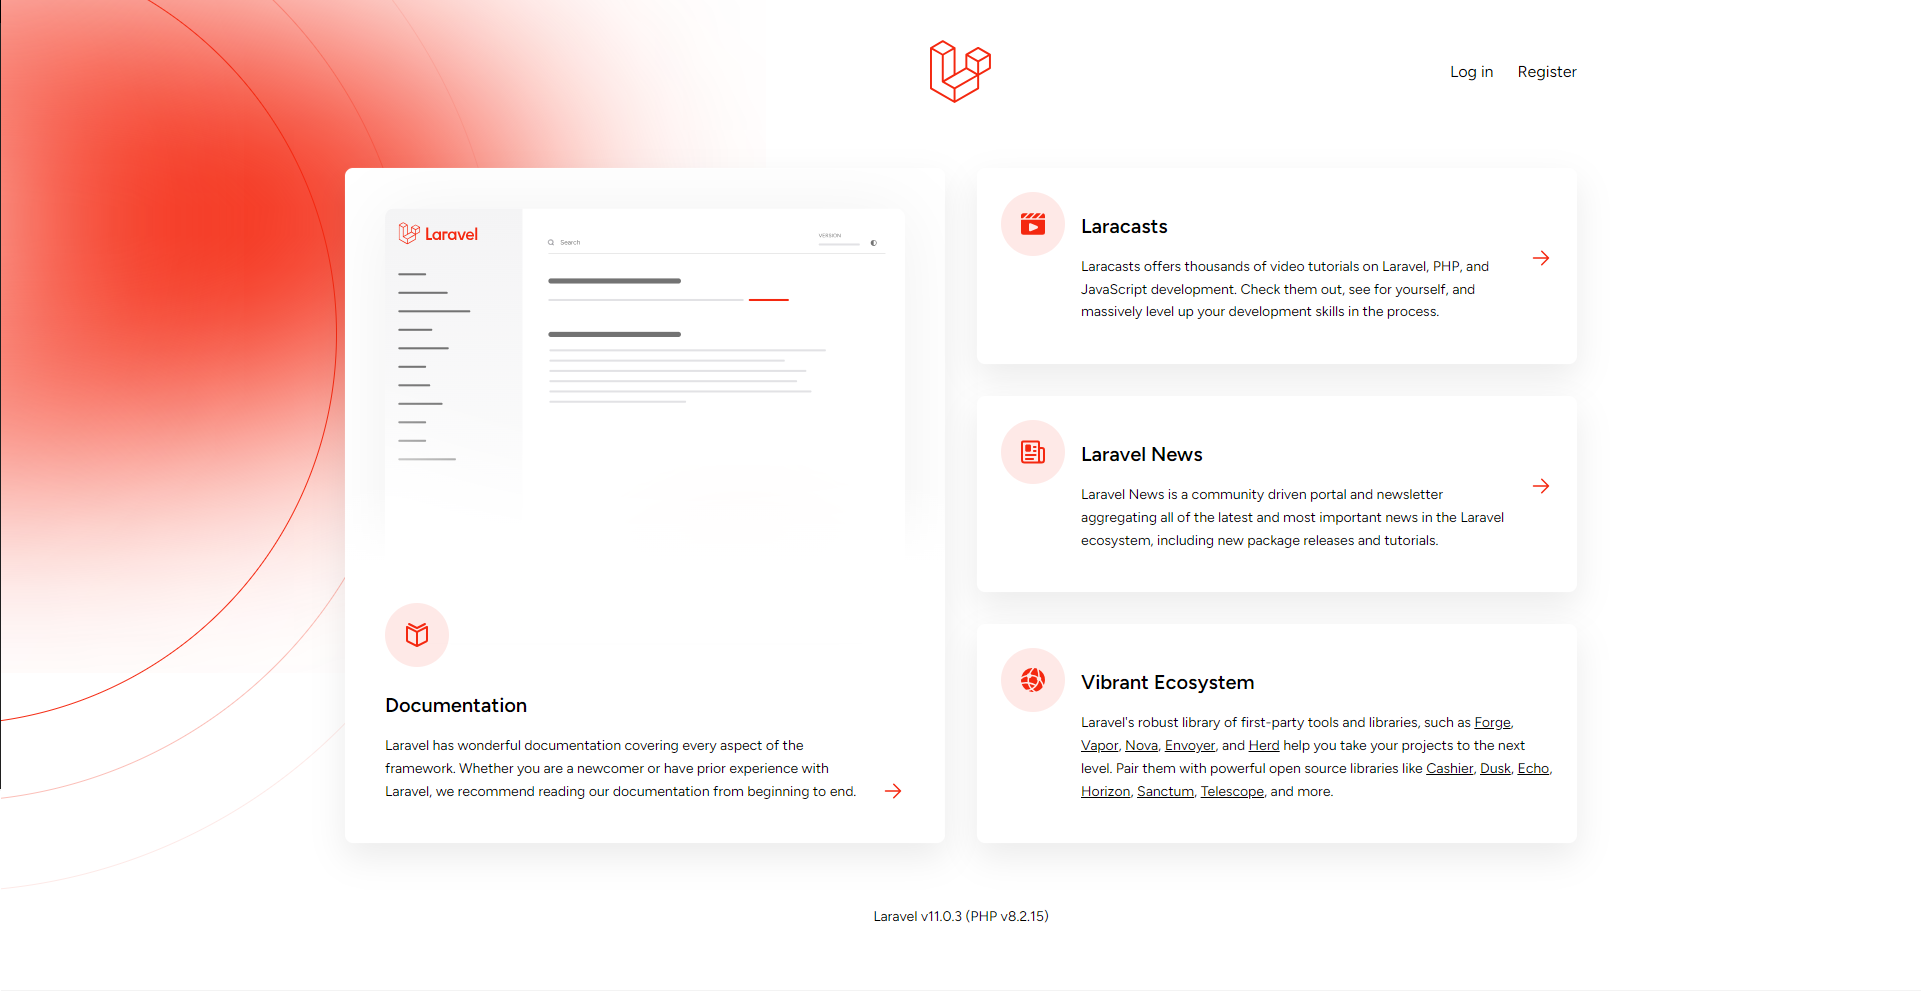
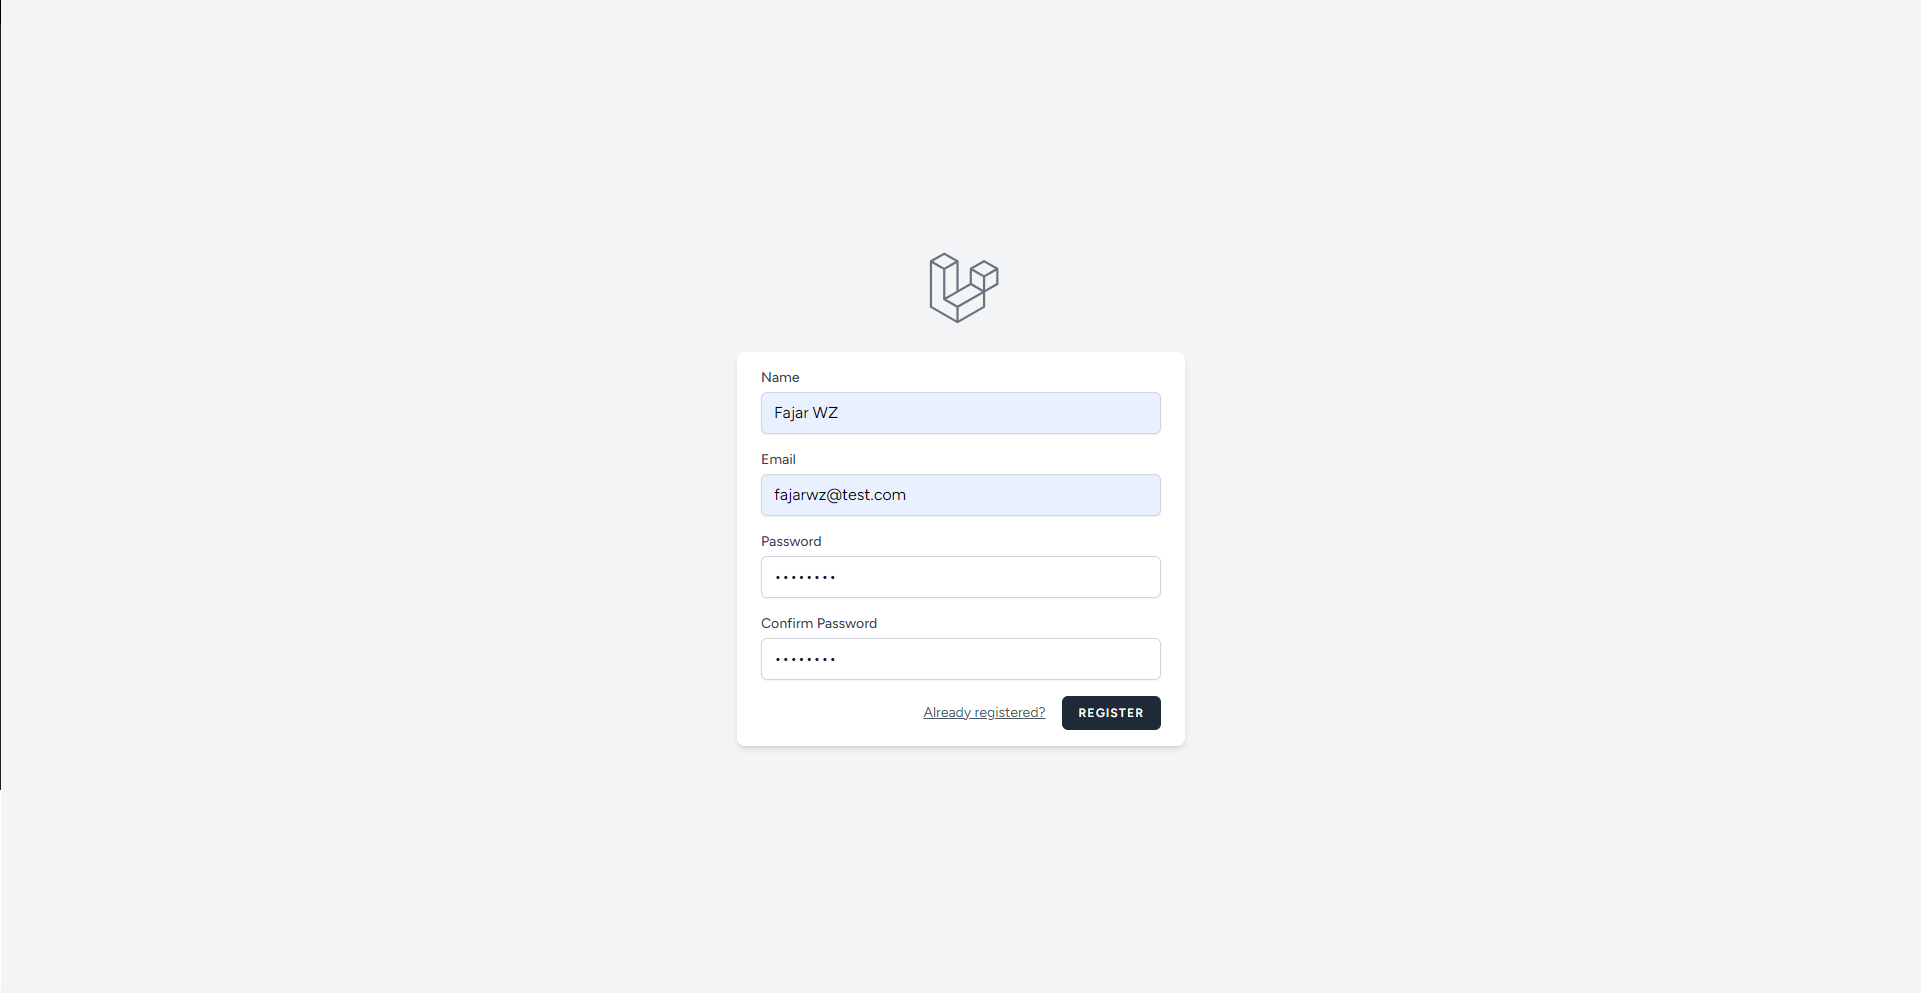
Proceed to register yourself and navigate to the Dashboard Page.
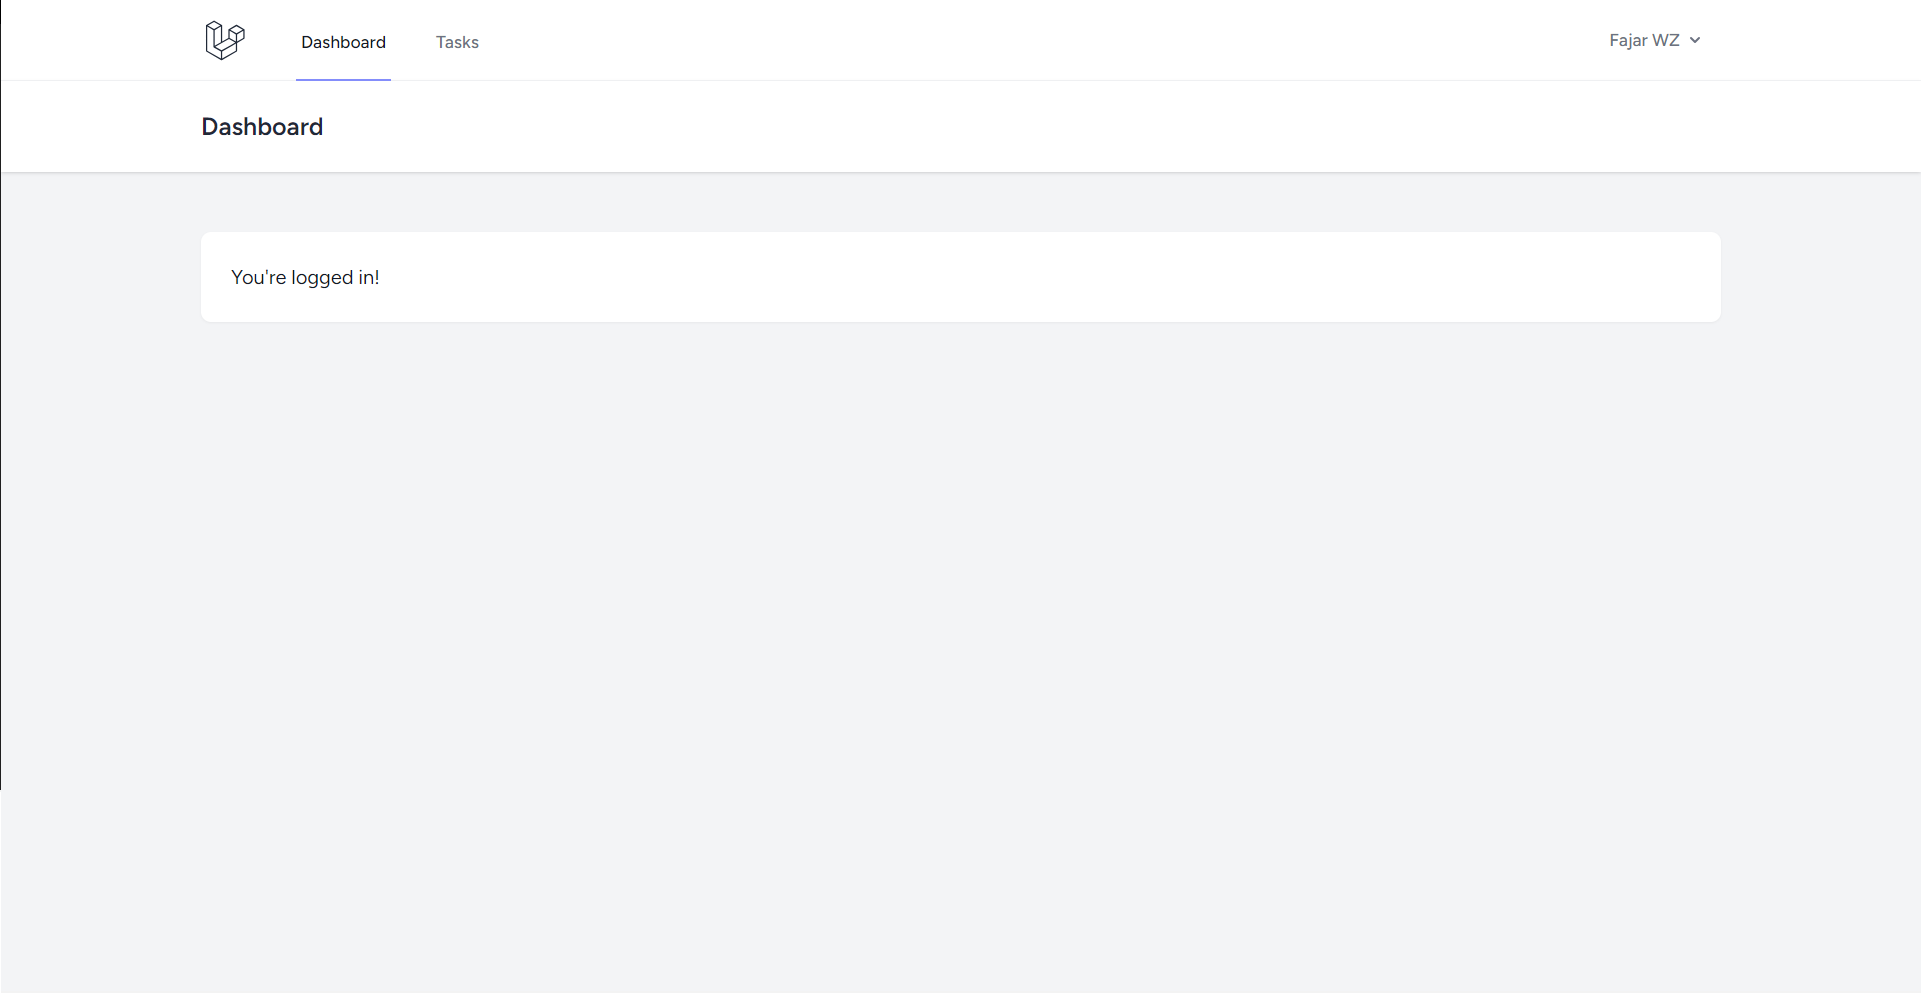
Dashboard Page
Here is how the Dashboard page looks like. You’ll notice an additional link in the navbar labeled Tasks.
Task List Page
The /tasks page displays a table listing tasks.

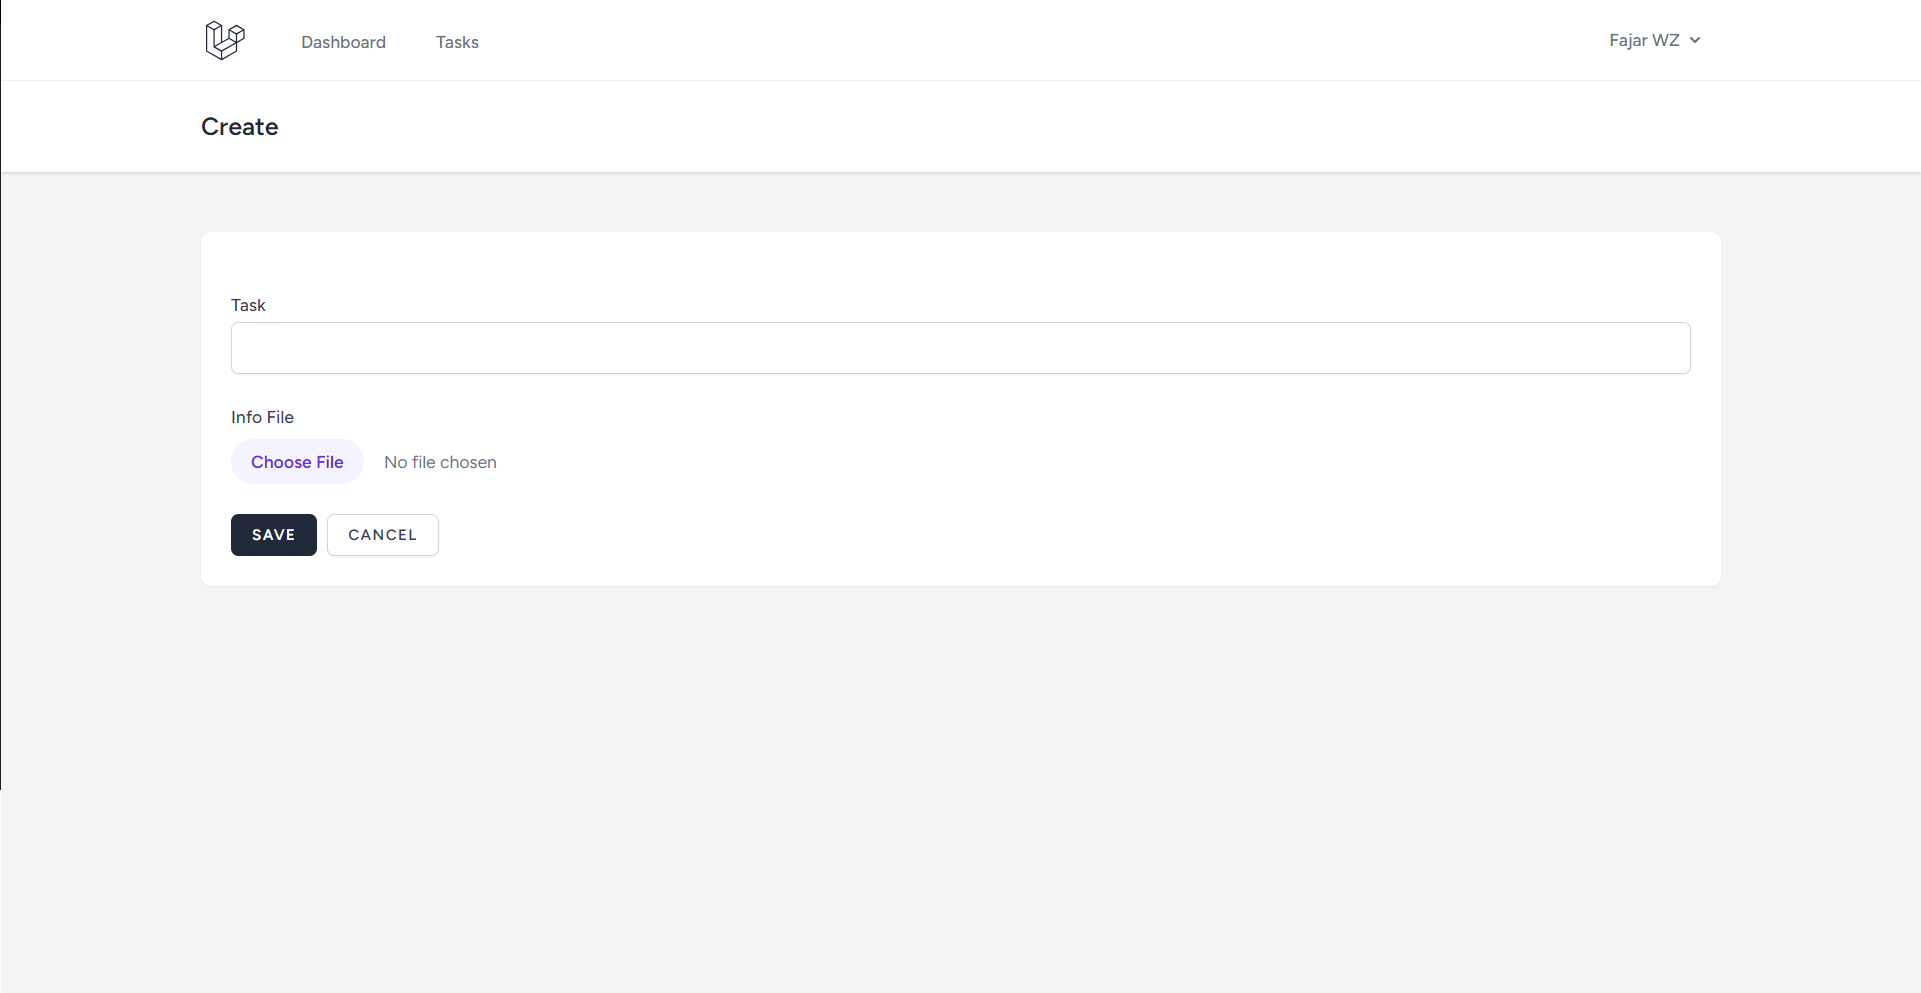
Create and Edit Task Page
Here is how the Create Task page should look like. This is also similar to the Edit Task page.
Notification Display
Upon successfully creating, editing, or deleting a task, a notification will appear.
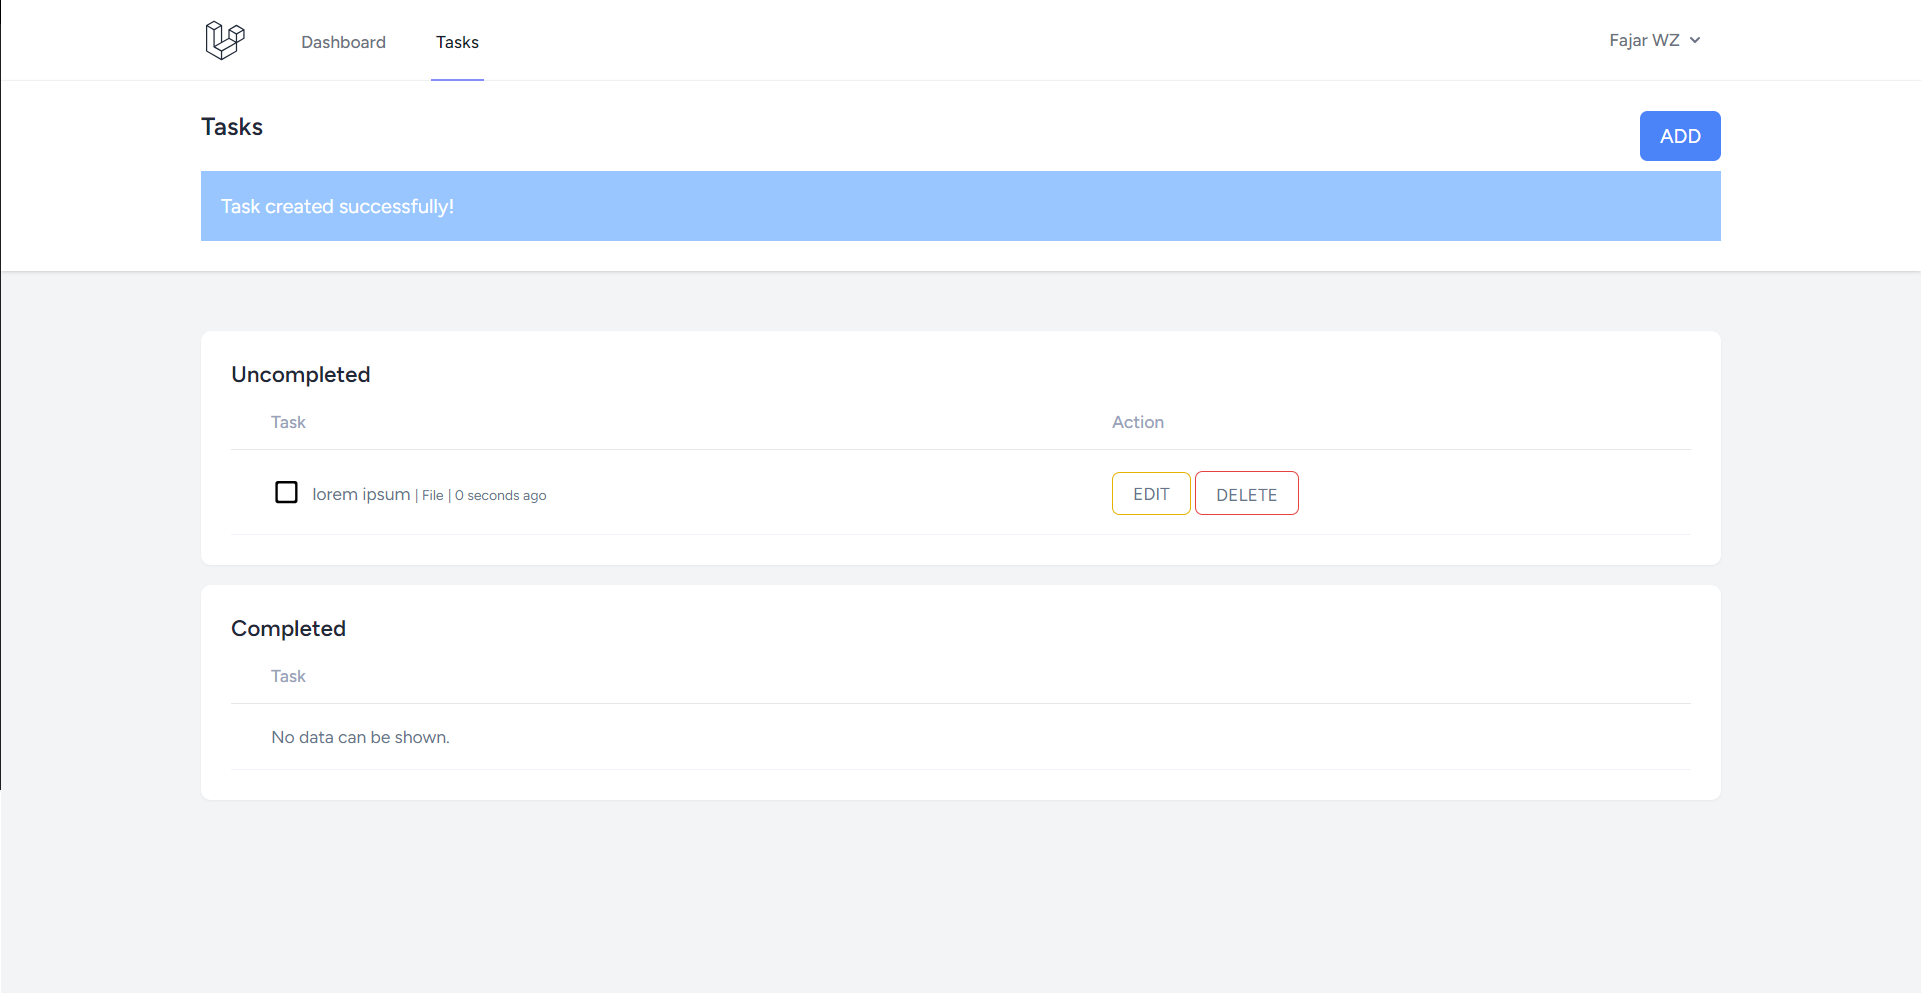
Mark Task as Completed
To mark a task as complete, click the 🔲 emoji (white square). Tasks marked complete will appear in the Completed task list.

To uncomplete a task, click the ✅ emoji (green check mark), and it will move to the Uncompleted section.
You can click the “File” to view or download the info file.
With these visual cues, you can confirm the successful implementation of CRUD operations and file uploads in your Laravel 11 application with Laravel Breeze.
Conclusion
This tutorial has provided a comprehensive guide on implementing CRUD functionality and file uploads in a Laravel 11 application using Laravel Breeze. We began by setting up our Laravel environment, including installation and database initialization.
We then integrated Laravel Breeze for authentication scaffolding, enabling seamless user registration and authentication. Following this, we created migrations and models for our tasks, facilitating data management within the application.
Through the creation of routes and controllers, we established endpoints for handling CRUD operations, ensuring efficient manipulation of task data. Additionally, we leveraged Laravel’s form request validation for secure and validated data submission.
Next, we’ve leveraged Laravel Blade components and layouts for a consistent and structured look. We also explored implementing file uploads, which allow users to attach files to their tasks.
With the application setup complete, we tested our Laravel app, examining various functionalities such as task creation, editing, deletion, and marking tasks as completed. Additionally, we observed the display of notifications to provide feedback on user actions.
By following these steps, developers can build robust web applications with Laravel 11, incorporating essential features like CRUD operations and file uploads seamlessly. With Laravel’s intuitive syntax and Laravel Breeze’s streamlined authentication, creating powerful applications has never been easier.
💻 The repository for this example can be found at fajarwz/blog-laravel11-crud-file.

