💡 I included the link to the example repository at the conclusion of this tutorial.
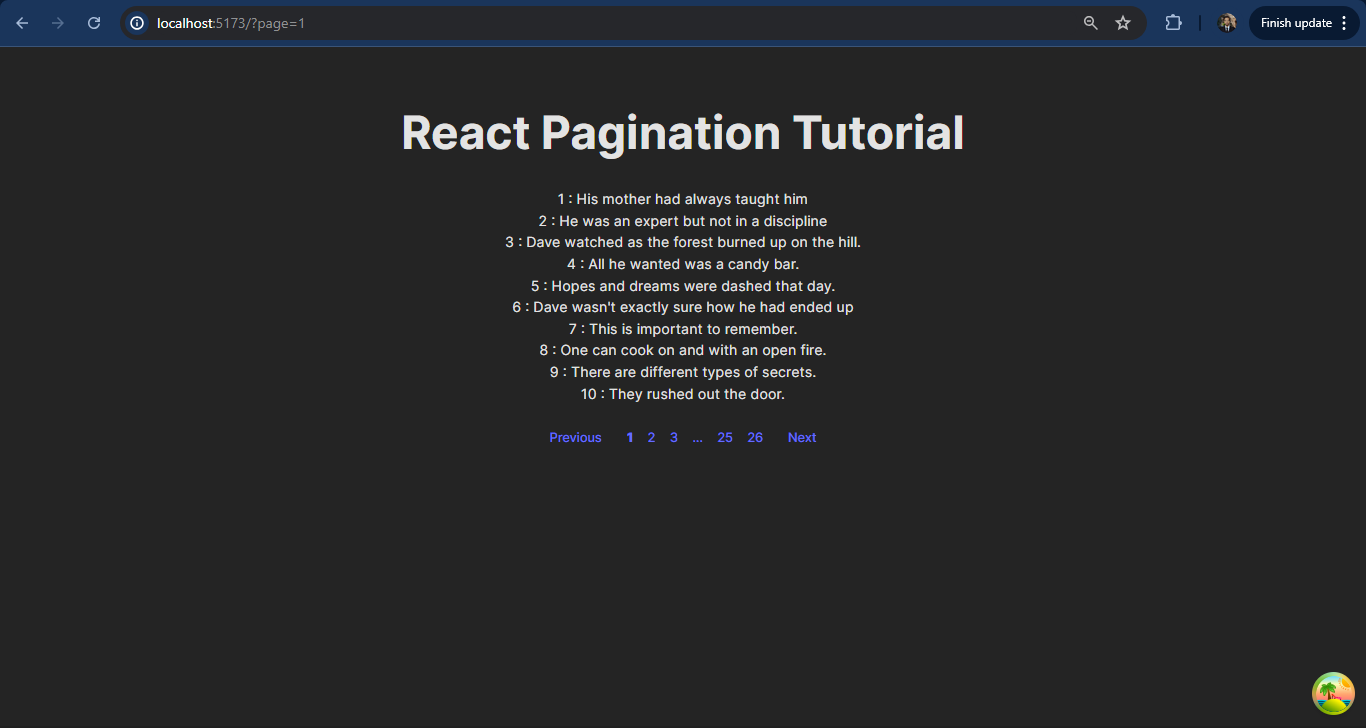
When building modern React applications, efficient data fetching and state management are essential. React Query comes as a powerful library that simplifies data fetching and improves performance with intelligent caching. In this article, we will cover how to integrate React Query into your React project using my repo from the react-paginate tutorial, fajarwz/blog-react-paginate, an example repository for paginated blog data.
Why React Query?
React Query simplifies the way we fetch, store, sync, and update server state in React. Its smart data caching mechanism ensures that:
- Data is cached and reused across components, reducing repeated API calls
- Background refetching keeps your data up to date.
- Automatic updates occur when the network or window regains focus.
In addition to caching, React Query is also great at managing data state. React Query handles loading, errors, and data state gracefully through hooks, eliminating the need for manual state tracking and boilerplate code.
With React Query, developers can focus on building features rather than worrying about managing loading state or implementing custom caching logic.
Getting Started
To follow along, clone the repository and set up the project.
Step 1: Clone the Repository
git clone https://github.com/fajarwz/blog-react-paginate.git blog-react-query
cd blog-react-query
npm install
Step 2: Install React Query
React Query isn’t included in the original project, so let’s add it:
npm install @tanstack/react-query
Install the React Query Devtools for debugging (optional but highly recommended):
npm install @tanstack/react-query-devtools
Step 3: Set Up the Query Client
React Query requires a QueryClient to manage queries across your application. Wrap your app in the QueryClientProvider.
// src/main.js

import React from 'react'
import ReactDOM from 'react-dom/client'
import App from './App.jsx'
import './index.css'
import { QueryClient, QueryClientProvider } from '@tanstack/react-query';
import { ReactQueryDevtools } from '@tanstack/react-query-devtools';

const queryClient = new QueryClient(); // add this

// also add the ReactQueryDevtools if you are installing the React Query Devtools
ReactDOM.createRoot(document.getElementById('root')).render(
  <React.StrictMode>
    <QueryClientProvider client={queryClient}>
      <App />
      <ReactQueryDevtools initialIsOpen={false} />
    </QueryClientProvider>
  </React.StrictMode>,
)
Fetching Blog Data with React Query
Let’s refactor the blog pagination logic to use React Query.
Step 1: Add a Function to Fetch the Data
Here we already have a function to fetch the data in src/api/posts.js, just make sure the code is the same as below:
// src/api/posts.js

const BASE_URL = 'https://dummyjson.com';

export const getPosts = async (page = 1, limit = 10) => {
  const url = `${BASE_URL}/posts?limit=${limit}&skip=${(page * limit)}`;

  try {
    const response = await fetch(url);

    if (!response.ok) {
      throw new Error('Network response was not ok');
    }

    const data = await response.json();
    return data;
  } catch (error) {
    console.error('Error fetching data:', error);
    throw error;
  }
};
Step 2: Use useQuery for Data Fetching
React Query’s useQuery hook allows us to fetch and cache data effortlessly. Update the code in the src/components/Content.jsx component to use React Query.
// src/components/Content.jsx

import Pagination from "./Pagination"
import { useState } from "react";
import { getPosts } from "../api/posts";
import { useQuery } from "@tanstack/react-query";

export default function Content() {
    const params = new URLSearchParams(window.location.search);
    const pageParam = params.get('page');
    const initialPage = pageParam ? parseInt(pageParam, 10) - 1 : 0;
    const [currentPage, setCurrentPage] = useState(initialPage);

    // remove the useEffect and add this instead
    const { data, isLoading, isError, error } = useQuery({
        queryKey: ['blogs', currentPage], // Unique key for this query
        queryFn: () => getPosts(currentPage),
        staleTime: 20000, // the length of time you want to keep the data in the cache in milliseconds.
    });

    const handlePageChange = ({ selected }) => {
        const nextPage = selected;

        // Update the URL with the new page value
        const params = new URLSearchParams(window.location.search);
        params.set('page', nextPage + 1);

        // Replace the current URL without reloading the page
        window.history.replaceState({}, '', `${window.location.pathname}?${params.toString()}`);

        setCurrentPage(nextPage);
    };

    // we can change the loading useState with the isLoading from our useQuery
    if (isLoading) return <p>Loading...</p>;
    if (isError) return <p>Error: {error.message}</p>;

    if (data.posts?.length > 0) {
        const limit = 10;
        const pageCount = Math.ceil(data.total / limit)
        return <>
            {data.posts.map((post) => (
                <div key={post.id}>{`${post.id} : ${post.title}`}</div>
            ))}

            <Pagination initialPage={initialPage} pageCount={pageCount} onPageChange={handlePageChange} />
        </>
    }

    return <div>No posts found.</div>
}
That’s it! Now, with useQuery, we efficiently fetch data while leveraging caching. When navigating to other pages, the previously fetched data is stored under its unique queryKey. This means that whenever we request data with the same queryKey, it is retrieved directly from the cache instead of making a new network request, significantly improving performance and user experience.

The staleTime is set to 20000 so our data will be considered stale and need to be re-fetched after 20 seconds. However, you can set it to your liking.
You can check your Devtools under the “Network” tab to check the data fetching. You will see that when you visit a previously visited page, the network request is no longer triggered, because our browser fetches the data from the cache.
You also see that there are objects returned from useQuery. Here are the details:
datais the actual data returned fromqueryFn. React Query automatically updates this as data is fetched or re-fetched.isLoadingis a boolean indicating whether the query is currently fetching data.isErroris a boolean indicating whether the query encountered an error.erroris the actual error object returned if the query fails.
Speaking of Devtools, React Query also has Devtools specifically used to debug React Query itself.
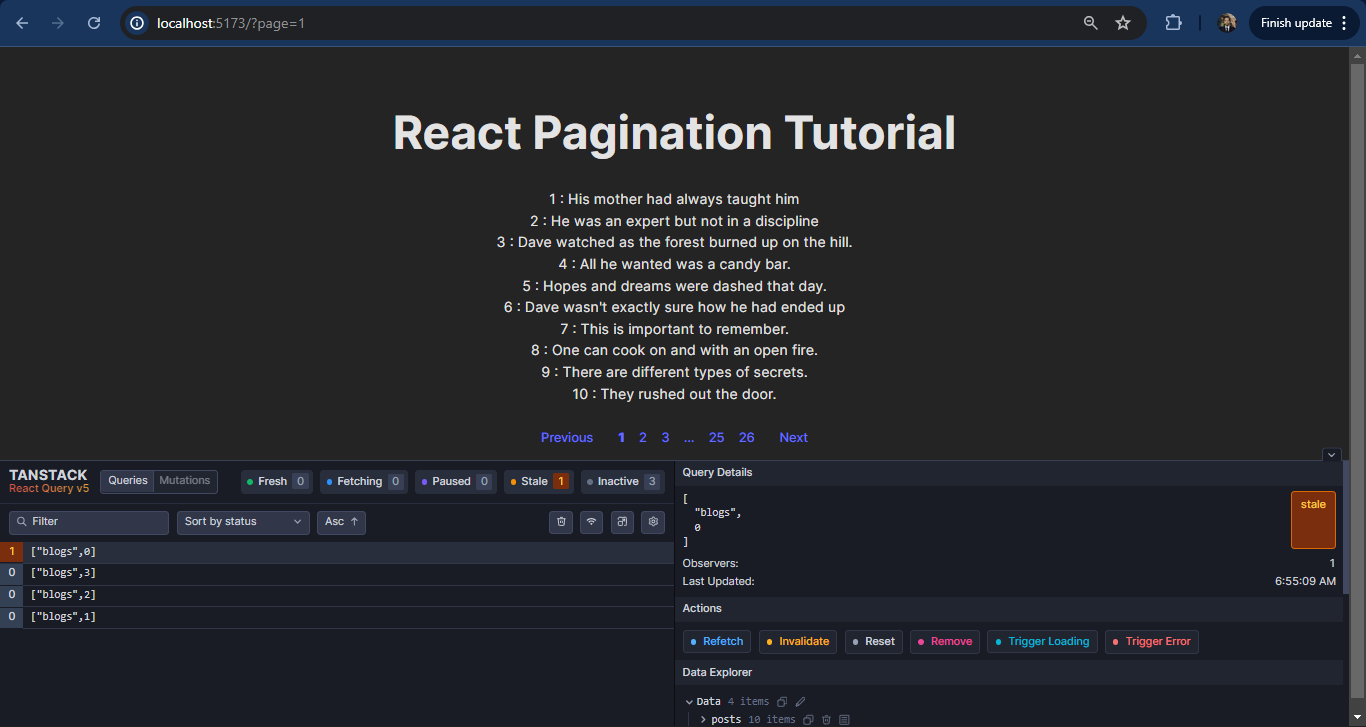
React Query Devtools is an indispensable companion when working with React Query. It provides an interactive interface to monitor the status of your queries, making it easy for you to debug, optimize, and understand your app’s data fetching behavior. Devtools enhances the development experience by offering real-time insights into your query performance.
If you have previously installed Devtools, you will see an icon at the bottom right of the screen. When you click on it, it will bring up the debugging tools where you can check the queries you have used and their status.

Conclusion
React Query is a game changer when it comes to efficiently fetching and storing data in React applications. By leveraging features like useQuery, queryKey, and built-in data storage mechanisms, you can simplify data management, reduce repeated network requests, and improve the user experience. The addition of tools like React Query Devtools further enhances your ability to debug and optimize your queries, making your development workflow smoother.
In this tutorial, we show you how to integrate React Query into a blog pagination example, replacing manual data fetching logic with a smarter, declarative approach. Using queryKey, you can ensure unique identification of cached data, while properties like data, isLoading, and isError help you handle different query states efficiently.
The power of React Query lies in its simplicity and flexibility, allowing you to focus on building features without worrying about boilerplate code for data fetching and state management. Get started with React Query in your projects today and experience the ease of building modern, data-driven React applications!
💻 You can locate the repository for this example at fajarwz/blog-react-query.


