💡 I included the link to the example repository at the conclusion of this tutorial.
Laravel is a popular open-source PHP framework that helps developers build modern, robust, and scalable web applications. Localization, also known as L10n, is the process of adapting a product to meet the language, cultural, and other specific requirements of a particular country or region. Laravel provides support for Localization through its built-in functions, but for a more comprehensive solution, you can use the mcamara/laravel-localization package.
In this tutorial, we’ll guide you through the process of installing and setting up the package, and building a simple multilingual blog website using Laravel.
Step 1: Installation
Laravel Installation
Before we start, you need to have Laravel installed on your system. If you don’t have it installed, run the following command in your terminal to install the version 9:
composer create-project laravel/laravel:^9.0 blog-laravel-localization
This will create a new Laravel project in our current directory named blog-laravel-localization.
Step 2: Initializing the Database
Next, we need to set up a database and include some sample data to work with. For this tutorial, create a database named blog_laravel_localization. After creating the database, we need to modify the database connection settings in our Laravel app’s .env file to match the new database name, as well as the username and password.
Step 3: Database Table Design
For our blog example, we will use the following table design:

Step 4: Initializing the Migration
For our multilingual blog web, we need to create two database tables: posts and post_translations
Run the following command:
php artisan make:migration "create posts table"
Use the following code to create a posts migration:
public function up()
{
    Schema::create('posts', function (Blueprint $table) {
        $table->id();
        $table->tinyInteger('is_draft')->default(0);
        $table->timestamps();
    });
}
Run the following command:
php artisan make:migration "create post_translations table"
And use the following code to create a post_translations migration:
public function up()
{
    Schema::create('post_translations', function (Blueprint $table) {
        $table->id();
        $table->bigInteger('post_id')->unsigned();
        $table->string('locale'); // id, en, etc.
        $table->string('title');
        $table->text('content');

        // We added a unique constraint on post_id and locale to ensure each
        // post translation is unique, and a foreign key constraint on post_id
        // to reference the posts table.
        $table->unique(['post_id', 'locale']);
        $table->foreign('post_id')->references('id')->on('posts')->onDelete('cascade');
    });
}
Step 5: Initializing the Seeder
We will use Laravel Factories to seed our data. Before that, we need to create the Models for our posts and post_translations.
Create Post Model
Use the following code to create the Post Model:
// app/Models/Post.php
<?php

namespace App\Models;

use Illuminate\Database\Eloquent\Factories\HasFactory;
use Illuminate\Database\Eloquent\Model;

class Post extends Model
{
    use HasFactory;

    // Returns the related post translations for this post
    public function postTranslations()
    {
        return $this->hasMany(PostTranslation::class);
    }
}
Create PostTranslation Model
Use the following code to create the PostTranslation Model:
// app/Models/PostTranslation.php
<?php

namespace App\Models;

use Illuminate\Database\Eloquent\Factories\HasFactory;
use Illuminate\Database\Eloquent\Model;

class PostTranslation extends Model
{
    use HasFactory;

    // we don't use timestamps in our post_translations table
    public $timestamps = false;

    // Not mandatory in this tutorial, but it is a best practice
    public function post()
    {
        return $this->belongsTo(Post::class);
    }
}
Read also:
Create Factory for Post
Create a PostFactory with the following codes:
// database/factories/PostFactory.php
<?php

namespace Database\Factories;

use Illuminate\Database\Eloquent\Factories\Factory;

/**
 * @extends \Illuminate\Database\Eloquent\Factories\Factory<\App\Models\Post>
 */
class PostFactory extends Factory
{
    /**
     * Define the model's default state.
     *
     * @return array<string, mixed>
     */
    public function definition()
    {
        return [
            'is_draft' => 1,
        ];
    }
}
Create Factory for PostTranslation
Create a PostTranslationFactory with the following codes:
// database/factories/PostTranslationFactory.php
<?php

namespace Database\Factories;

use Illuminate\Database\Eloquent\Factories\Factory;

/**
 * @extends \Illuminate\Database\Eloquent\Factories\Factory<\App\Models\Post>
 */
class PostTranslationFactory extends Factory
{
    /**
     * Define the model's default state.
     *
     * @return array<string, mixed>
     */
    public function definition()
    {
        return [
            'post_id' => null,
            // we use Faker library, which generates fake data
            'locale' => $this->faker->randomElement(['id', 'en']),
            'title' => $this->faker->sentence(),
            'content' => $this->faker->paragraph(2),
        ];
    }
}
Update our DatabaseSeeder Codes
Update the run() method with the following codes:
// database/seeders/DatabaseSeeder.php
public function run()
{
    // create 10 dummy posts with two language translations each.
    for ($i=0; $i < 10; $i++) {
        // create a post using factory
        $post = Post::factory()->create();

        // create a post translation for the 'id' locale using the factory
        PostTranslation::factory()->create([
            'post_id' => $post->id,
            'locale' => 'id',
        ]);
        // create a post translation for the 'en' locale using the factory
        PostTranslation::factory()->create([
            'post_id' => $post->id,
            'locale' => 'en',
        ]);
    }
}
Once we have our migration and seeder set up, we can run the following command to run the migration and seed the data into the posts and post_translations table:
php artisan migrate --seed
Step 6: Install the mcamara/laravel-localization Package
Install the Package With Composer
Install it using composer:
composer require mcamara/laravel-localization
Package Configuration
In order to edit the default configuration you may execute:
php artisan vendor:publish --provider="Mcamara\LaravelLocalization\LaravelLocalizationServiceProvider"
After that, config/laravellocalization.php will be created.
In the config/laravellocalization.php configuration file, make sure to specify the languages that you want to support. For this tutorial, we will only use the id and en locales, so the supportedLocales setting will look like this:
...
'supportedLocales' => [
        // ... other commented value
        'id'          => ['name' => 'Indonesian',             'script' => 'Latn', 'native' => 'Bahasa Indonesia', 'regional' => 'id_ID'],
        'en'          => ['name' => 'English',                'script' => 'Latn', 'native' => 'English', 'regional' => 'en_GB'],
        // ... other commented value
    ],
...
We may also register the package’s middleware to app\Http\Kernel.php but not mandatory in this tutorial:
// app\Http\Kernel.php
<?php
namespace App\Http;

use Illuminate\Foundation\Http\Kernel as HttpKernel;

class Kernel extends HttpKernel {

    protected $routeMiddleware = [
        ...

        /**** OTHER MIDDLEWARE ****/
        'localize'                => \Mcamara\LaravelLocalization\Middleware\LaravelLocalizationRoutes::class,
        'localizationRedirect'    => \Mcamara\LaravelLocalization\Middleware\LaravelLocalizationRedirectFilter::class,
        'localeSessionRedirect'   => \Mcamara\LaravelLocalization\Middleware\LocaleSessionRedirect::class,
        'localeCookieRedirect'    => \Mcamara\LaravelLocalization\Middleware\LocaleCookieRedirect::class,
        'localeViewPath'          => \Mcamara\LaravelLocalization\Middleware\LaravelLocalizationViewPath::class

        ...
    ];

}
Step 7: Create the Routes
We will create two pages, the Home and About pages, and display our multilingual blog posts on the Home page. Thus, we need to create two routes for these pages.
// routes/web.php
<?php

use Illuminate\Support\Facades\Route;

// grouping the routes with locale prefix like 'id', 'en', etc.
Route::group(['prefix' => LaravelLocalization::setLocale()], function () {
    Route::get('/', [App\Http\Controllers\HomeController::class, 'index'])->name('home');
    Route::get('/about', [App\Http\Controllers\AboutController::class, 'index'])->name('about');
});
Step 8: Create the Controllers
Create the HomeController
To display our blog posts on the home page, we need to create a HomeController. This controller will have a single method named index(). This method retrieves the current locale, and then queries the Post model along with its translations. It uses the retrieved locale to filter the translations, ensuring only the translations for the current locale are retrieved. Finally, the data is passed to the view home to be displayed to the user. The code for the HomeController is as follows:
// app/Http/Controllers/HomeController.php
<?php

namespace App\Http\Controllers;

use Illuminate\Http\Request;
use App\Models\Post;

class HomeController extends Controller
{
    public function index()
    {
        $locale = app()->currentLocale();
        // eager load the postTranslations relation
        $data = Post::with(['postTranslations' => function($query) use($locale) {
            // give a condition so we only retrieve the current locale translation
            $query->where('locale', $locale);
        }])->get();

        return view('home', ['data' => $data]);
    }
}
Create the AboutController
In this step, we will create a controller specifically for our About page. This controller will have only one method, index(), which will return the about view.
// app/Http/Controllers/AboutController.php
<?php

namespace App\Http\Controllers;

use Illuminate\Http\Request;

class AboutController extends Controller
{
    public function index()
    {
        return view('about');
    }
}
Step 9: Create the Views
Create the Home View
Let’s create the home view for our home page. We’ll design the home page with a navbar that includes a locale switcher. We’ll also display all the post data based on the currently selected locale.
<!DOCTYPE html>
<html lang="{{ str_replace('_', '-', app()->getLocale()) }}">
    <head>
        <meta charset="utf-8">
        <meta name="viewport" content="width=device-width, initial-scale=1">

        <title>Laravel</title>

        <!-- Fonts -->
        <link href="https://fonts.bunny.net/css2?family=Nunito:wght@400;600;700&display=swap" rel="stylesheet">

        <!-- Styles -->
        <style>

        </style>

        <style>
            body {
                font-family: 'Nunito', sans-serif;
            }
        </style>
        <link href="https://cdn.jsdelivr.net/npm/bootstrap@5.0.1/dist/css/bootstrap.min.css" rel="stylesheet" integrity="sha384-+0n0xVW2eSR5OomGNYDnhzAbDsOXxcvSN1TPprVMTNDbiYZCxYbOOl7+AMvyTG2x" crossorigin="anonymous">
    </head>
    <body>
        <nav class="navbar navbar-expand-lg navbar-dark bg-dark">
            <div class="container-fluid">
                <a class="navbar-brand" href="#">Fajarwz</a>
                <button class="navbar-toggler" type="button" data-bs-toggle="collapse" data-bs-target="#navbarSupportedContent" aria-controls="navbarSupportedContent" aria-expanded="false" aria-label="Toggle navigation">
                <span class="navbar-toggler-icon"></span>
                </button>
                <div class="collapse navbar-collapse" id="navbarSupportedContent">
                    <ul class="navbar-nav me-auto mb-2 mb-lg-0">
                        <li class="nav-item d-flex">
                            <a class="nav-link {{ Route::currentRouteName() === 'home' ? 'active' : '' }}" aria-current="page" href="{{ route('home') }}">Home</a>
                            <a class="nav-link {{ Route::currentRouteName() === 'about' ? 'active' : '' }}" aria-current="page" href="{{ route('about') }}">About</a>
                        </li>
                        <li class="nav-item dropdown">
                            <a class="nav-link dropdown-toggle" href="#" id="navbarDropdown" role="button" data-bs-toggle="dropdown" aria-expanded="false">
                                {{ strtoupper(LaravelLocalization::getCurrentLocale()) }}
                            </a>
                            <ul class="dropdown-menu" aria-labelledby="navbarDropdown">
                                @foreach (LaravelLocalization::getSupportedLanguagesKeys() as $locale)
                                    <li><a class="dropdown-item" href="{{ LaravelLocalization::getLocalizedURL($locale) }}">{{ strtoupper($locale) }}</a></li>
                                @endforeach
                            </ul>
                        </li>
                    </ul>
                </div>
            </div>
        </nav>
        <div class="container">
            <div class="row pt-5">
                <div class="text-center pb-3">
                    <h1>{{ __('general.title') }}</h1>
                </div>
                @foreach ($data as $data)
                <div class="col-3">
                    <div class="card text-white bg-dark mb-3" style="max-width: 18rem;">
                        <div class="card-header">{{ $data->postTranslations->first()->locale }}</div>
                        <div class="card-body">
                            <h5 class="card-title">{{ $data->postTranslations->first()->title }}</h5>
                            <p class="card-text">{{ Str::limit( strip_tags( $data->postTranslations->first()->content ), 100 ) }}</p>
                        </div>
                    </div>
                </div>
                @endforeach
            </div>
        </div>
        <script src="https://cdn.jsdelivr.net/npm/bootstrap@5.0.1/dist/js/bootstrap.bundle.min.js" integrity="sha384-gtEjrD/SeCtmISkJkNUaaKMoLD0//ElJ19smozuHV6z3Iehds+3Ulb9Bn9Plx0x4" crossorigin="anonymous"></script>
    </body>
</html>
Read also:
Create the About View
Now, we will create a view for the About page which will also be designed with a navbar including a locale switcher. This page will display only the title “About”.
<!DOCTYPE html>
<html lang="{{ str_replace('_', '-', app()->getLocale()) }}">
    <head>
        <meta charset="utf-8">
        <meta name="viewport" content="width=device-width, initial-scale=1">

        <title>Laravel</title>

        <!-- Fonts -->
        <link href="https://fonts.bunny.net/css2?family=Nunito:wght@400;600;700&display=swap" rel="stylesheet">

        <!-- Styles -->
        <style>

        </style>

        <style>
            body {
                font-family: 'Nunito', sans-serif;
            }
        </style>
        <link href="https://cdn.jsdelivr.net/npm/bootstrap@5.0.1/dist/css/bootstrap.min.css" rel="stylesheet" integrity="sha384-+0n0xVW2eSR5OomGNYDnhzAbDsOXxcvSN1TPprVMTNDbiYZCxYbOOl7+AMvyTG2x" crossorigin="anonymous">
    </head>
    <body>
        <nav class="navbar navbar-expand-lg navbar-dark bg-dark">
            <div class="container-fluid">
                <a class="navbar-brand" href="#">Fajarwz</a>
                <button class="navbar-toggler" type="button" data-bs-toggle="collapse" data-bs-target="#navbarSupportedContent" aria-controls="navbarSupportedContent" aria-expanded="false" aria-label="Toggle navigation">
                <span class="navbar-toggler-icon"></span>
                </button>
                <div class="collapse navbar-collapse" id="navbarSupportedContent">
                    <ul class="navbar-nav me-auto mb-2 mb-lg-0">
                        <li class="nav-item d-flex">
                            <a class="nav-link {{ Route::currentRouteName() === 'home' ? 'active' : '' }}" aria-current="page" href="{{ route('home') }}">Home</a>
                            <a class="nav-link {{ Route::currentRouteName() === 'about' ? 'active' : '' }}" aria-current="page" href="{{ route('about') }}">About</a>
                        </li>
                        <li class="nav-item dropdown">
                            <a class="nav-link dropdown-toggle" href="#" id="navbarDropdown" role="button" data-bs-toggle="dropdown" aria-expanded="false">
                                {{ strtoupper(LaravelLocalization::getCurrentLocale()) }}
                            </a>
                            <ul class="dropdown-menu" aria-labelledby="navbarDropdown">
                                @foreach (LaravelLocalization::getSupportedLanguagesKeys() as $locale)
                                    <li><a class="dropdown-item" href="{{ LaravelLocalization::getLocalizedURL($locale) }}">{{ strtoupper($locale) }}</a></li>
                                @endforeach
                            </ul>
                        </li>
                    </ul>
                </div>
            </div>
        </nav>
        <div class="container">
            <div class="row pt-5">
                <div class="text-center pb-3">
                    <h1>{{ __('general.about') }}</h1>
                </div>
            </div>
        </div>
        <script src="https://cdn.jsdelivr.net/npm/bootstrap@5.0.1/dist/js/bootstrap.bundle.min.js" integrity="sha384-gtEjrD/SeCtmISkJkNUaaKMoLD0//ElJ19smozuHV6z3Iehds+3Ulb9Bn9Plx0x4" crossorigin="anonymous"></script>
    </body>
</html>
Step 10: Create the Lang File
You see there is a code like this:
{{ __('general.title') }}
This is from a lang file, it is retrieving a value based on currently selected locale.
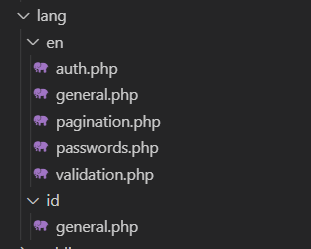
Locate the lang folder in your project’s root directory. In the lang folder, create a new folder for each language you want to support. For example, if you want to support Indonesia and English, you would create two folders: “id” and “en”. Within each language folder, create a new file. For example, we will call it general.php.
In the general.php file, return an array filled with keys and their corresponding translation values. This way, you can easily retrieve the values based on the currently selected locale.
For example: {{ __('general.title') }} retrieves the value of the “title” key from the general.php file in the currently selected language folder.
Let’s set it up.
Write the following codes inside en/general.php:
// lang/en/general.php
<?php

return [
    'about' => 'About',
    'title' => 'Latest Posts',
];
And write the following codes inside id/general.php:
// lang/id/general.php
<?php

return [
    'about' => 'Tentang',
    'title' => 'Artikel Terbaru',
];
Step 11: Test the Web
Now is the time for us to check our work. Run the Laravel app.
php artisan serve
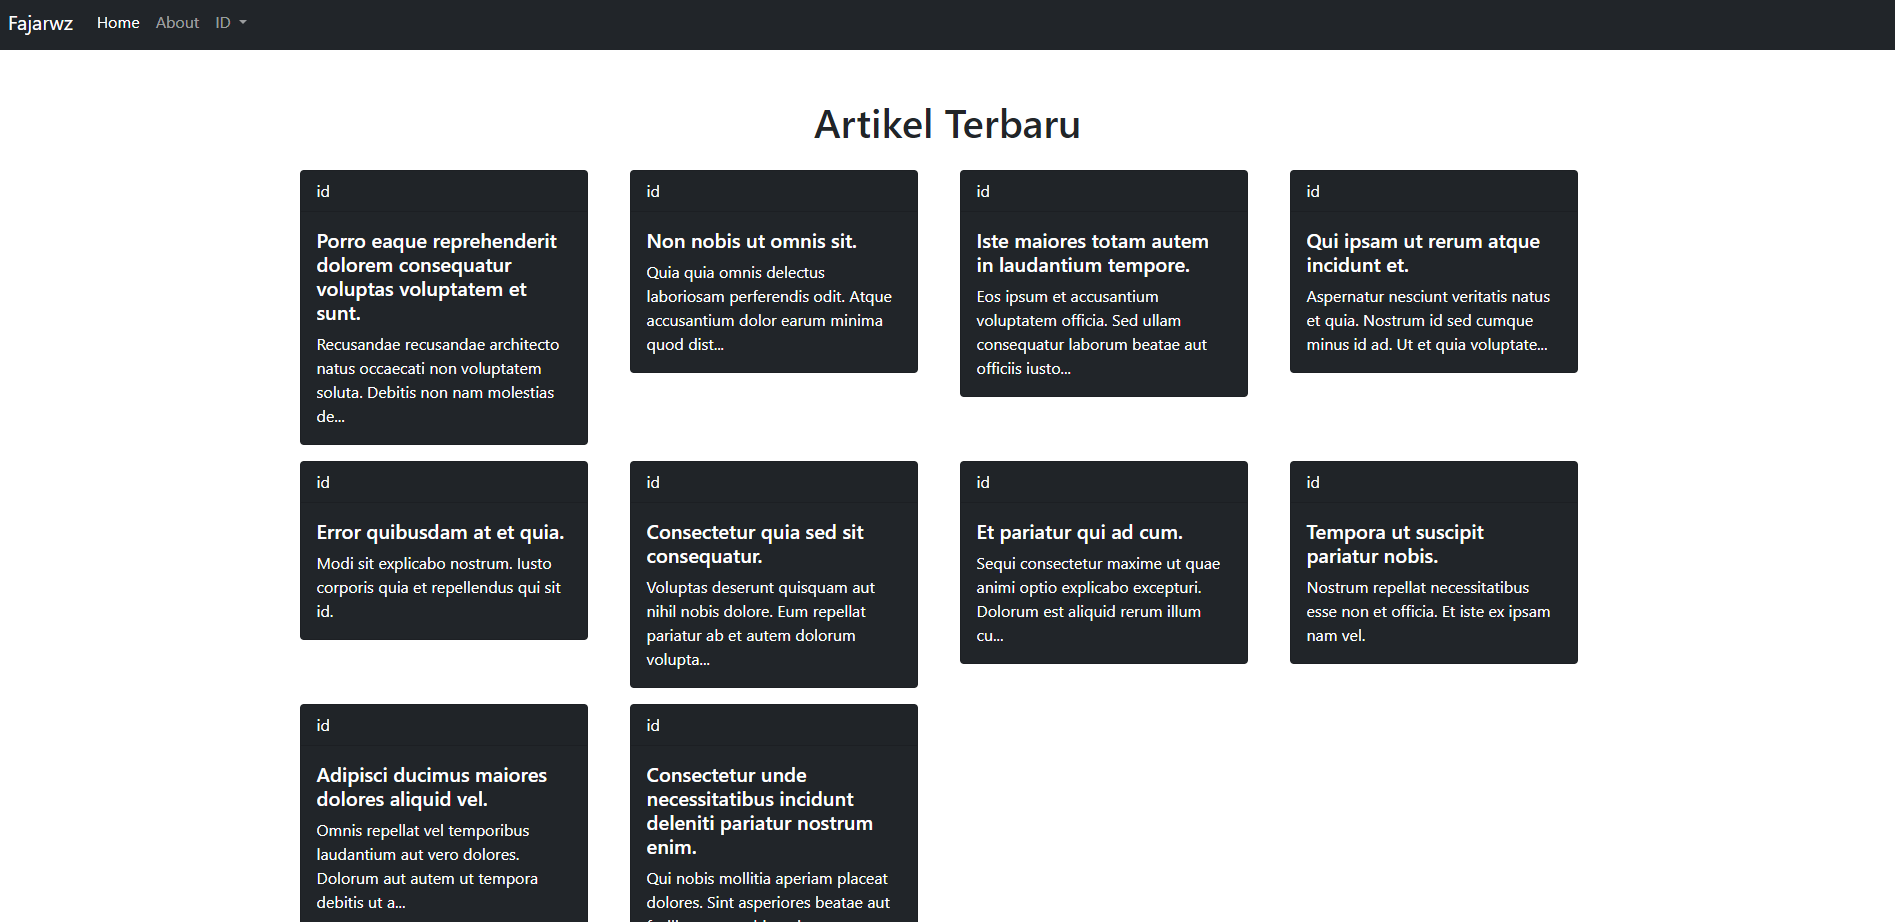
Here is how the Home Page with id locale looks like, it retrieve all posts with id locale only.
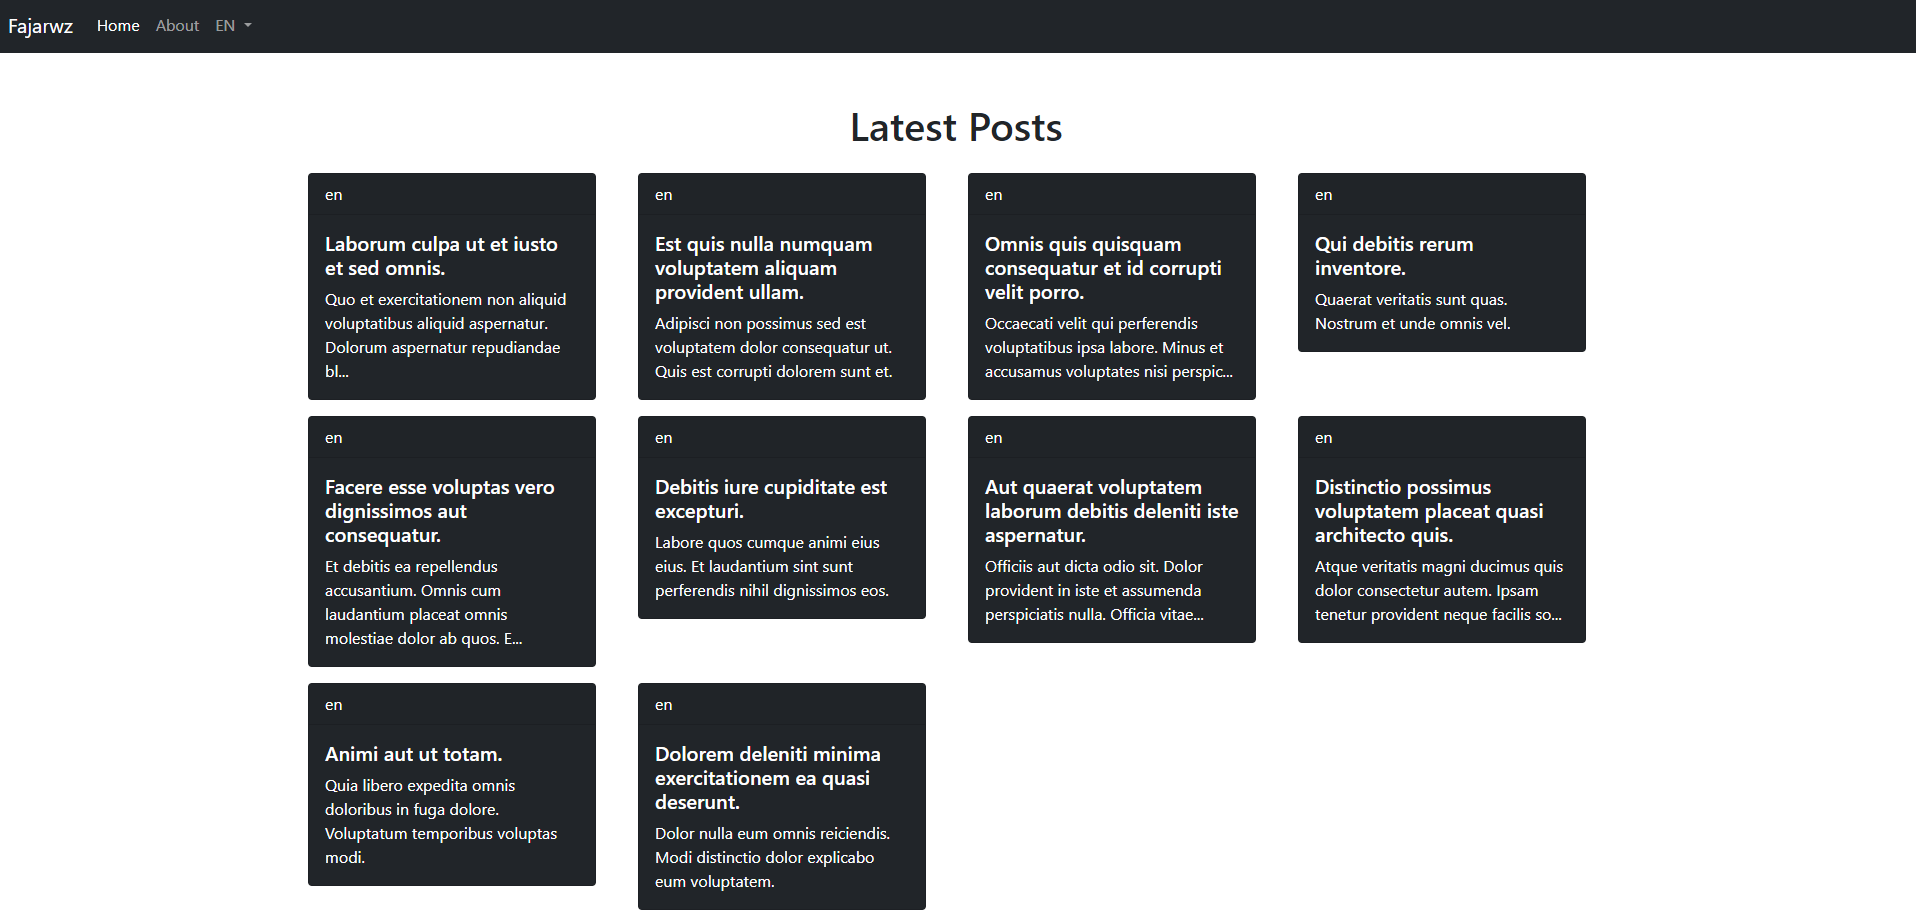
And here is how the Home Page with en locale looks like, it retrieve all posts with en locale only.
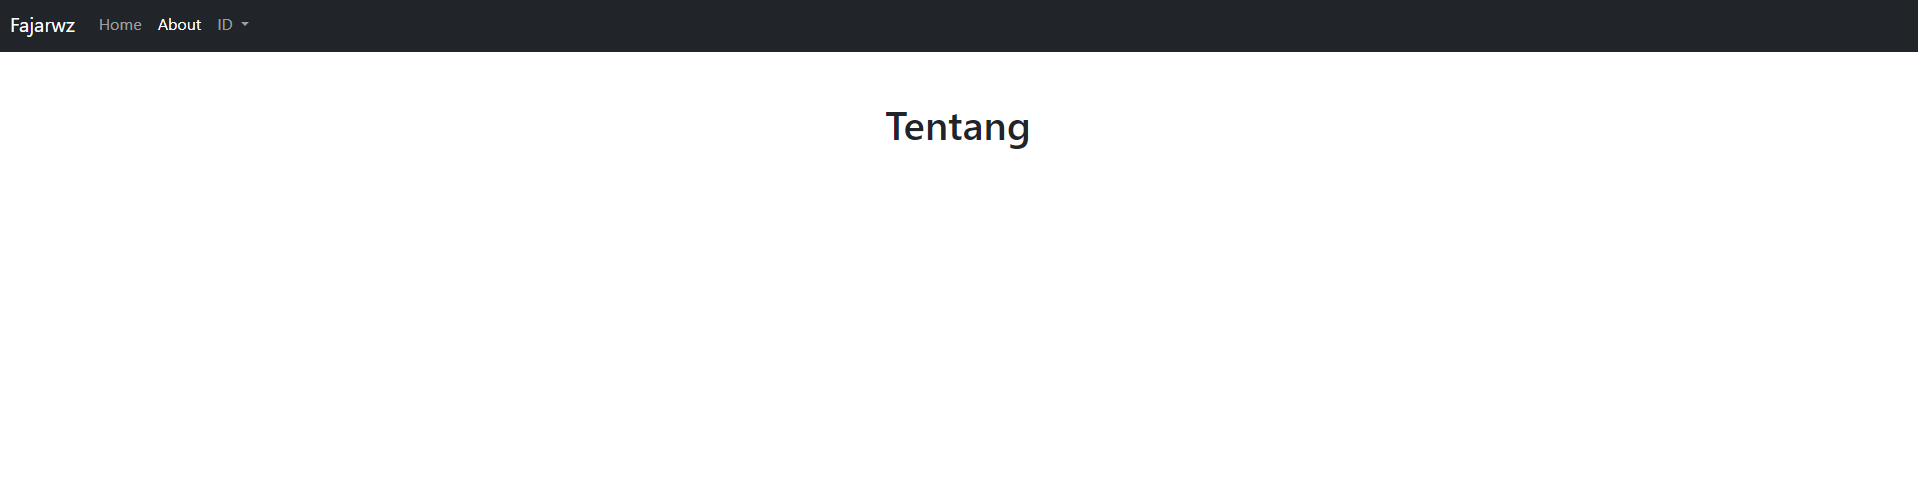
This is the About page with id locale
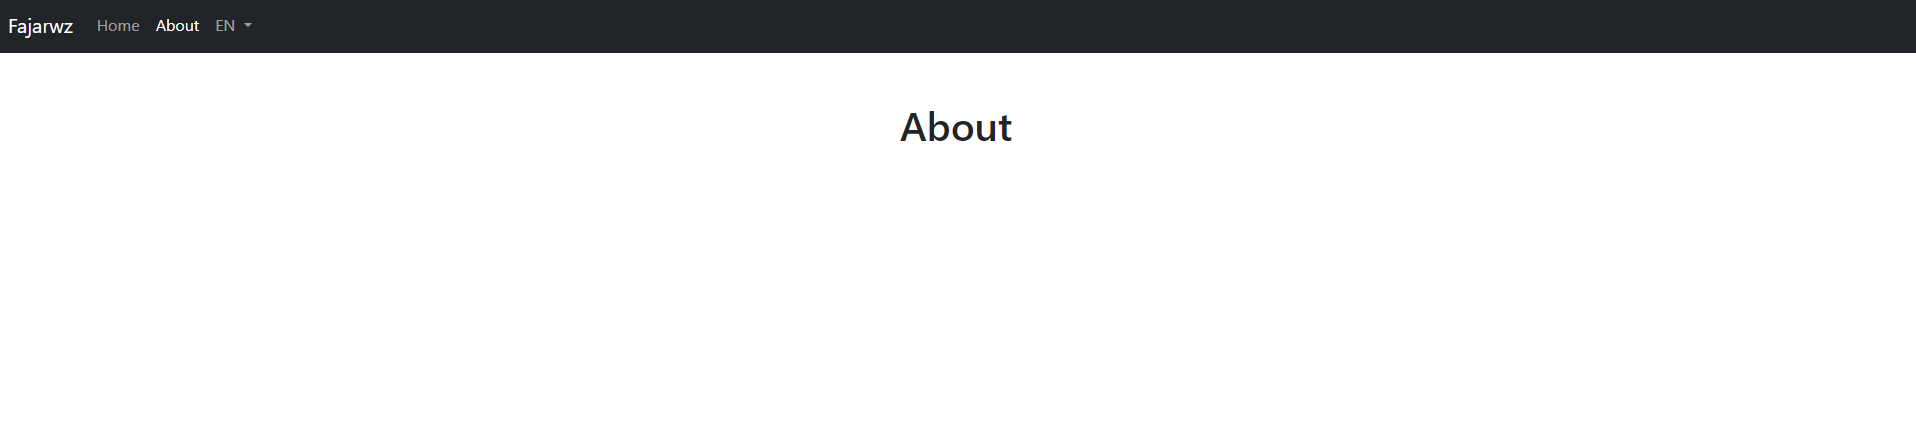
And this is the About page with en locale
Conclusion
In conclusion, this article has provided a step-by-step guide on how to create a multi-language website using Laravel. By following this tutorial, you will have learned how to: create the views for your Home and About pages, set up the navigation bar with a locale switcher, create the lang folder, and create a lang file for each language you want to support. With these skills, you should be able to create a website that supports multiple languages and provides a seamless user experience for your visitors.
💻 The repository for this example can be found at fajarwz/blog-laravel-localization.

