
💡 I included the link to the example repository at the conclusion of this tutorial.
In this tutorial, we will learn how to send SMS messages in a Laravel application using the Twilio API. Twilio is a cloud communications platform that provides a simple and powerful API for sending SMS messages, making it an excellent choice for integrating SMS functionality into your Laravel applications.
💡We’ve already covered how to send SMS messages using Vonage (formerly Nexmo) in the previous article so please check it out if you prefer Vonage over Twilio.
In this article, I will provide a simple tutorial where we will only create a route to send an SMS message. So let’s get started!
Step 1: Install Laravel
We will start with a fresh Laravel application. Create a new application for this demo:
Using the Laravel Installer
laravel new blog-laravel-twilio-sms
Using Composer create-project
composer create-project laravel/laravel blog-laravel-twilio-sms
Using Laravel build and Sail
curl -s "https://laravel.build/blog-laravel-twilio-sms" | bash
This command will create a new Laravel project in a directory named blog-laravel-twilio-sms.
Read also:
Step 2: Create a Twilio Account
If you don’t have a Twilio account, you can sign up for free at twilio.com.
In the sign up page, you will be asked to fill the registration form. Afterward, you’ll need to verify the email address you used in the form. Next, Twilio may request that you verify your phone number for added security. Follow the prompts to verify your phone number by entering the code sent to your mobile device. Once your email and phone number are verified, you’ll be asked to set up your account. This involves providing some additional information, such as type of applications you plan to build with Twilio.
Once your account is set up and verified, you can log in to the Twilio dashboard. You will notice that you have a credit of approximately $15 available for you to use and try out Twilio services.
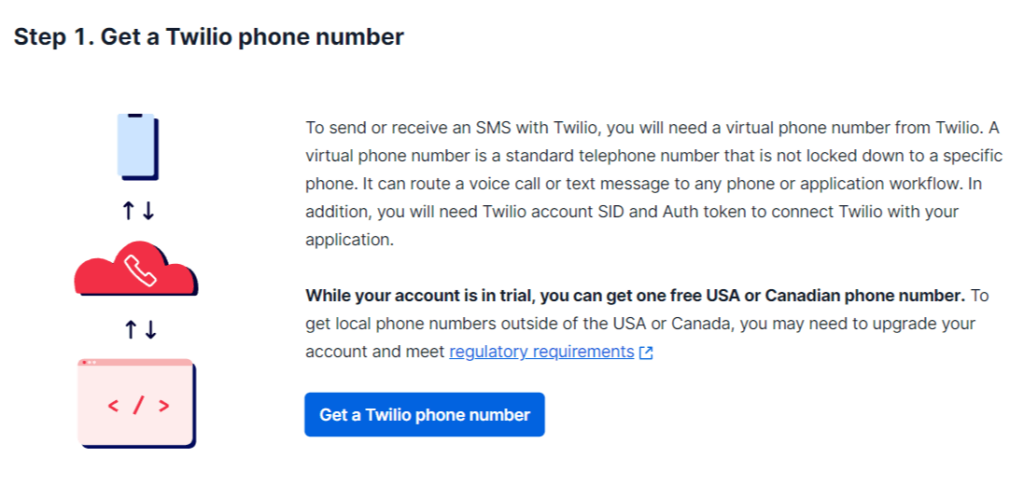
Step 3: Get Our Free Twilio Phone Number, Account SID, and Auth Token
 Source: melapress
Get your free Twilio phone number by clicking “Get a Twilio phone number” button. Afterward, keep this number as we will use it later to send SMS in our Laravel app.
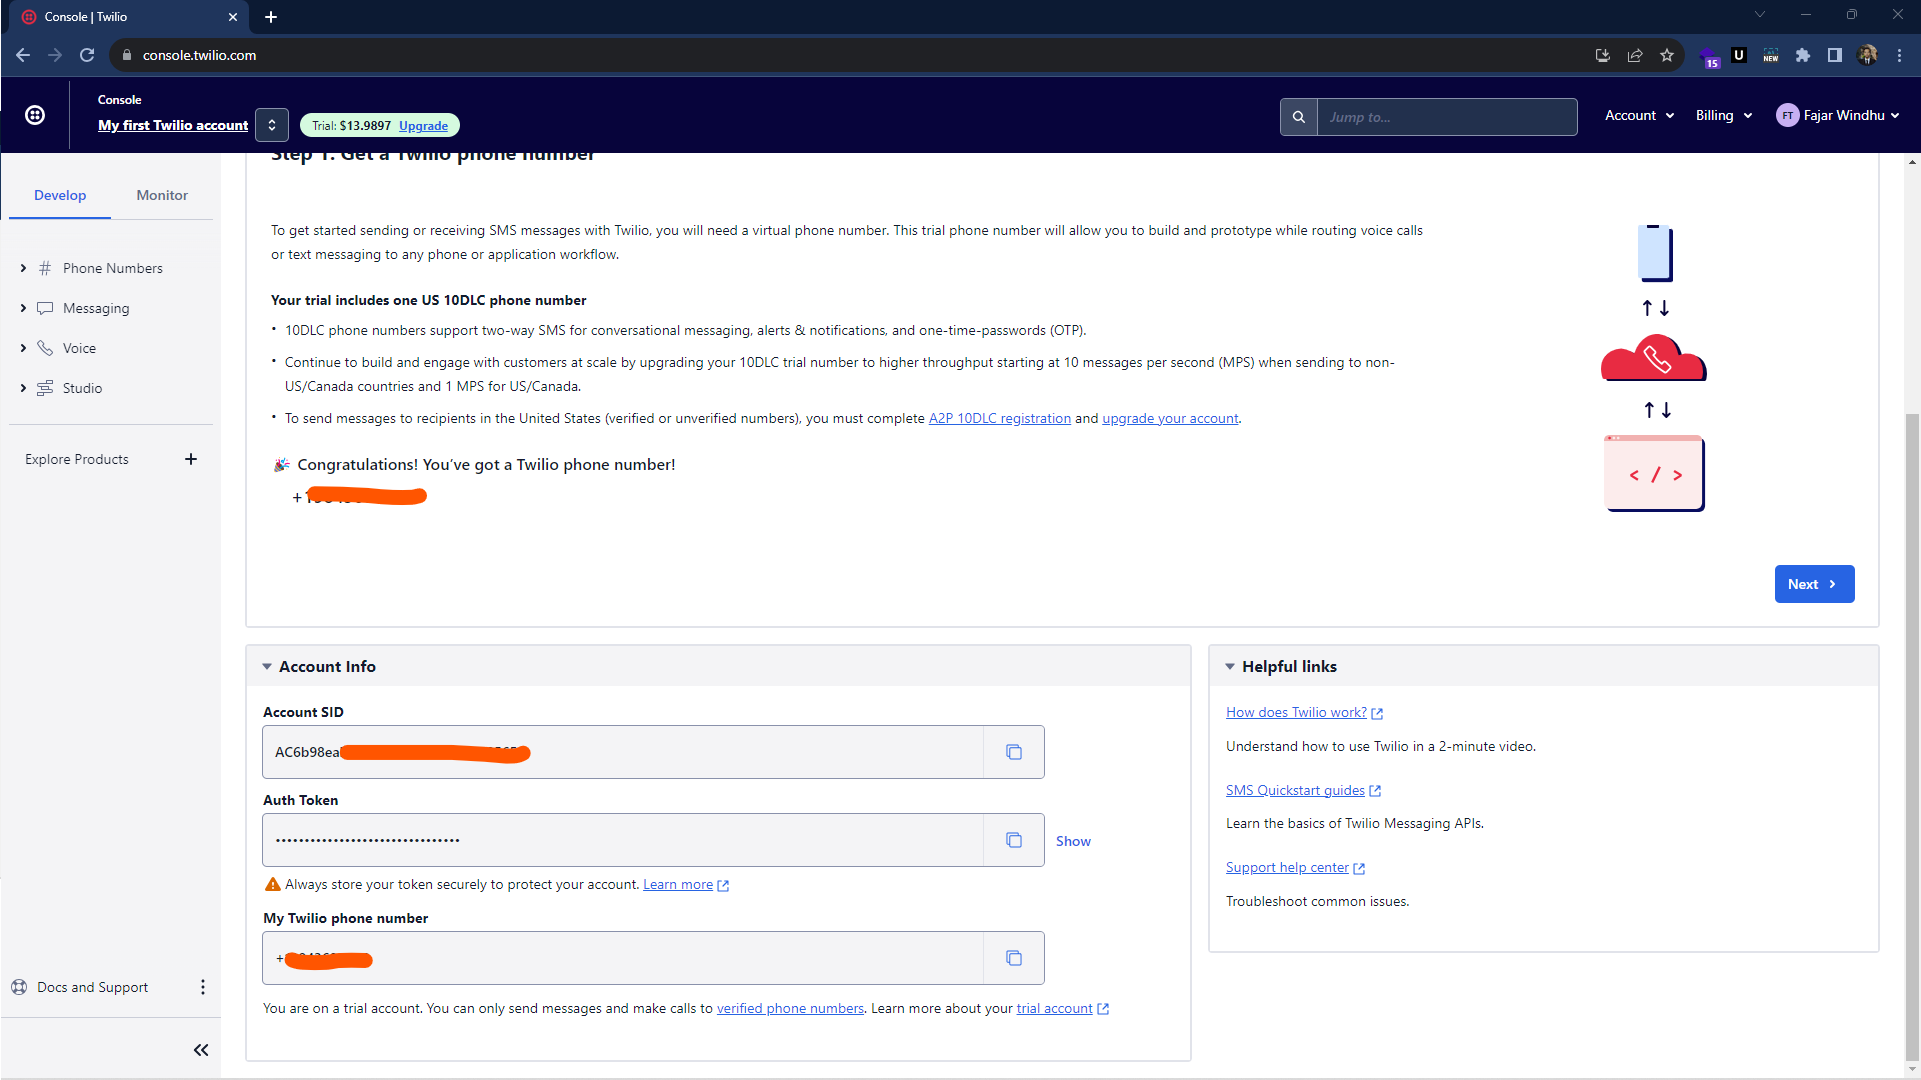
You can also see in the https://console.twilio.com/ page, there is an Account Info section. Get your account SID (a unique identifier for your Twilio account), and get the Auth Token for integrating Twilio into your applications.
Step 4: Update the .env
Next, add the account SID, Auth Token and the Free Number to our .env file as like bellow:
TWILIO_SID=XXXXXXXXXXXXXXXXX
TWILIO_TOKEN=XXXXXXXXXXXXX
TWILIO_FROM=+XXXXXXXXXXX
Step 5: Install the Twilio SDK
Open your terminal and run the following command to install the Twilio PHP SDK:
composer require twilio/sdk
This command will download and install the Twilio SDK, which we will use to send SMS messages.
Step 6: Create the SMS Sending Route
Open the routes/web.php file, and add the following route definition:
use App\Http\Controllers\SmsTwilioController;

Route::get('sms/send', [SmsTwilioController::class, 'sendSms']);
This route will map the /sms/send URL to the sendSms() method of the SmsTwilioController.
Read also:
Step 7: Create the SMS Controller
Now, let’s create the SmsTwilioController that will handle sending SMS messages. In your terminal, run the following command:
php artisan make:controller SmsTwilioController
This command will generate a new controller file named SmsTwilioController.php in the app/Http/Controllers directory.
Open the SmsTwilioController.php file and replace its content with the following code:
<?php

namespace App\Http\Controllers;

use Illuminate\Http\Request;
use Twilio\Rest\Client; // make sure to import the Twilio client

class SmsTwilioController extends Controller
{
    public function sendSms()
    {
        $receiverNumber = '+xxxxx'; // Replace with the recipient's phone number
        $message = 'hi testing'; // Replace with your desired message

        $sid = env('TWILIO_SID');
        $token = env('TWILIO_TOKEN');
        $fromNumber = env('TWILIO_FROM');

        try {
            $client = new Client($sid, $token);
            $client->messages->create($receiverNumber, [
                'from' => $fromNumber,
                'body' => $message
            ]);

            return 'SMS Sent Successfully.';
        } catch (Exception $e) {
            return 'Error: ' . $e->getMessage();
        }
    }
}
Make sure to replace the placeholder values for $receiverNumber and $message with the actual phone number and message you want to send.
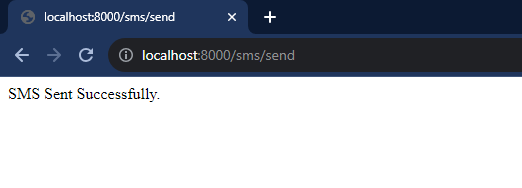
Step 8: Test Sending SMS
You can now test sending an SMS message by accessing the /sms/send URL in your Laravel application. Open a web browser and navigate to http://localhost:8000/sms/send. If everything is set up correctly, you should see the “SMS Sent Successfully” message.
Here is a screenshot of the received message. As you can see, there is a watermark indicating that it is from a Twilio trial account.

Conclusion
That’s it! You’ve successfully integrated Twilio into your Laravel application to send SMS messages. You can now use this functionality to send SMS notifications, alerts, or any other SMS-related features in your Laravel project.
💻 The repository for this example can be found at fajarwz/blog-laravel-twilio-sms.

